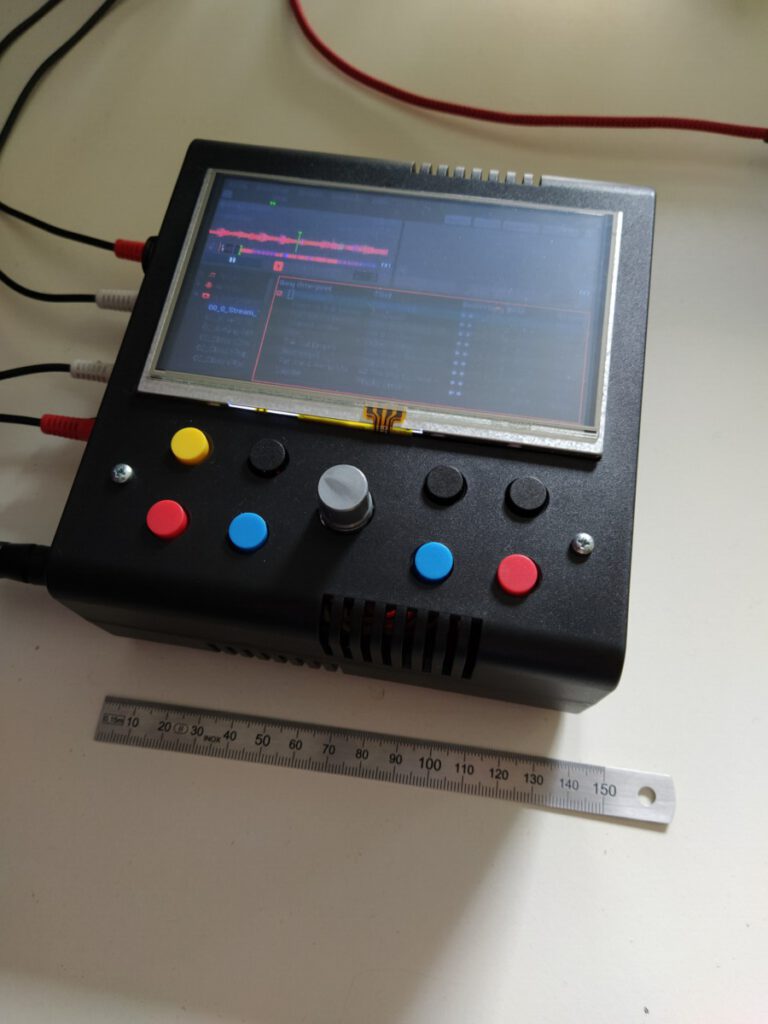
I finally did it and built the smallest possible DJ System I can imagine. Have a look at this video to get an idea of its size and basic operation. It’s an early protoype, a little rough around the edges but it allows you to get a first impression.
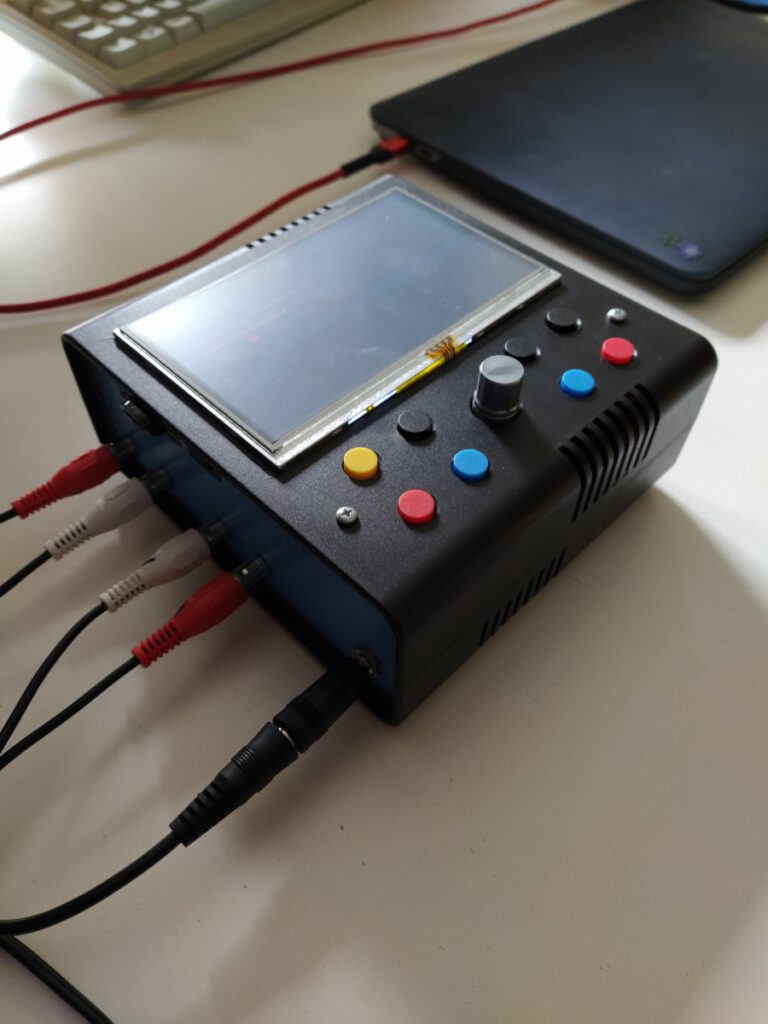
The system is based around mixxx running on a Raspberry Pi 4. It’s battery-backed and allows for standalone operation of ~2.5 hours. It can be connected to a power outlet anytime for uninterrupted operation over a longer period. It features 2*mono out and allows to be connected to a mixing desk or an active speaker/ boombox.
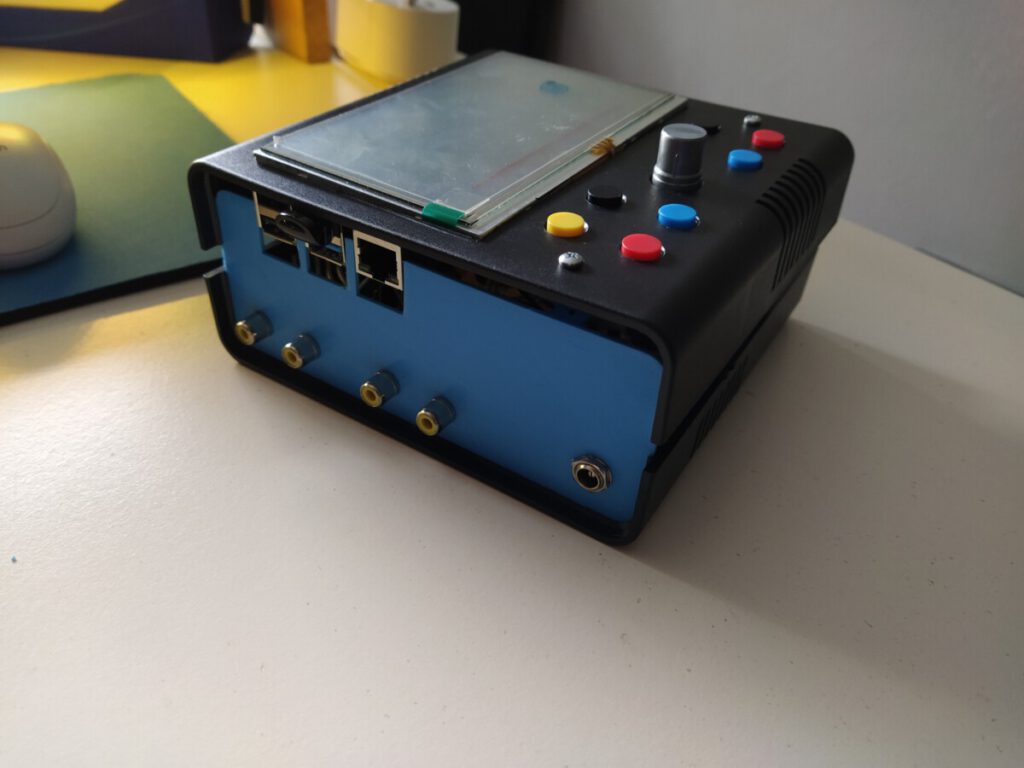
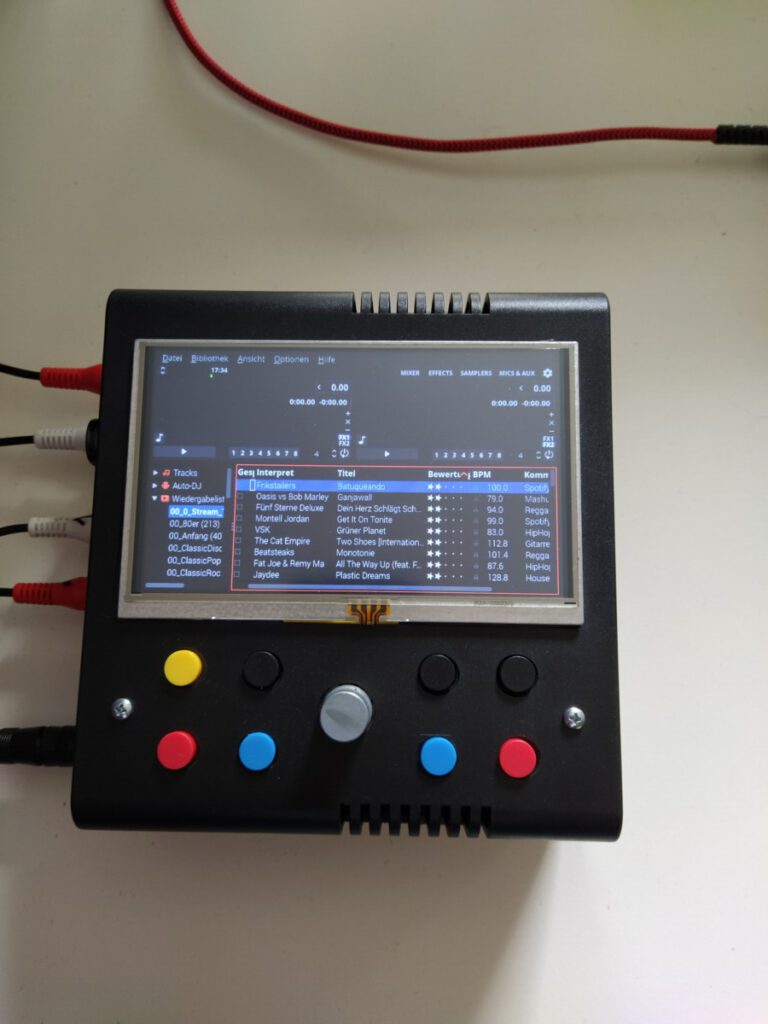
The buttons and the rotary encoder on the front allow for an operation without the need for any additional hardware: Browsing the library, searching for tracks, loading them into a deck, etc. However, since mixxx is completely midi-controllable it’s absolutely possible to connect a midi-controller. The screen is a touchscreen but early prototyping stages showed that this functionality is not necessary for its intended use. The interface is stripped down to the minimum to make best use of the screen size and to prevent distraction for people who never used it before.
The systems unfolds its full potential with a well-structured music library. I developed a script to transfer a complete mixxx-setup (including tracks, settings and library) from a computer to the system. This way it is easy to prepare the system without having to connect extra hardware (keyboard, mouse.
Potential audience:
It turned out that the product is appealing to various types of DJs as well as people who never had any connection to the playing-music-for-an-audience world at all. The small form factor and the shallow learning curve made it a fun little toy that people like to play around with. DJs liked it for the same reason. Most of them imagined it to have it for private parties or, for example, camping grounds on festivals. It’s just that kind of thing that you don’t have to worry about.
Dimensions:
- width: 14 cm
- length: 15 cm
- height: 6 cm
- weight: 0.5 kg
Price:
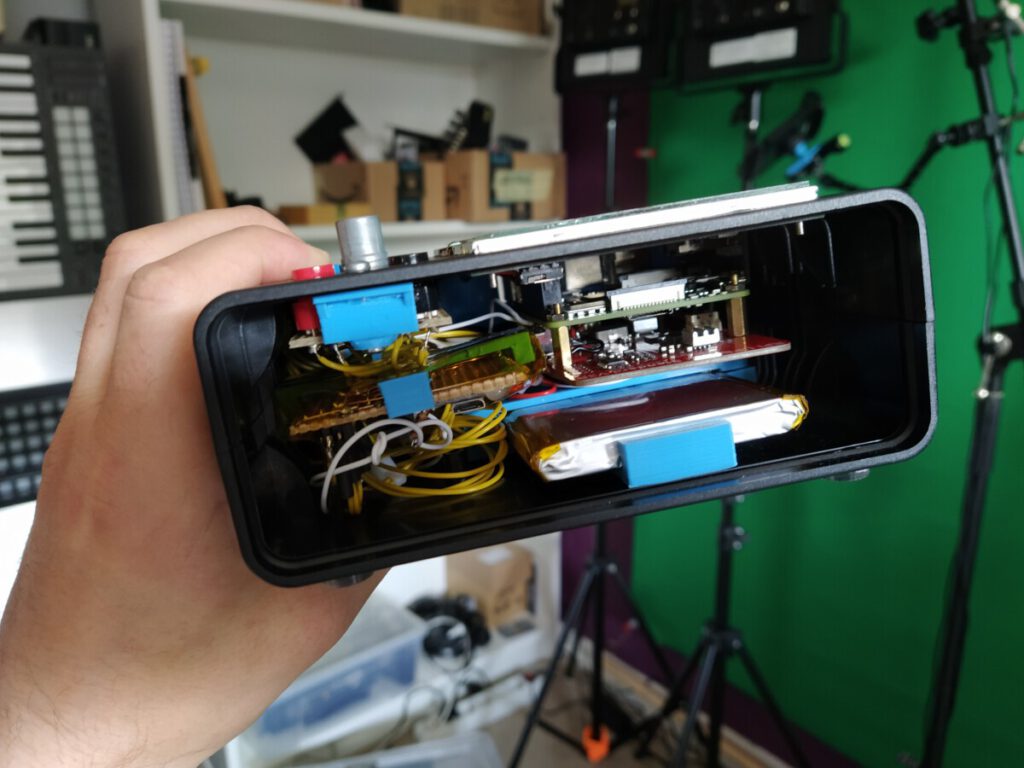
It took ~180€ to built the prototype (including VAT). This includes the case, Raspberry Pi, USB-stick, screen, battery (+controller-board), buttons, rotary encoder, switch, audio jacks and arduino nano to query the buttons and encoder.
The perf-board and wires are not included. Neither is the power-adapter. The time it took to develop and build is also not included.
Pros:
- Easy access even for Non-DJs due to shallow learning curve
- Open source allows for heavy customization
- cheaper than comparable products, e.g. https://www.denondj.com/de/prime-go-eu
- a structured library allows for mouse-free operation
Cons:
- operation is limited in direct comparison to a DJ software running on a laptop
- operation is limited in direct comparison to comparable products like the Denon Prime Go
- needs a well-structured library to allow for best experience
- adding tracks, house-keeping the library might be the biggest obstacle for longer use
I initially planned on pitching this to various companies but as soon as the Numark Mixstream Pro hit the market I knew that I missed the chance of going commercial. Maybe, while reading, you realized that this post would have been part of my initial pitch deck =)
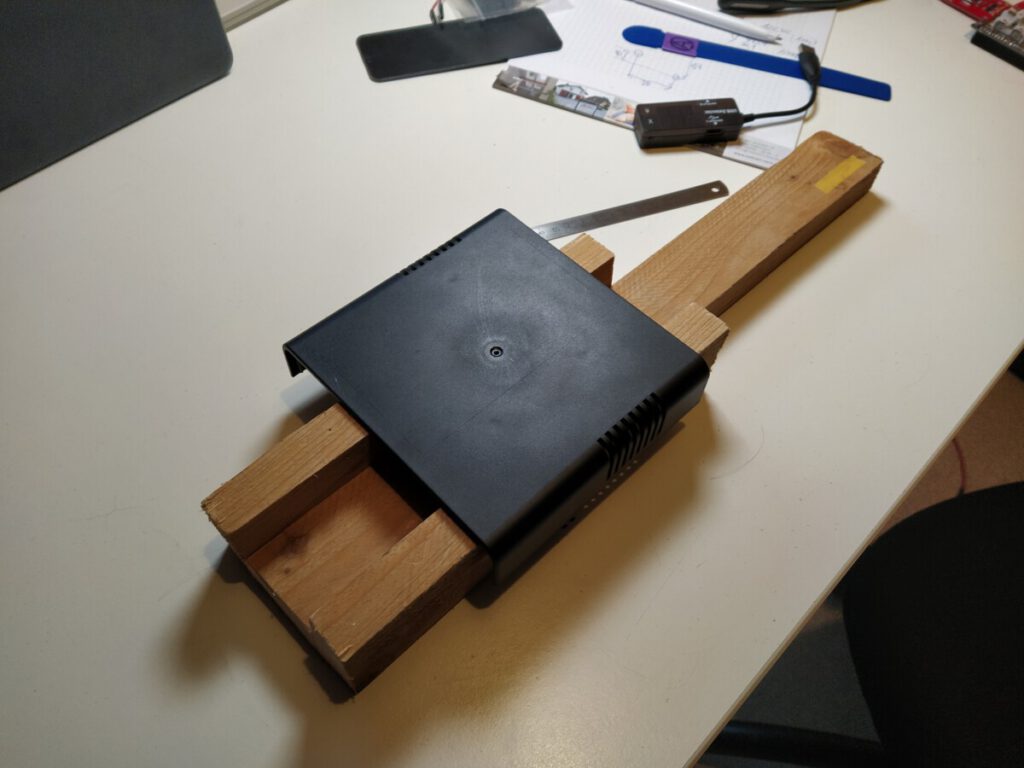
Coming up are a few images of the build-process:
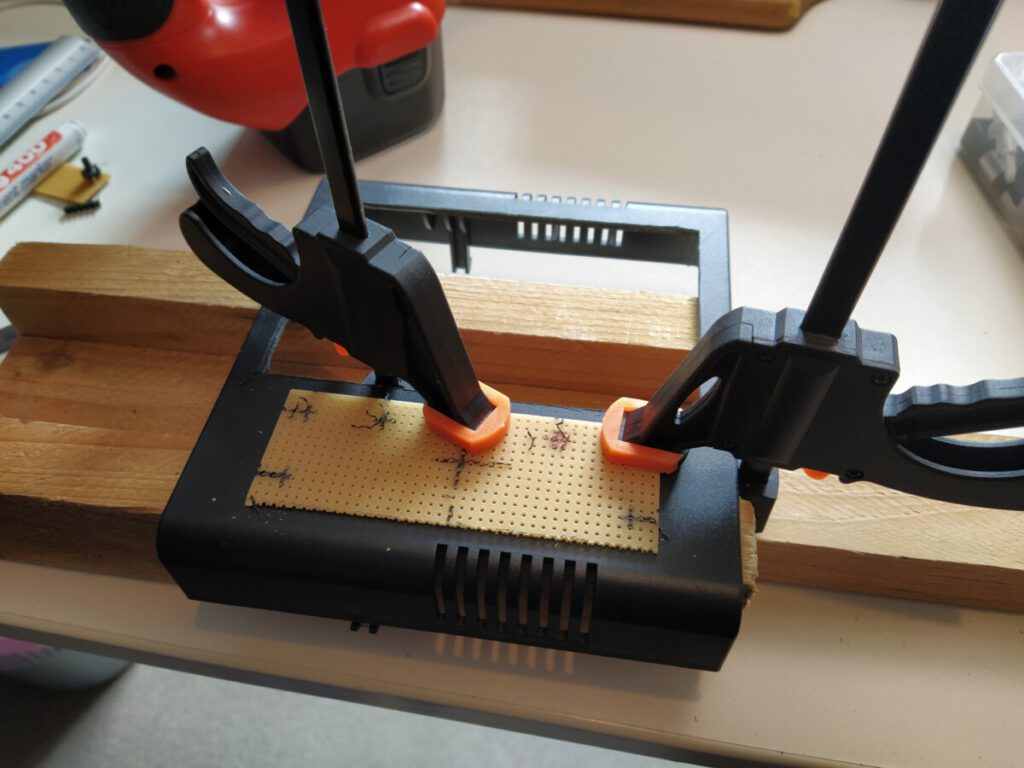
A simple jig to hold the case
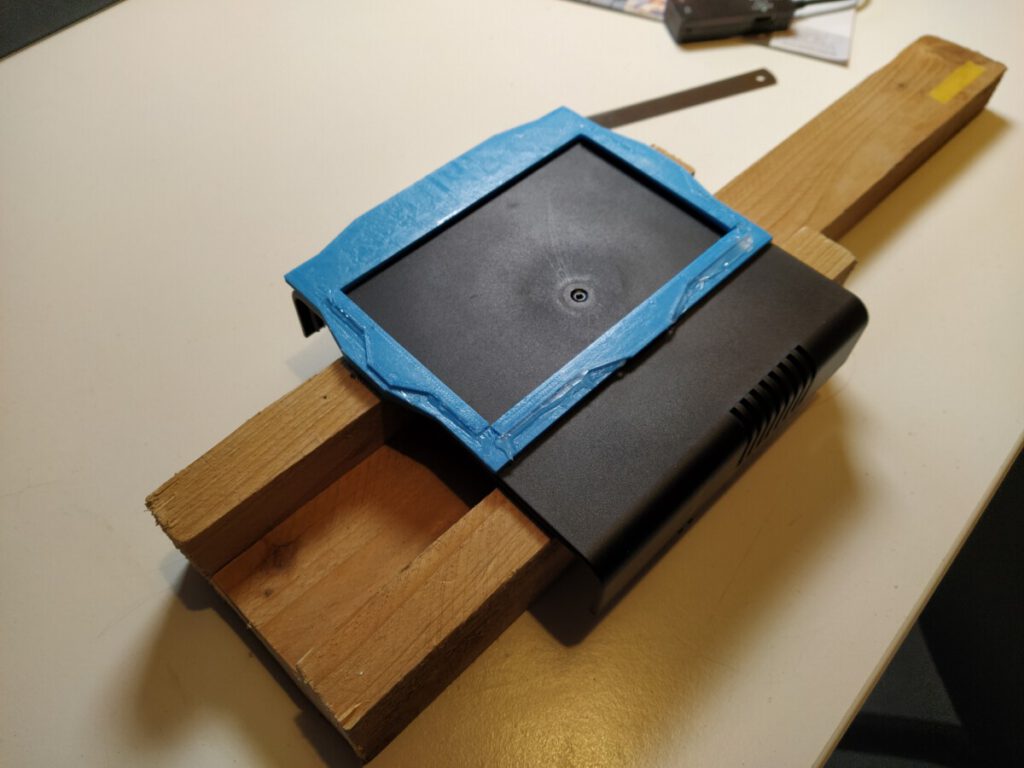
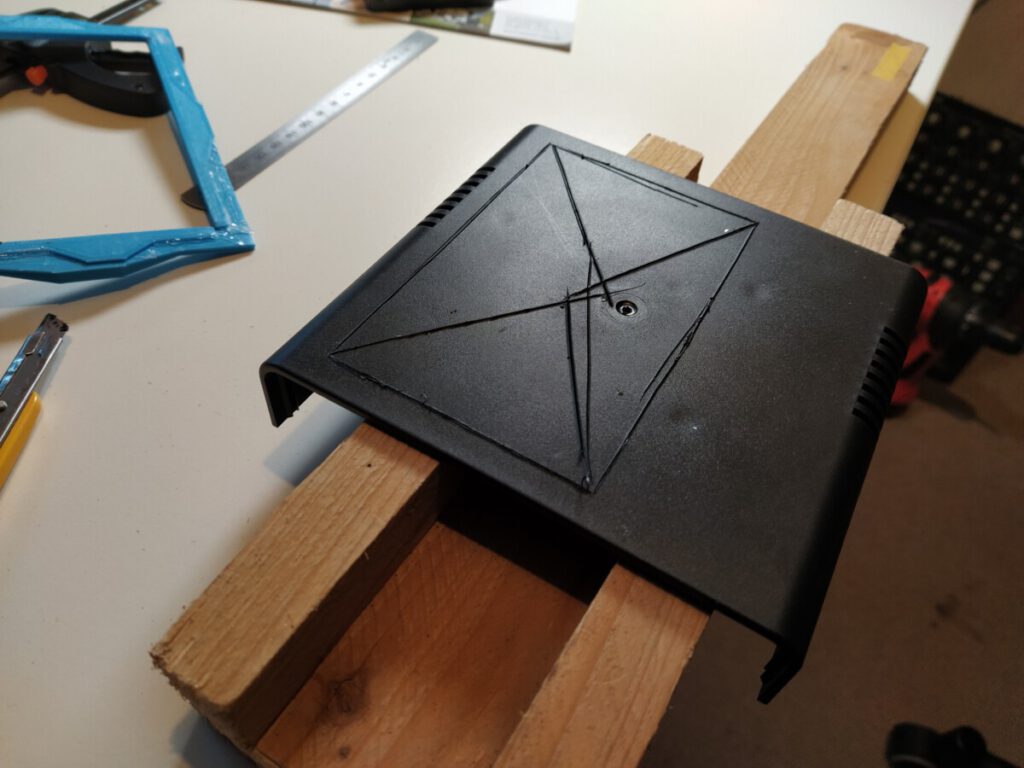
3D-printed a frame to exactly mark out the location of the touchscreen
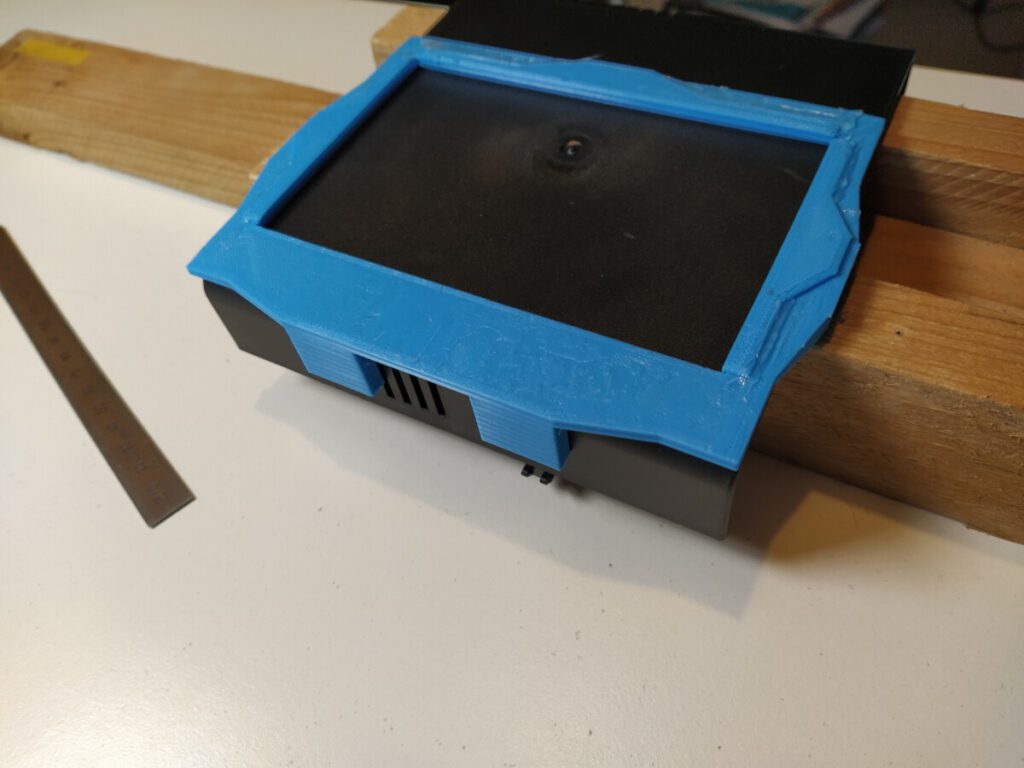
Rough cutout with an exacto knife
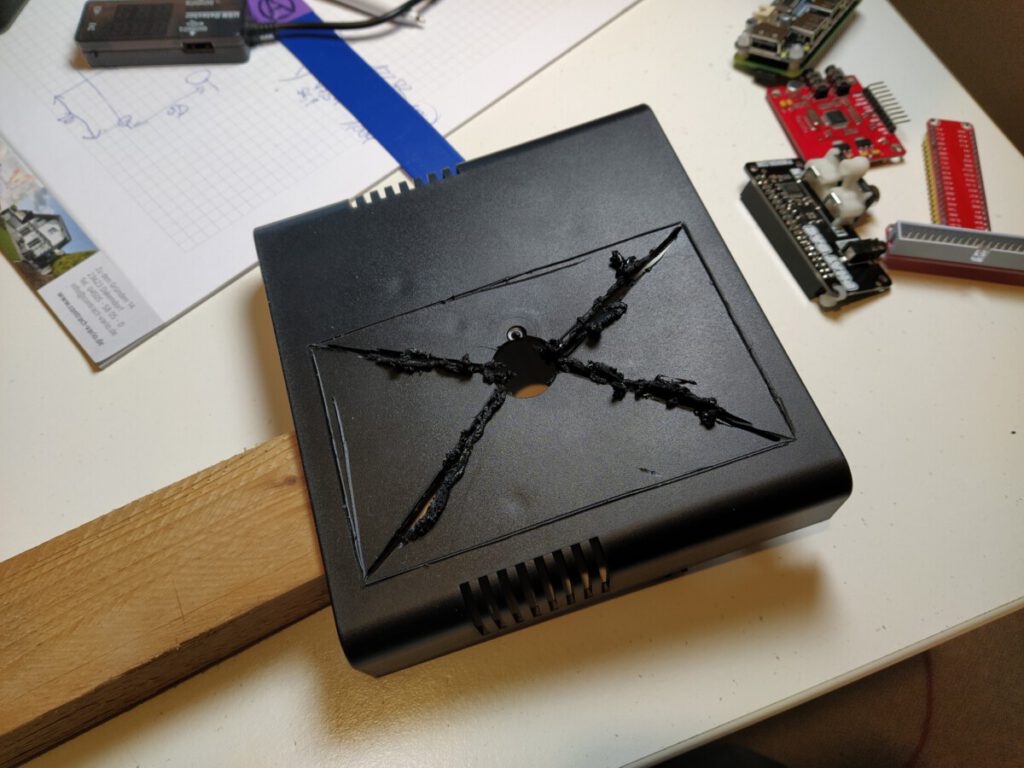
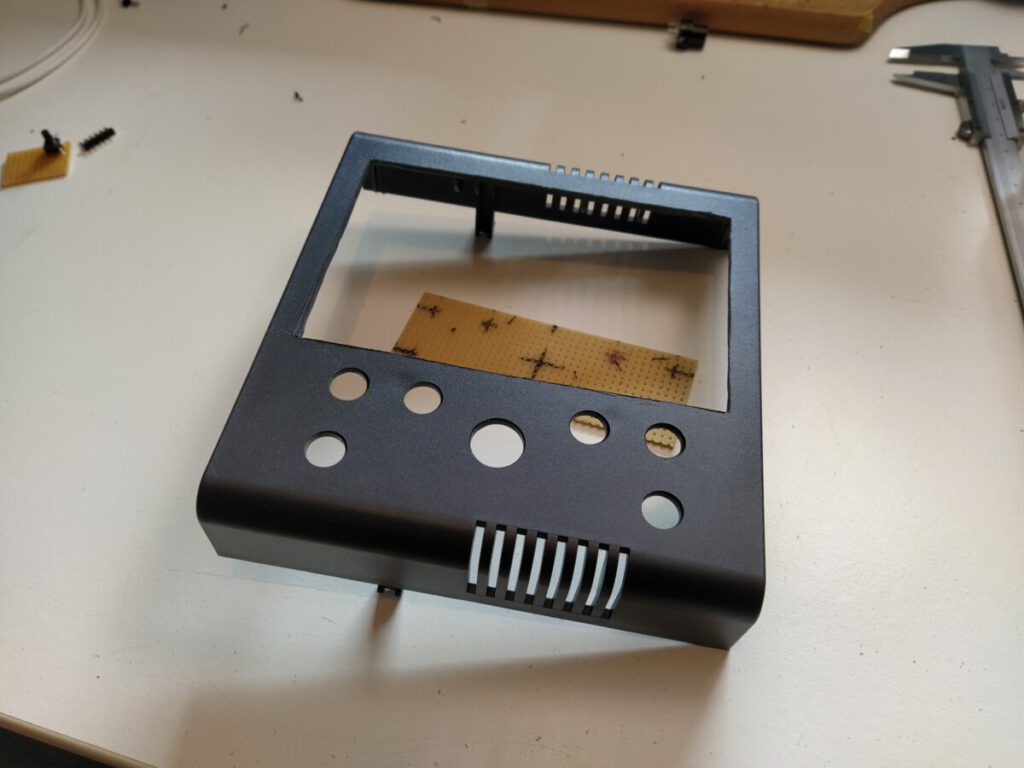
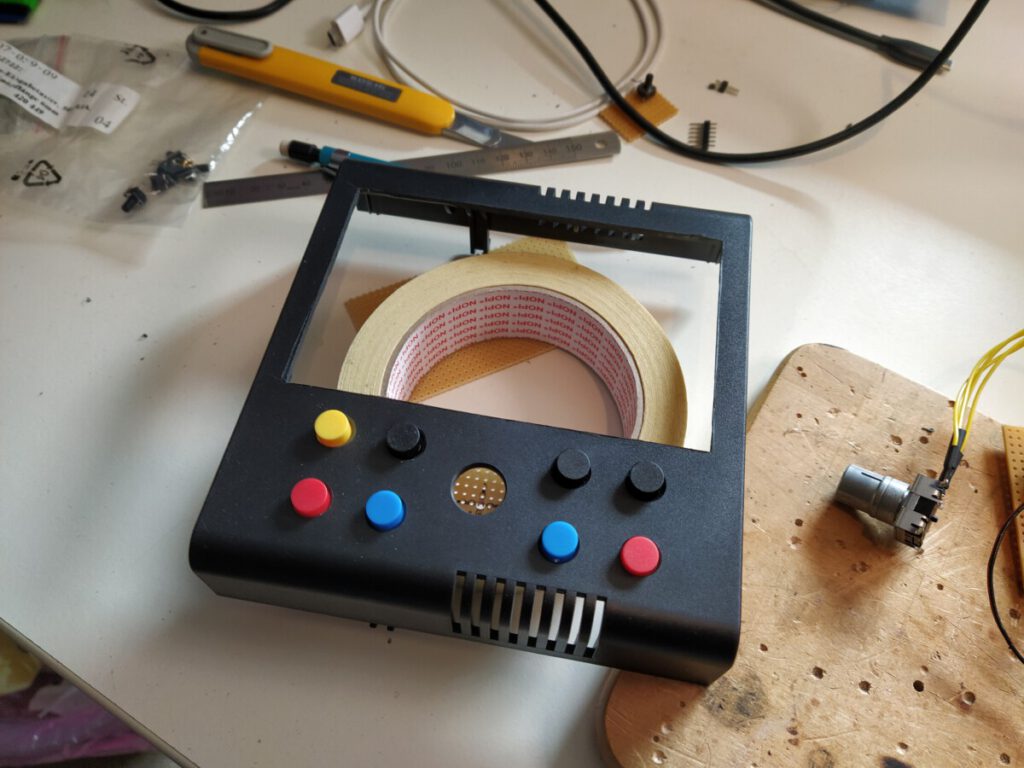
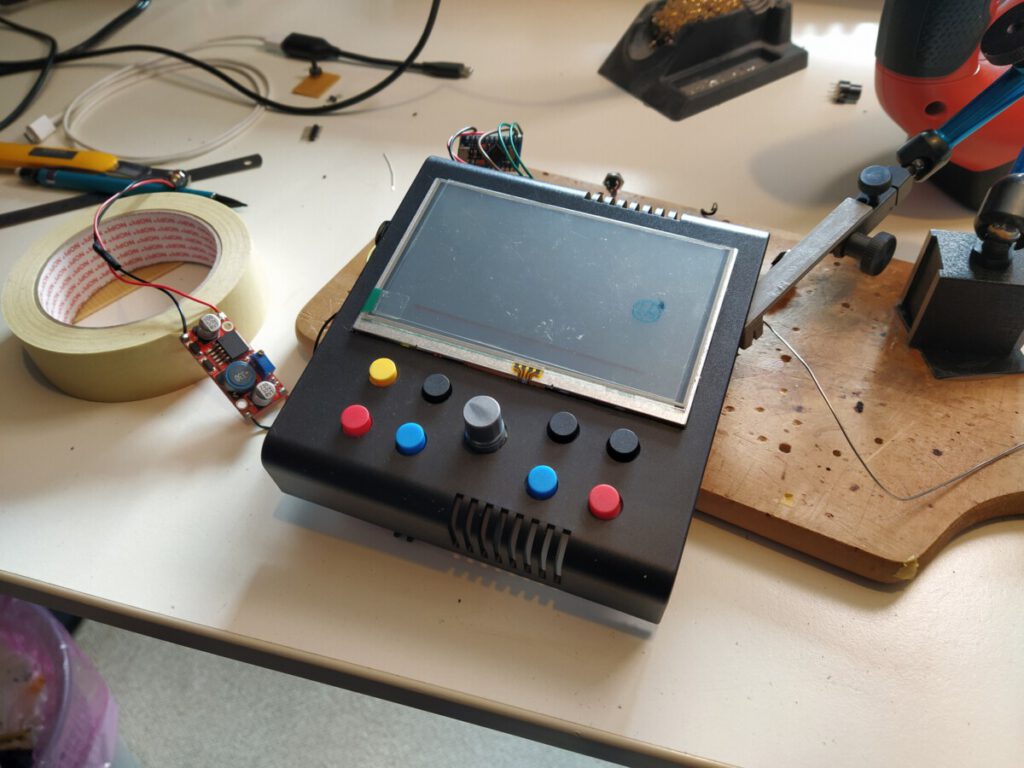
First impression is looking good
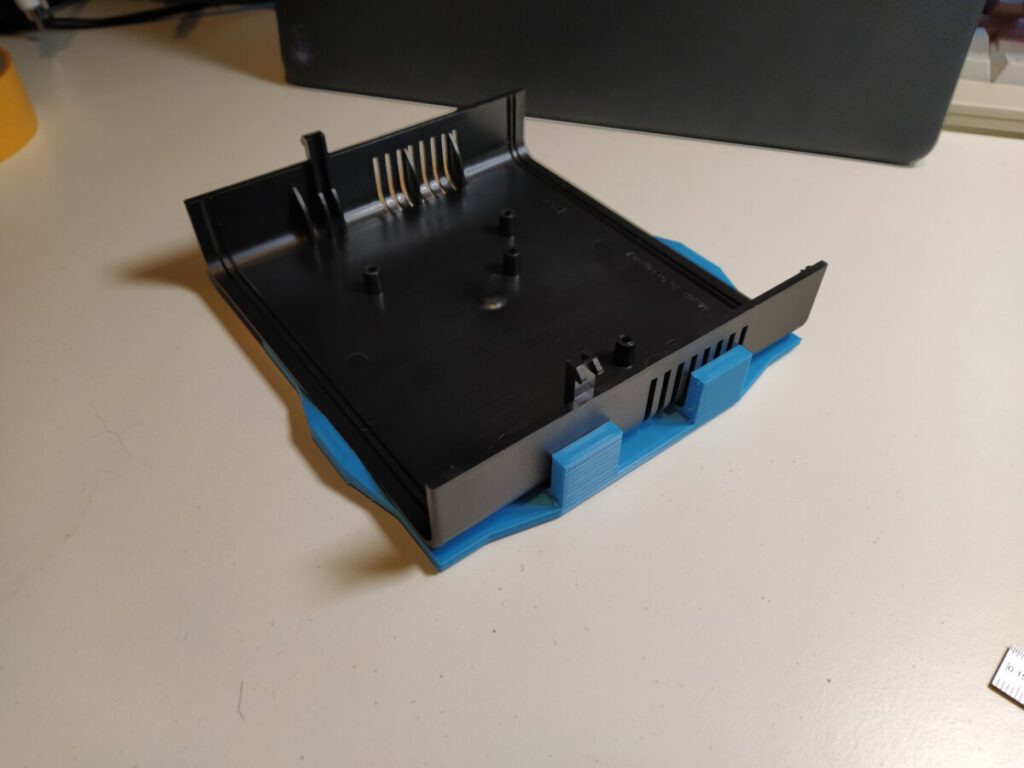
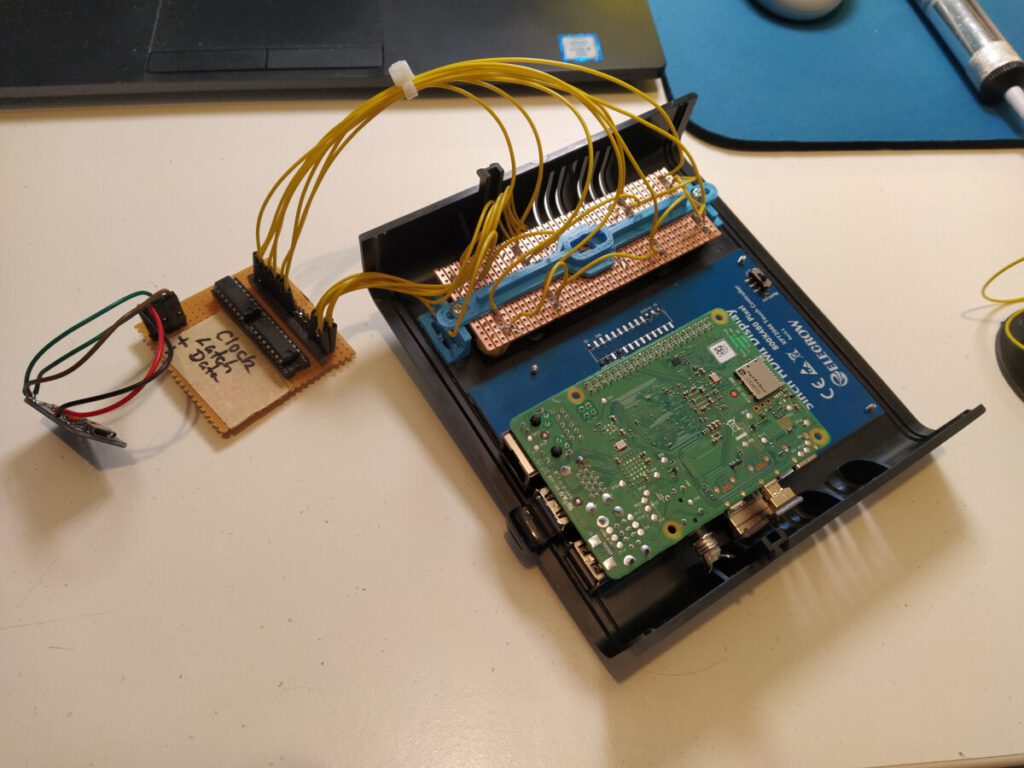
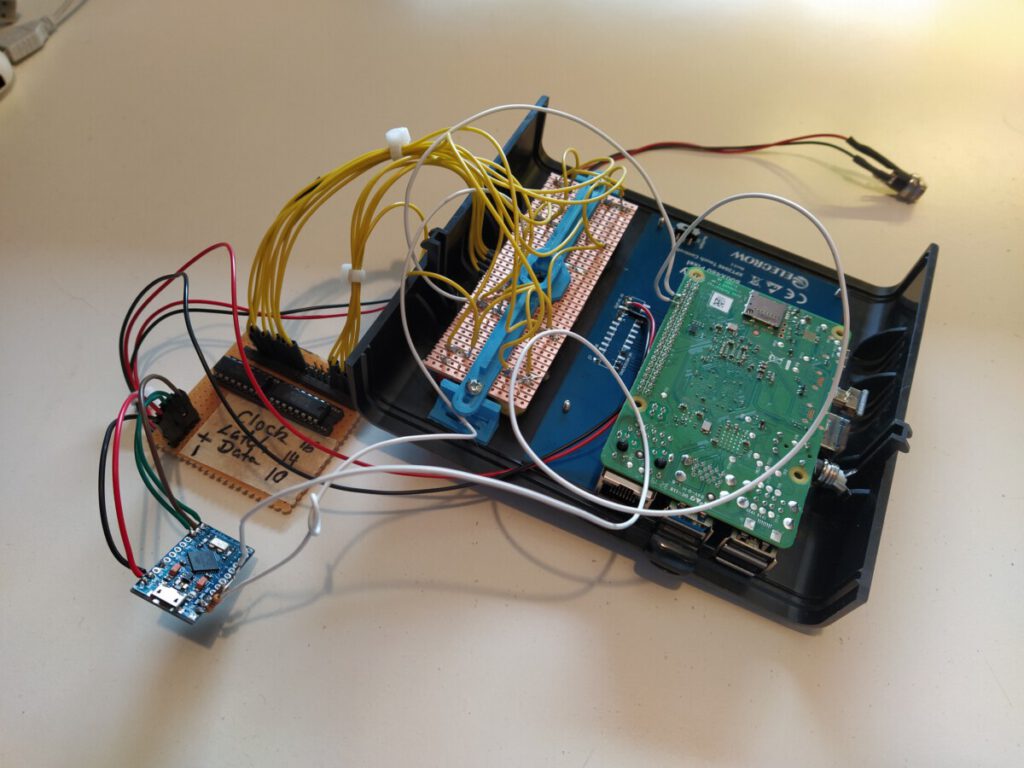
Putting together a Serial-to-Midi adapter to query the buttons and encoder
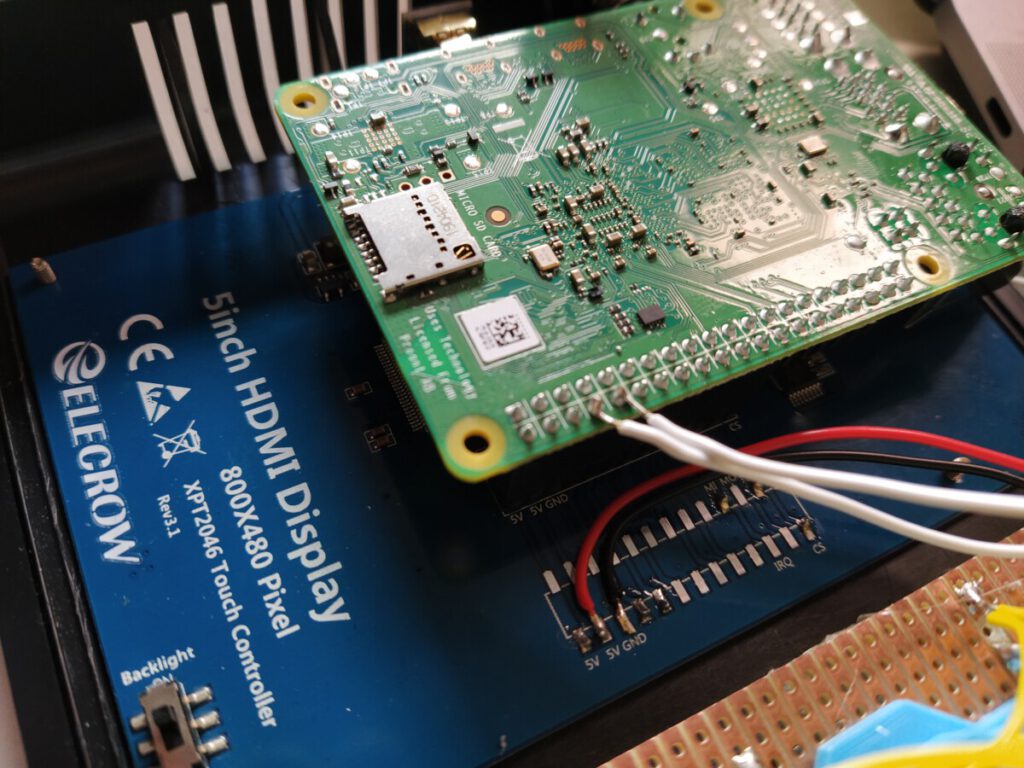
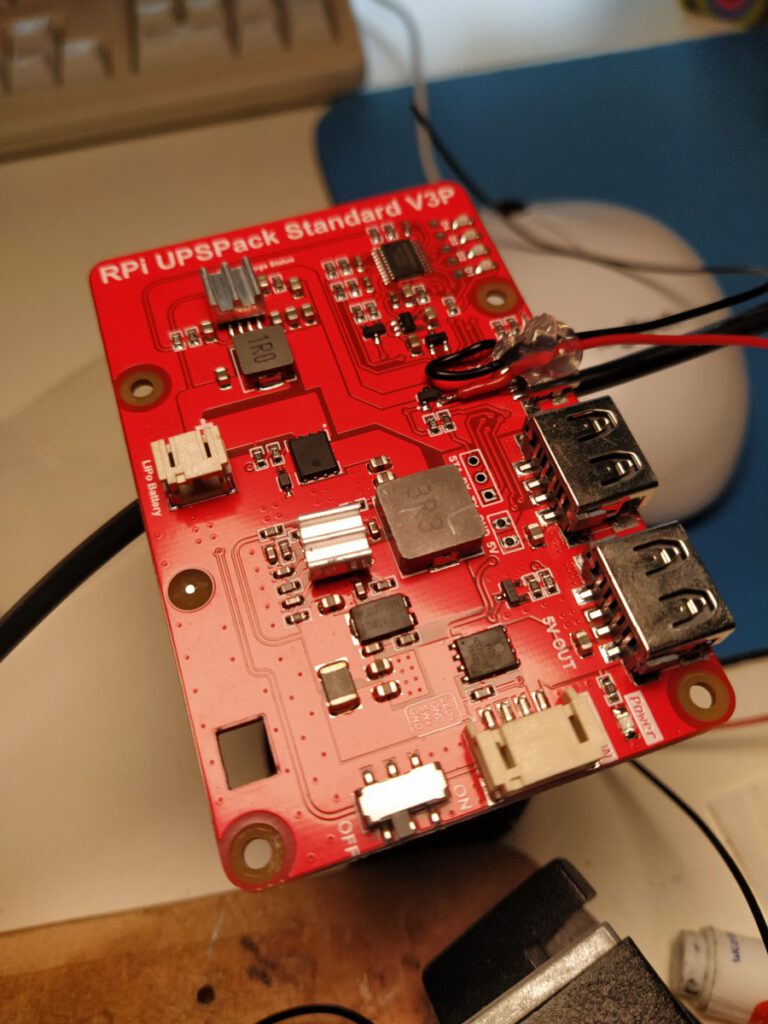
Battery-management via off-the-shelf parts
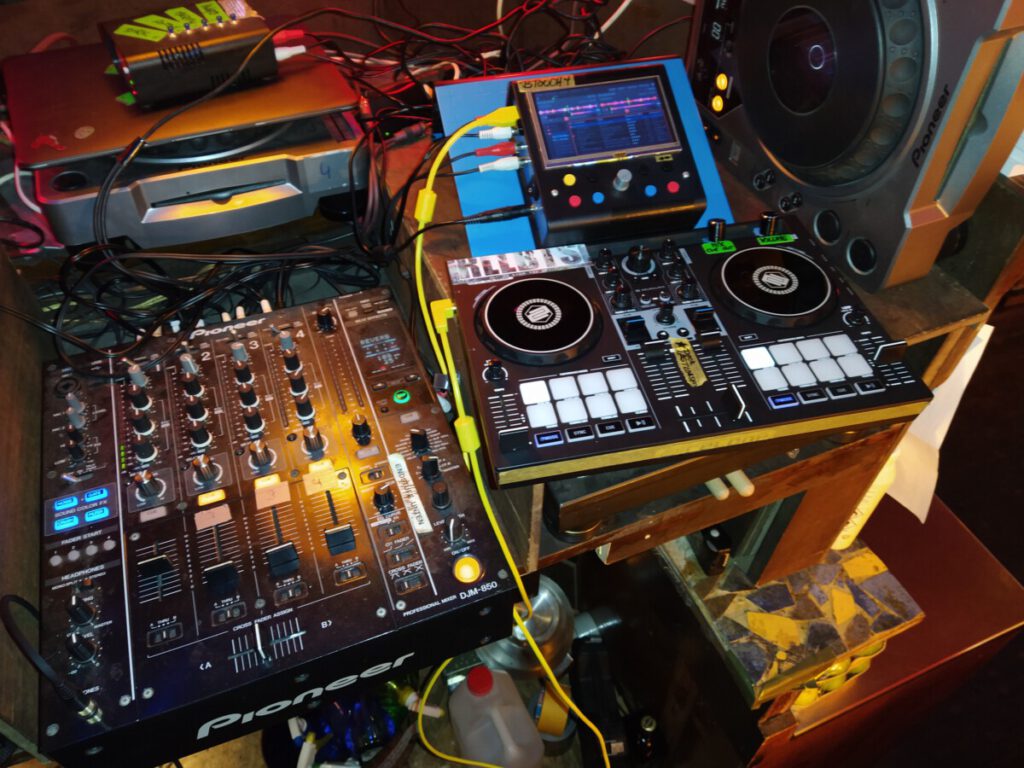
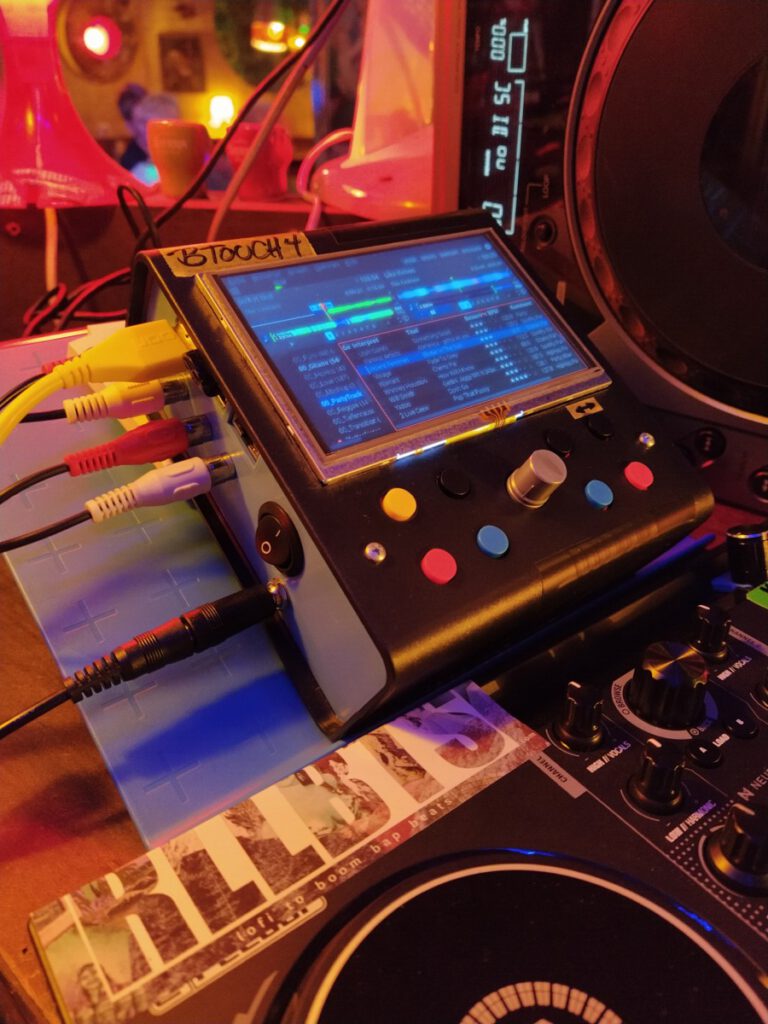
First night out: DJ’ing in a bar, connected to a mixing desk and an external midi controller. Working like a charme all night
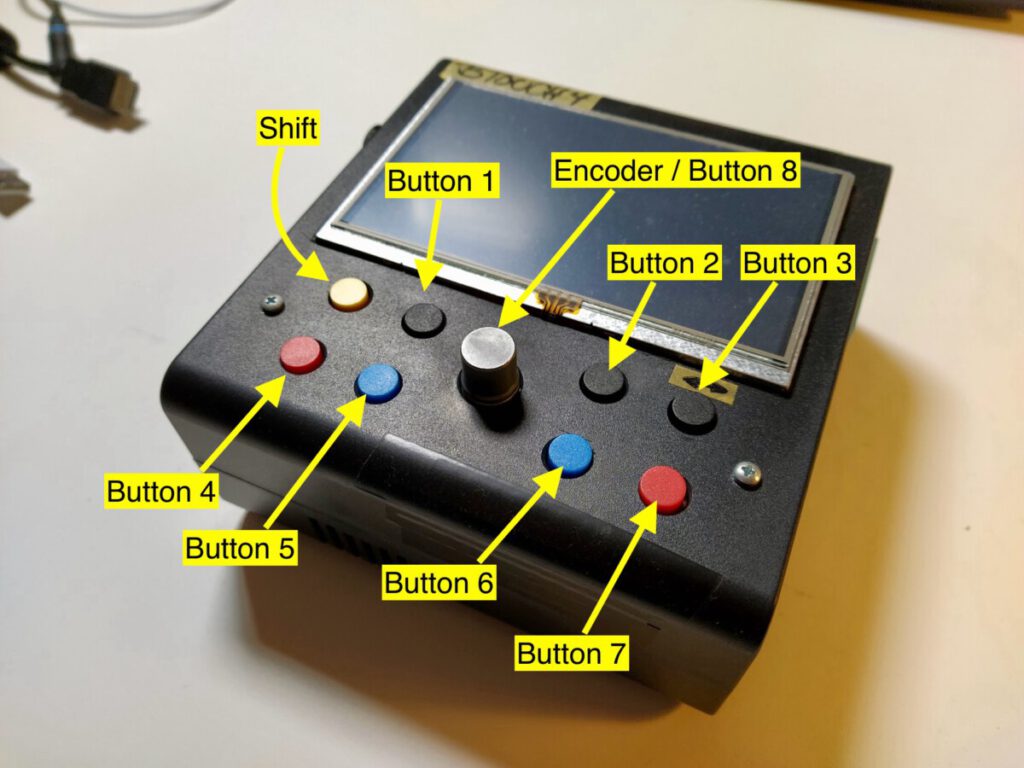
Button 1: Sort by artist (ascending/ descending every 2nd press)
Button 1 + Shift: Sort by Track name (ascending/ descending every 2nd press)
Button 2: Sort by rating (ascending/ descending every 2nd press)
Button 2 + Shift: Sort by BPM (ascending/ descending every 2nd press)
Button 3: move cursor in selected item to the right (to see a track’s comment, for example)
Button 3 + Shift: move cursor in selected item to the left
Button 4: play / pause Deck A
Button 5: Load selected Track to deck A
Button 5 + Shift: Jump to first CUE Point on track in Deck A
Button 6: Load selected Track to deck B
Button 6 + Shift: Jump to first CUE Point on track in Deck B
Button 7: play / pause Deck B
Button 8 (encoder click): switch between library panes (e.g. playlists and a playlist’s content)
Encoder twist:scroll through selected library pane
Encoder twist + Shift: scroll in steps of 15

