Latest Insta
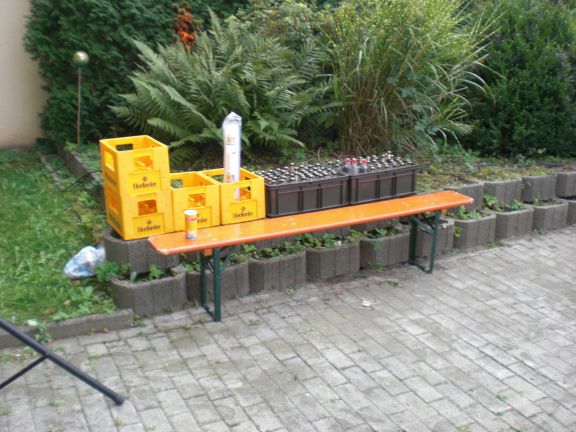
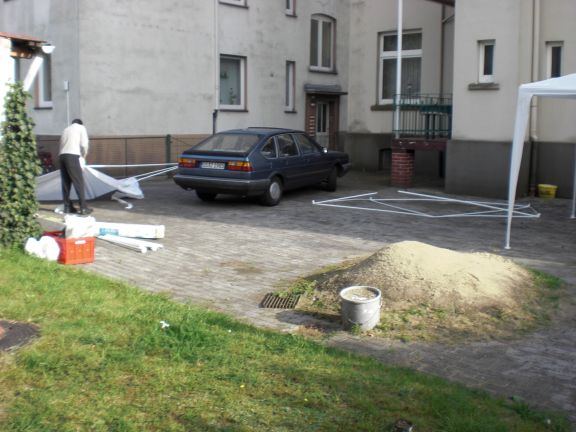
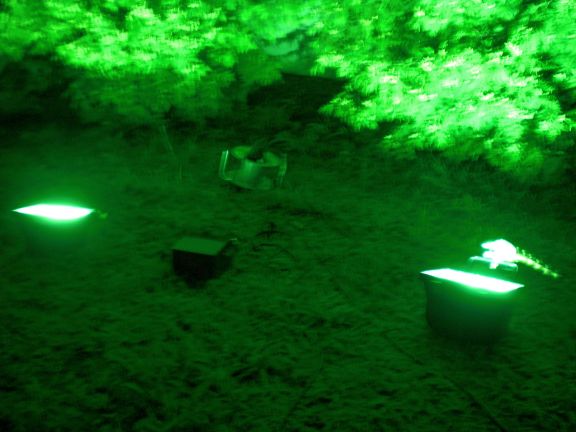
Reinfeiern in den 32sten. Es wirkt etwas trostlos, das wird aber noch: 6 Meyer-Spots und zwei HQIs, dazu noch etwas Musi und gutes Wetter und alles ist okay. Echt Glück gehabt. Bier war auch genau richtig dosiert: 10 Kisten für 25 Leute, 9 1/2 wurden getrunken. Guter Schnitt.

Bruesche helping me throwing parties since 2003
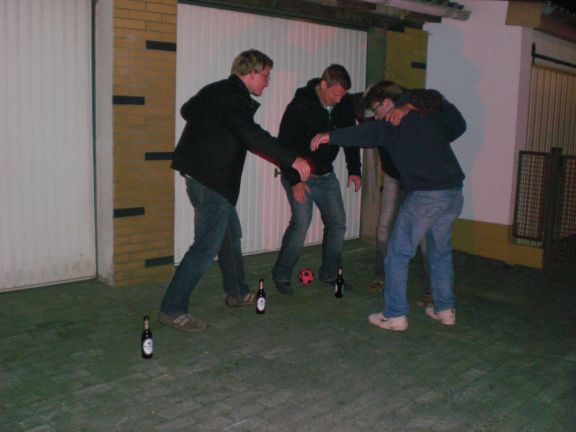
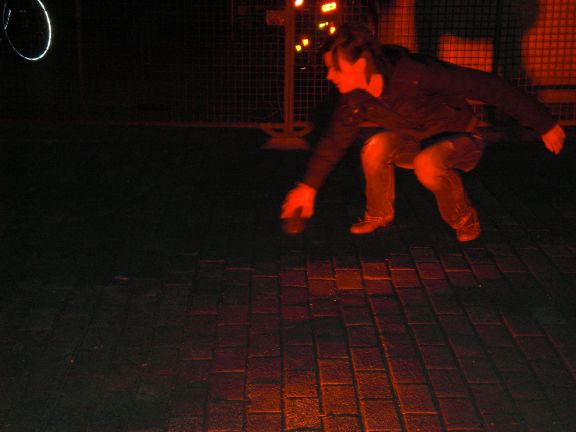
Natürlich wird ge-flunkyballert
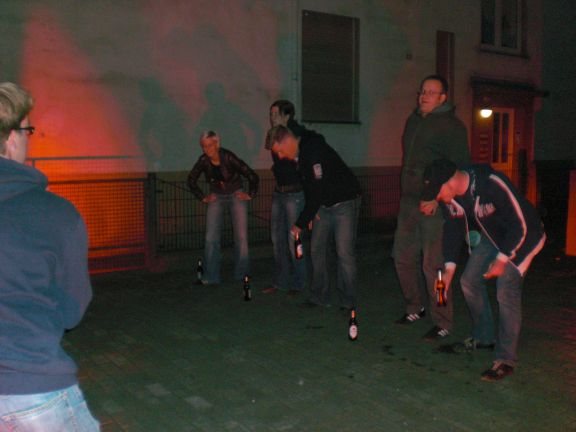
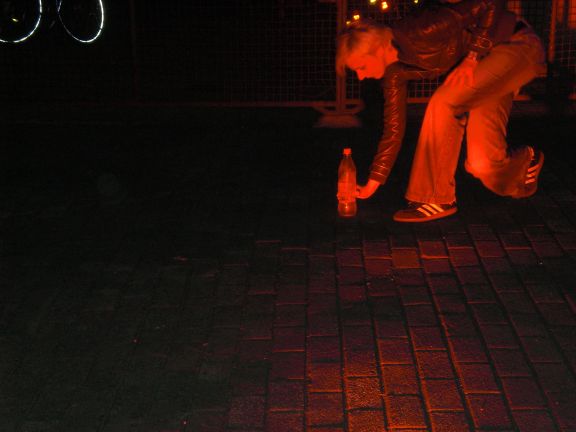
Onur hat sie einfach alle abgehängt.

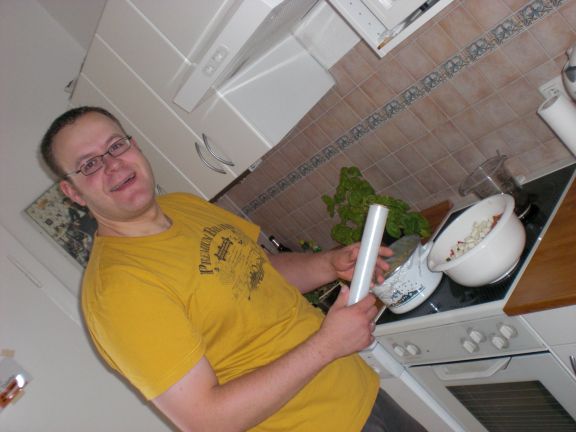
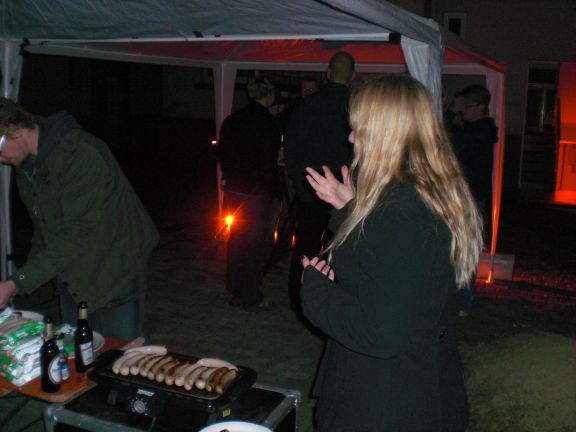
Pasqual ist heute mein Grillsergeant. Fran sieht beeindruckt aus.
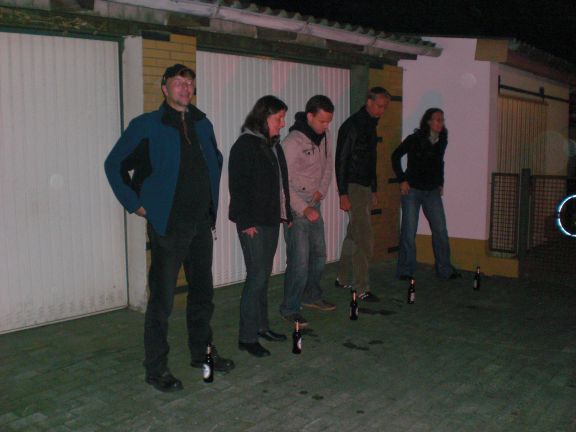
Schwingt die Lende, Babies

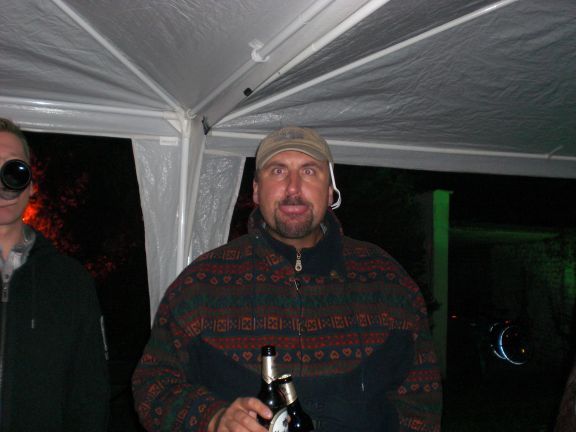
Genau..sei einfach mal…Thomas =-)
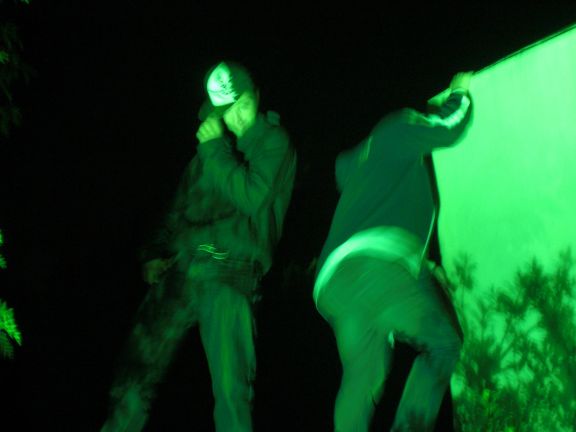
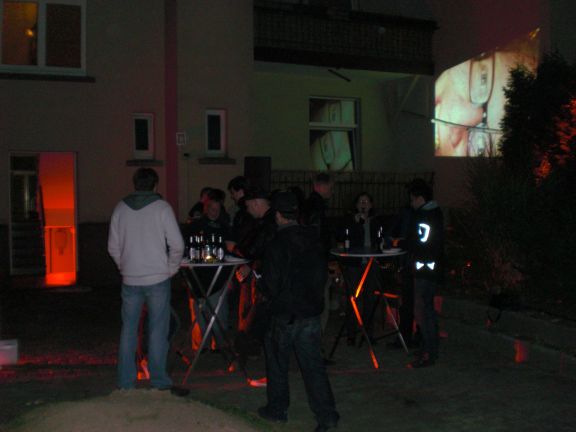
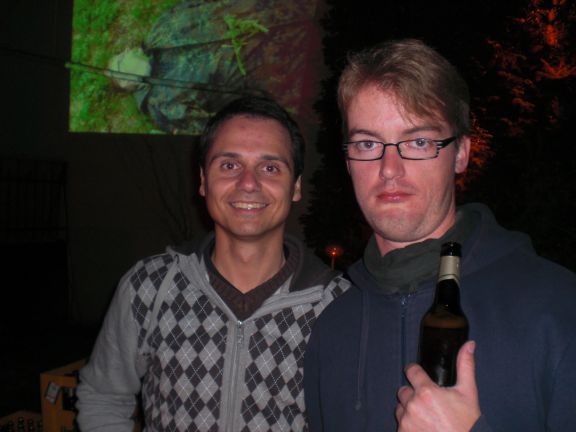
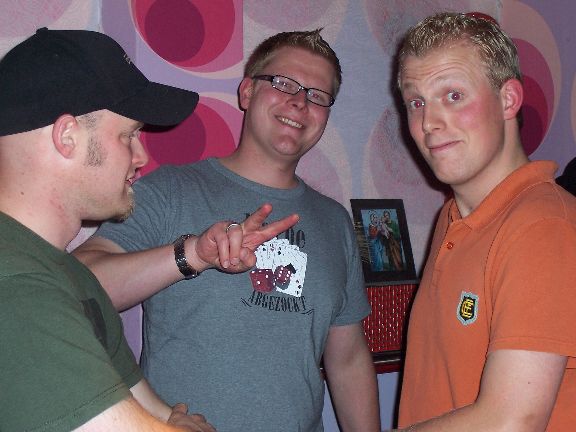
Wirkt etwas surreal mit Christians Gesicht an der Wand, aber er konnte nicht dabei sein, so ging’s dann trotzdem =-)
Schon wieder ein Jahr um.
Dieses mal müssen auch die Nachbarn dran glauben
Laden voll,
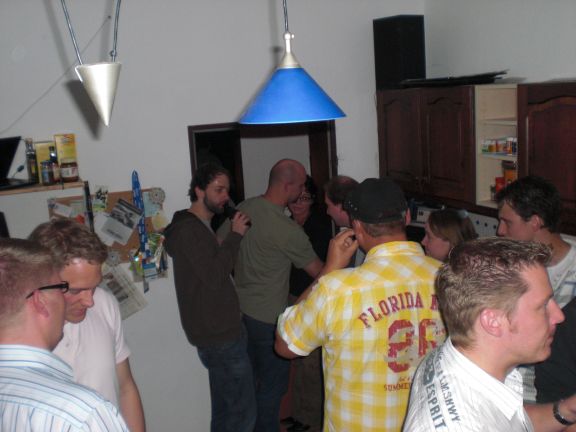
ich bin erstaunt

Hände Andy Nudel
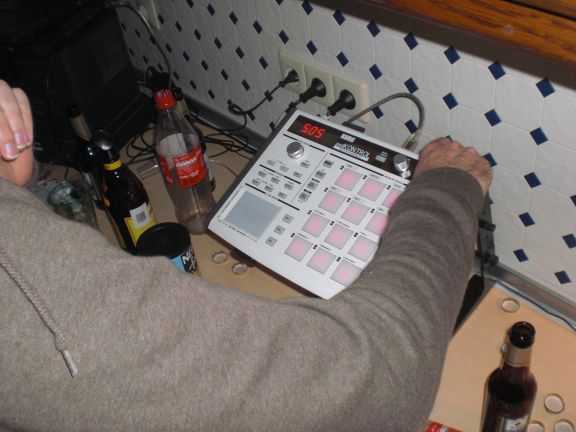
Beste Erfindung auf der allerganzesten Welt: Mit Ableton Live und ‘nem MidiController ein Effektgerät für das HiFi-Ensemble geschustert. Sobald der Alkoholpegel die magische Grenze überschreitet, werden ALLE zu Virtuosen. Supigeil.
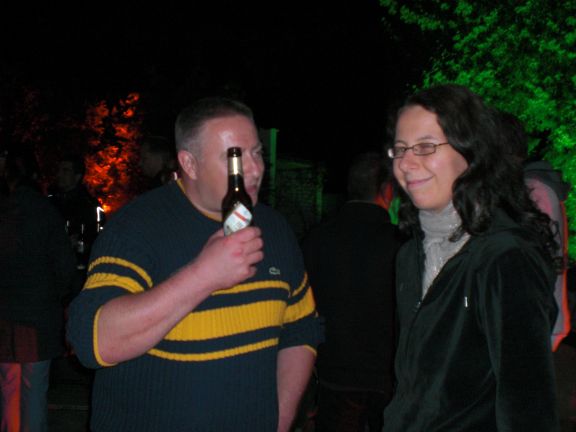
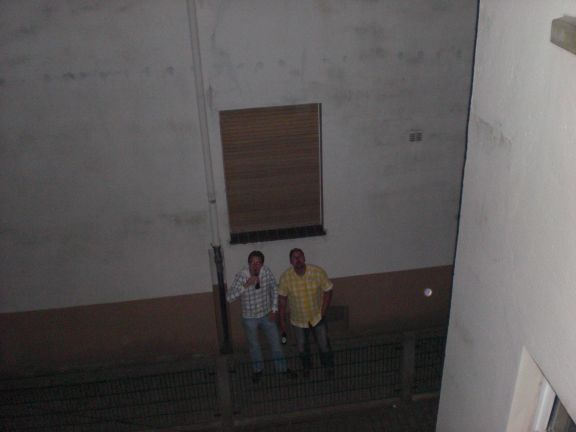
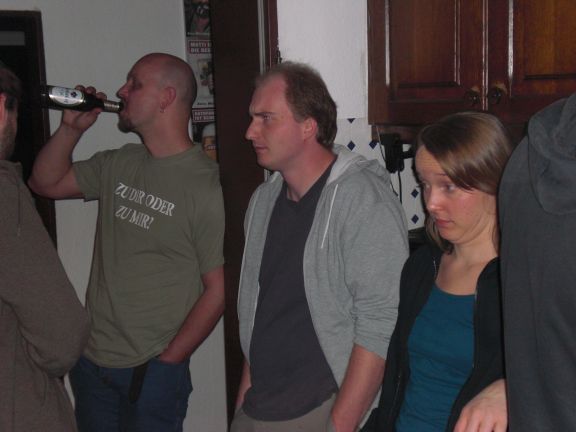
Ecki und Petra findet man normalerweise in der Wohnung über mir. Ich wußte, daß es laut wird, also habe ich die beiden in eine Falle gelockt. All zu schlimm kann es nicht gewesen sein.

Thomas ist der ‘Man on a Mission’

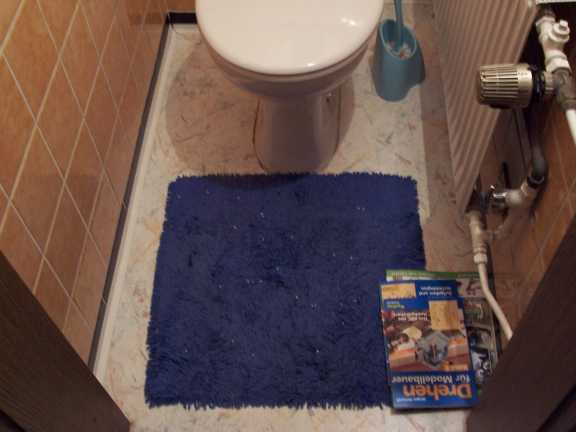
…aber dann auf’m Weg zum Klo falsch abgebogen
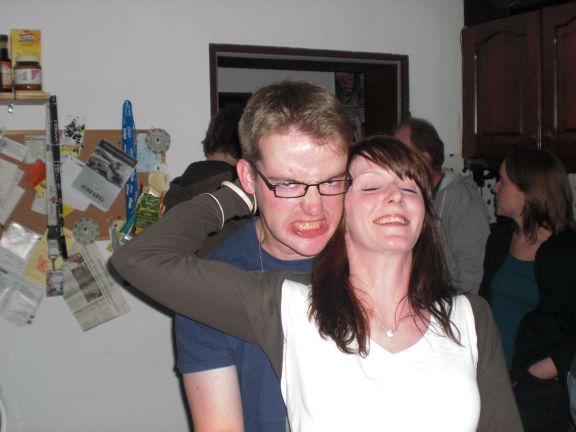
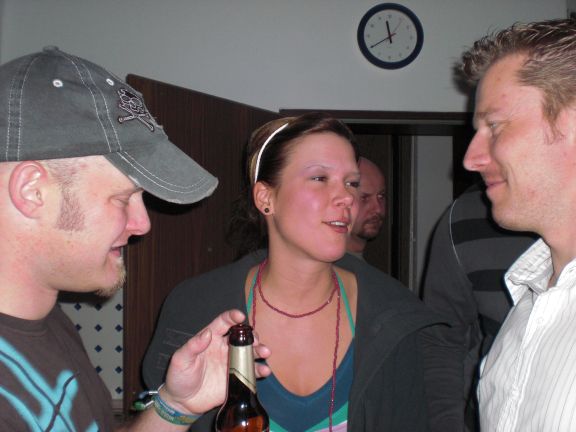
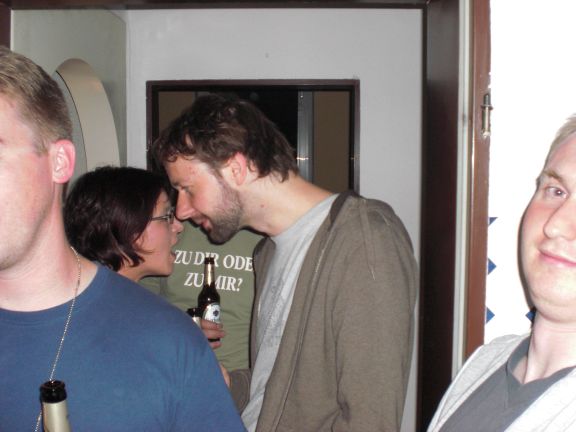
Wenn sich alle erstmal so richtigrichtig lieb haben, kann eigentlich nicht mehr viel passieren….

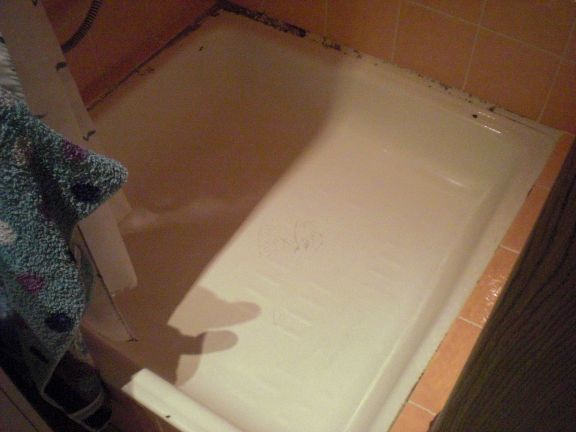
…im allerschlimmsten Fall verwechselt halt jemand die Dusche mit dem Klo. (Das kommt hier gerade nicht sonderlich ‘rüber, aber die Fußspuren in der Dusche (inklusive dem leicht penetranten Pipi Uringeruch) deuten auf ein fäkales Mißverständnis hin).
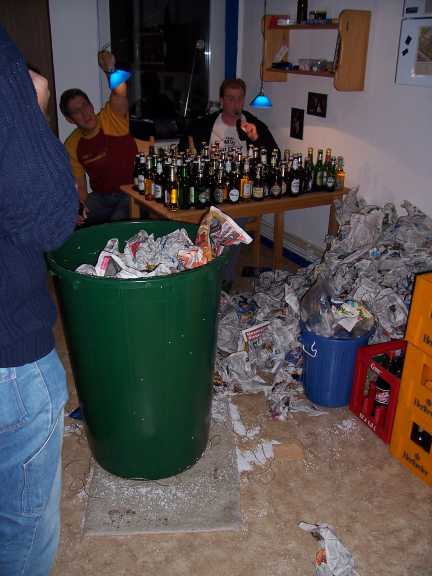
Keine Ahnung, wie spät das war, läßt sich auch im Nachhinein nicht mehr nachvollziehen. Auf jeden Fall haben wir da schon die zweite Rutsche Bier von der Tanke nachgeholt.
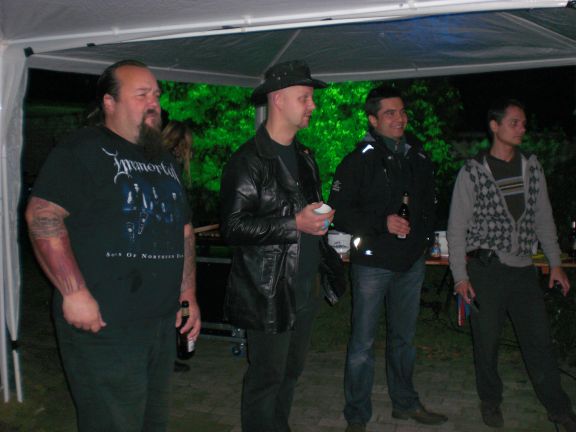
Mit diesen Nachbarn kann Dir nur gutes geschehen.Swen (Mitte) hat dieses Jahr ob seiner kulinarischen Überlegenheit den Party-Nobelpreis verdient mit nach Hause genommen. Nächstes Jahr Alter, ich zähl’ auf Dich!
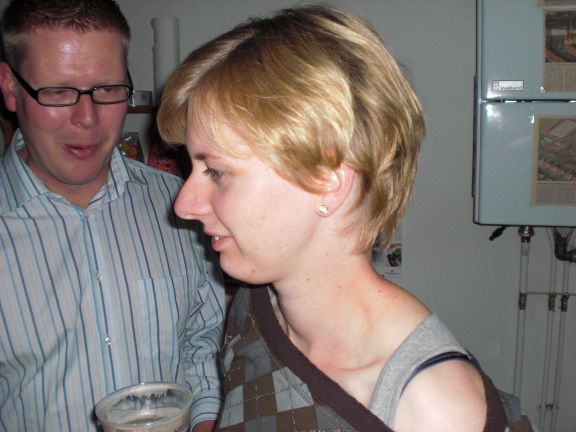
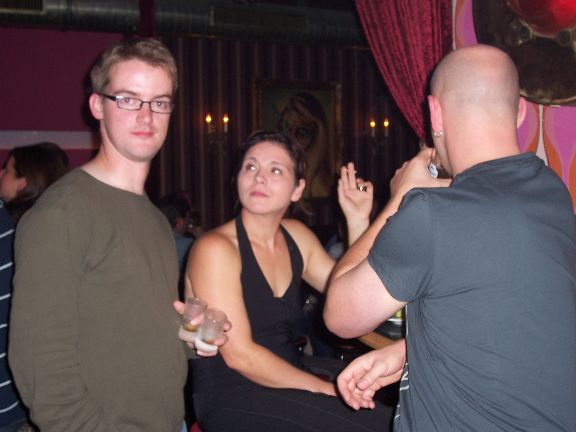
Sonja schaut weit weniger skeptisch als gewöhnlich, das deute ich als positives Zeichen
Herr Winkelmann
An’s Aufräumen kann ich mich nur noch bedingt erinnern. Ooffensichtlich muss es schlimm gewesen sein. Ich ziehe eh bald aus, is’ mir egal.
Fazit:
Zweitgeilste Party für 2008. Nächstes Jahr mehr Bier und mehr Rockelemente Effektgeräte!
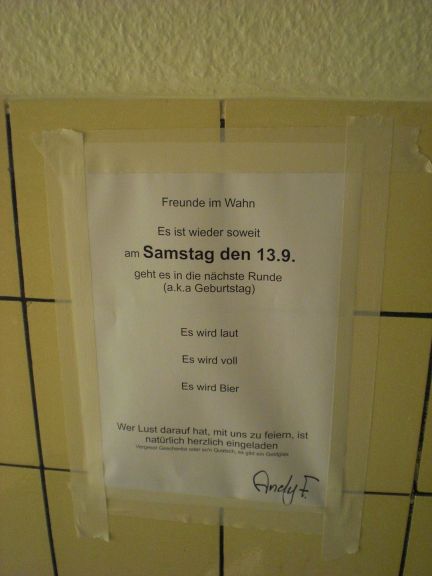
13.9.2007: Okay….Es is’ soweit…..

(Braucht noch Jemand diese Flyer? Größe A5, vollglanz, einseitig bedruckt. ich hab’ noch knapp 1000 Stück davon.)
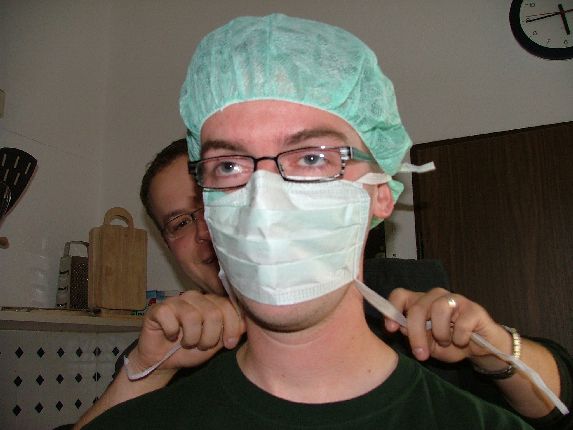
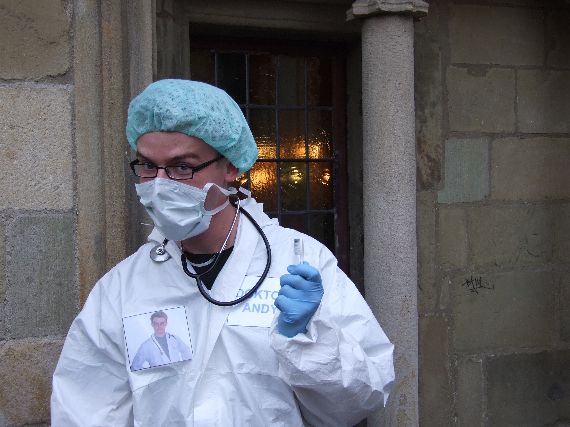
30 Jahre auf diesem Planeten (29,5 davon als Spezialiologe *hihi*) fordern ihren Tribut. Da ich die Ehe immer noch als Keimzelle des Terrorismus ansehe bislang noch nicht heiraten musste geheiratet habe, wurde ich Opfer des schönen Brauches ‘den Alten fegen lassen…Die Rathaustreppe…In alberner Verkleidung; Mit Alles’…Nun gut
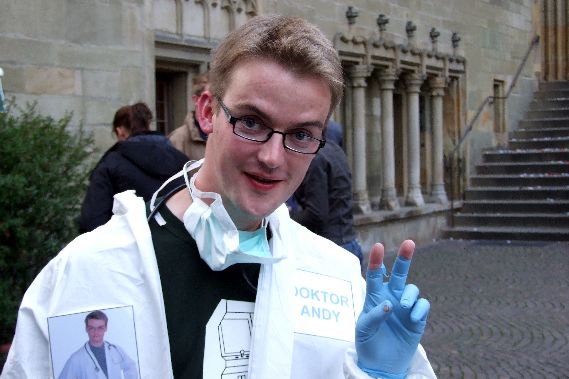
Die Vorbereitung wirkt vielversprechend, Doktor Andy freut sich
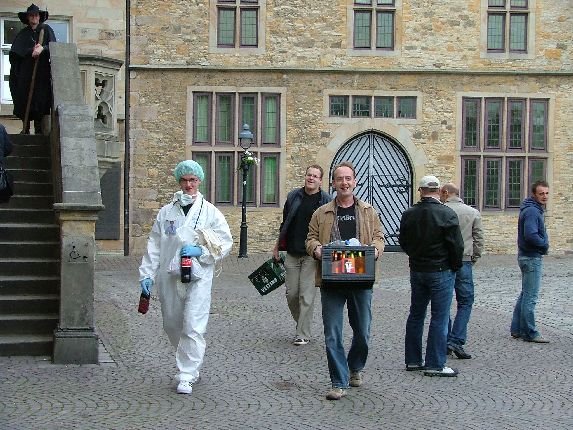
Aufmarsch am Rathaus
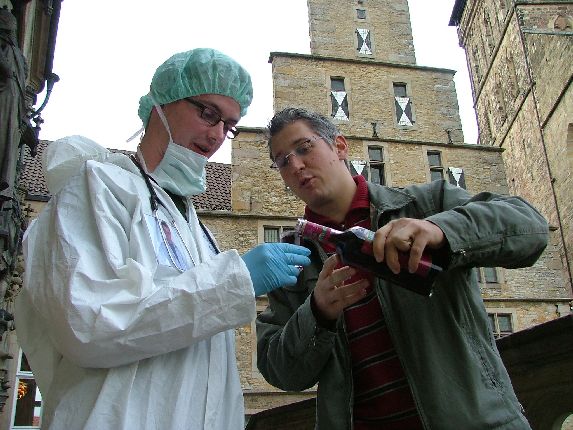
Doktor H.C. (=HardCore) Andy bittet zum Rapport

Michi passt auf, daß ich während der Operation nicht dehydriere
Treppe: *Check*
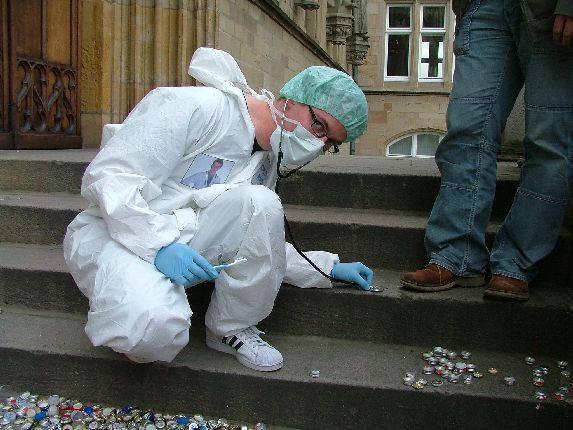
Wieso sehe ich auf dem Bild eigentlich so zufrieden aus?
die kleine (verzerrte) Maus hat mich schliesslich gerettet. Danke, fremdes Mädchen
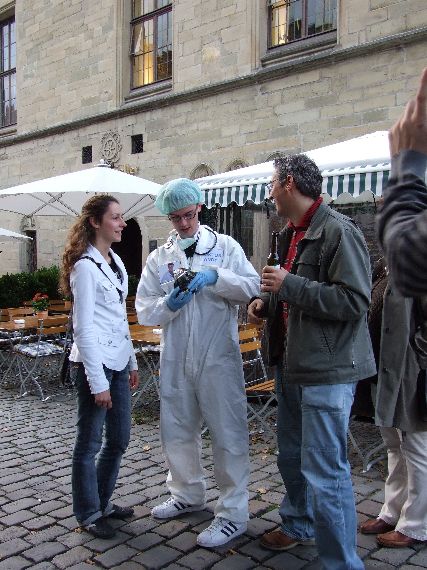
Finger: *Check*
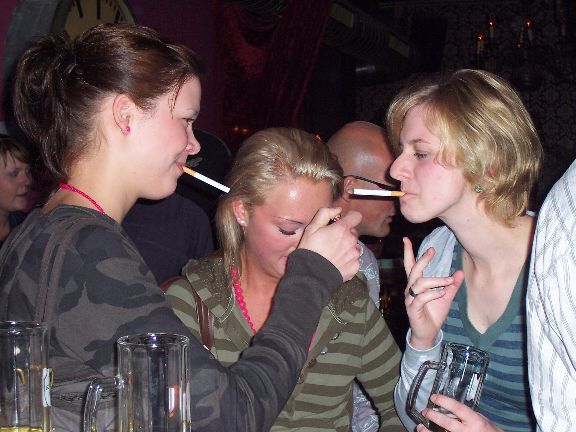
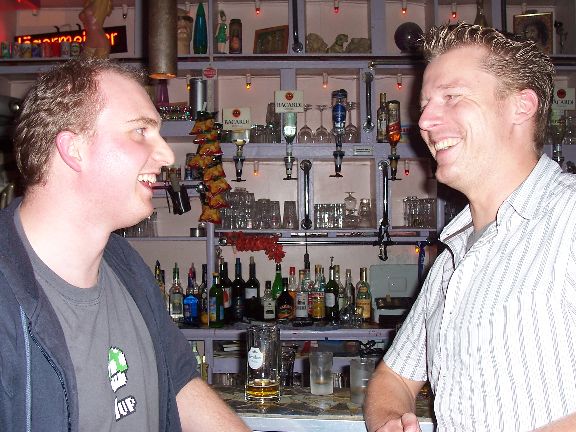
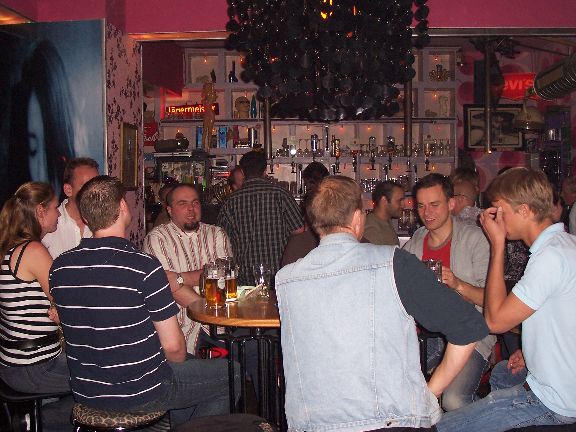
Richtig geil wurd’s aber erst einen Tag später. Habe den Schankverantwortlichen unseres Lieblings-Etablissements überreden können. Freitag abend, geschlossene Gesellschaft.
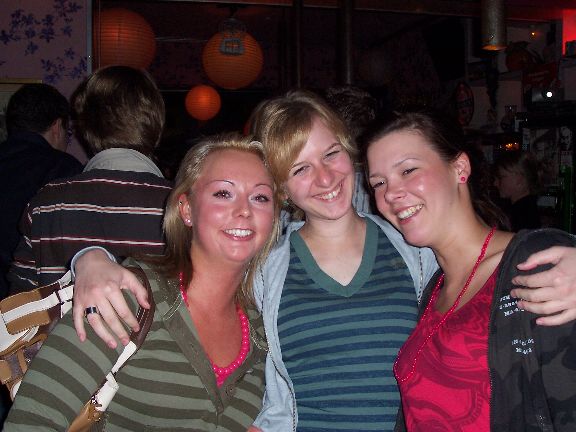
Mädels rauchen. Gut so
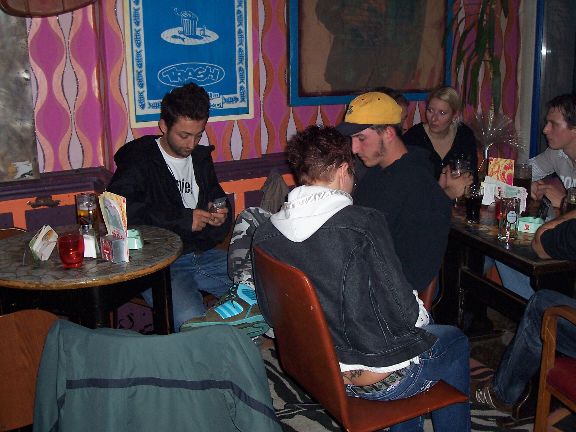
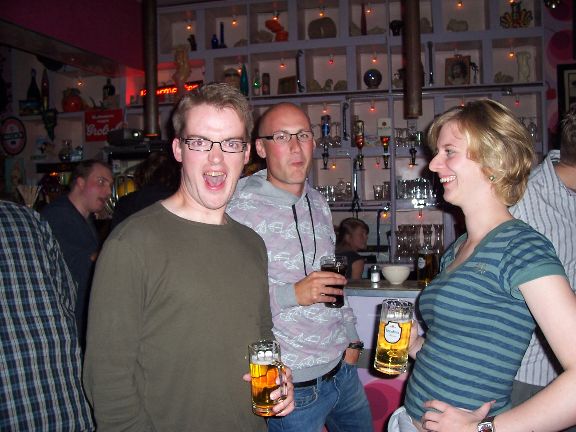
Basti (rechts im Bild) wirkt weniger skeptisch als sonst, das ist gut.
Die zwei Schankbeautragten geben alles. ![]()

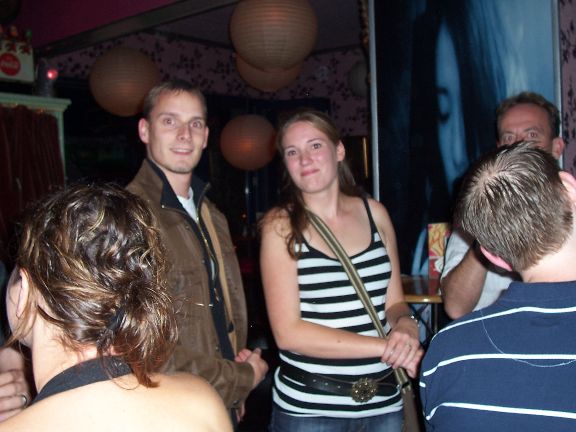
Sandra und Nilsmann, die Eltern vom kleine Ole. Nilsmann hat eigentlich auch ein Gesicht, hat sich der vielen Möglichkeiten eines Schnappschusses aber erfolgreich verweigert.
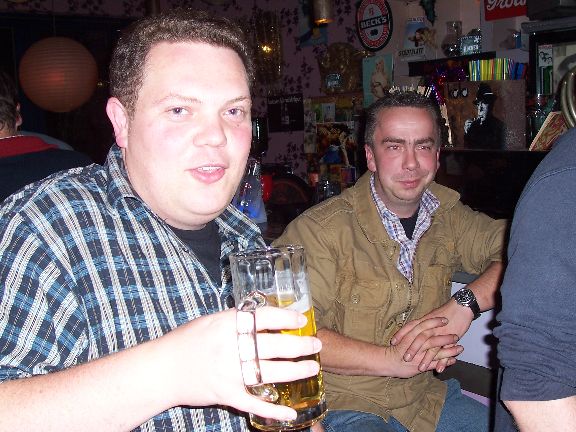
Alles roger, Sven?

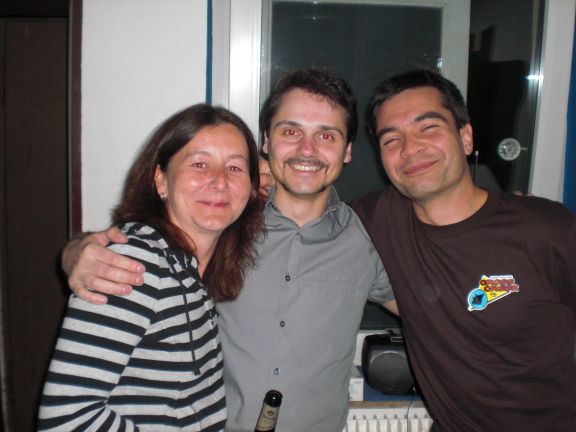
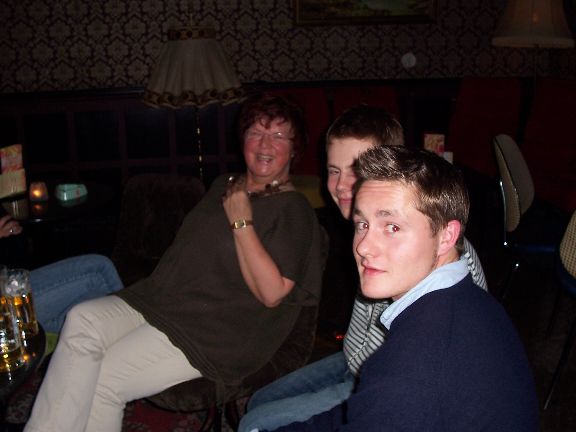
Meine Schwester hat sich mindestens genauso jung gehalten wie ich.
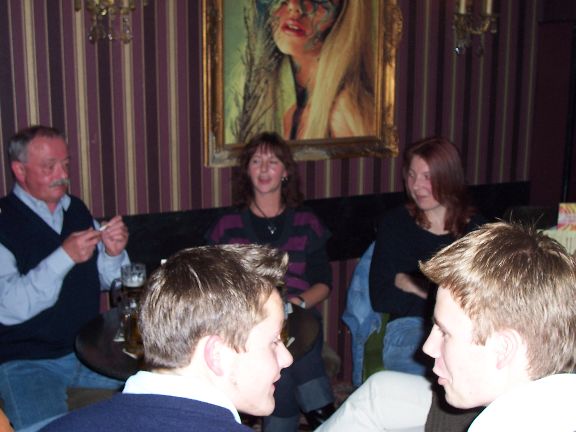
Gerüchten zur Folge hat mein Schwager in dem Augenblick etwas über Glühbirnen erzählt. Andree, Alter, was kennst Du für Glühbirnen?

Mom freut sich jedenfalls.
Thorsten auch, Simon… ist da.


Ecki und Petra waren vorher wohl schon auf einer anderen Party…

Nachbarn, soweit das Auge reicht


Vorsicht, Anja! Da hat Dir wer den Popo angemalt *hihi*
Doktor Andy, Doktor Horst. Doktor Horst hat übrigens auch am 13.9 Geburtstag, ist aber zarte 36 Jahre älter (Richtig: … Schnappszahl-Geburtstag.)


Willssu Ärga, Alta?

Jaaaaaaaa!
Im richtigen Augenblick die falsche Mimik abfeuern:*check*
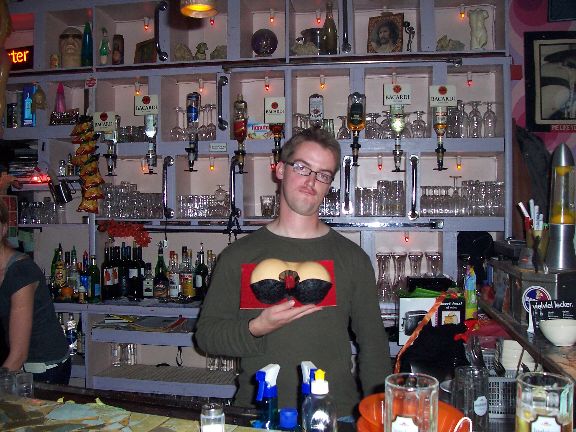
Ohne Scheiss….Ich stehe in meiner Lieblingskneipe hinterm Tresen und habe Brüste aus Marzipan in der Hand…..geht’s besser? GEHT’S BESSER?
30 Jahre Freundschaft. Grossartig

Michi ist immer da, dagegen kann man nichts tun, man muss sich einfach damit abfinden

Solarium: Zero Points
Oli ist schon lange Zeit krank, gute Besserung, Oli! ![]()

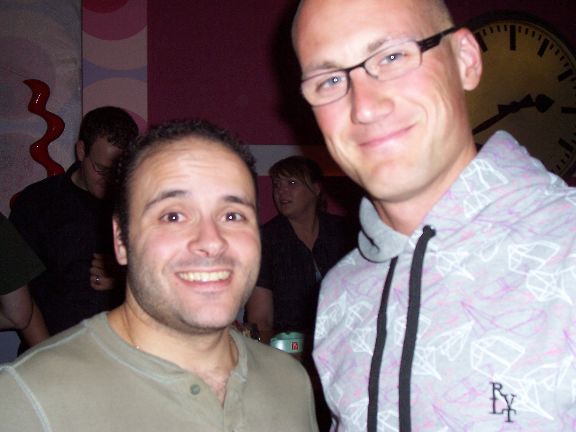
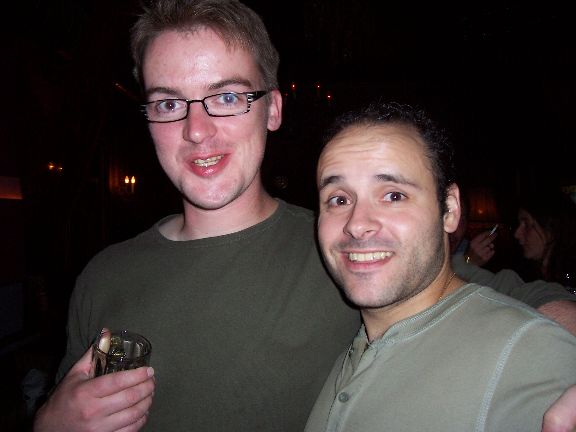
Onur is’n Spitzbube, freut sich aber offensichtlich über die Einladung.

Stargast: PJA!
Die Frau, die sie Nudel nennen.

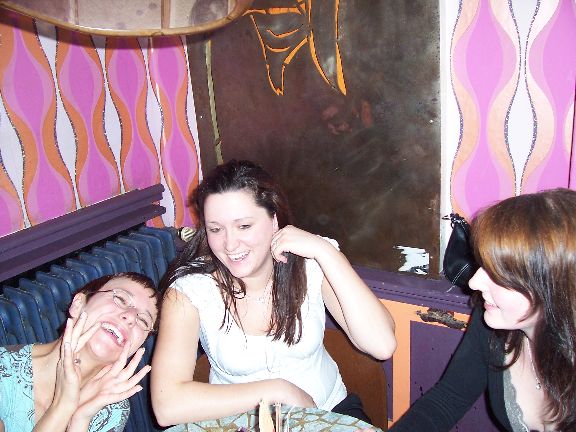
Ganzganz spät am Abend konnte ich nicht mehr so recht grinsen, man kennt das von mir. Nina is’ aber offensichtlich noch topfit. Das’ schön.
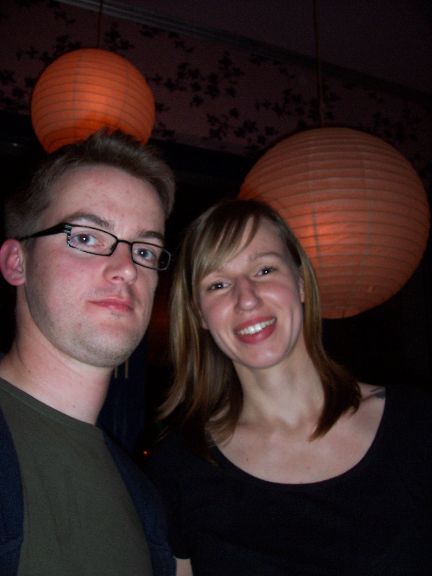
Geiler Abend, Wort!
Der vollständigkeit halber zwei videos von oli und simon, die es sich nicht haben nehmen lassen, mein eigenbau-drumkit mal auf herz und nieren zu …foltern.
[tube]ochGyS3wL5U[/tube]
[tube]Stf-NXMHomM[/tube]
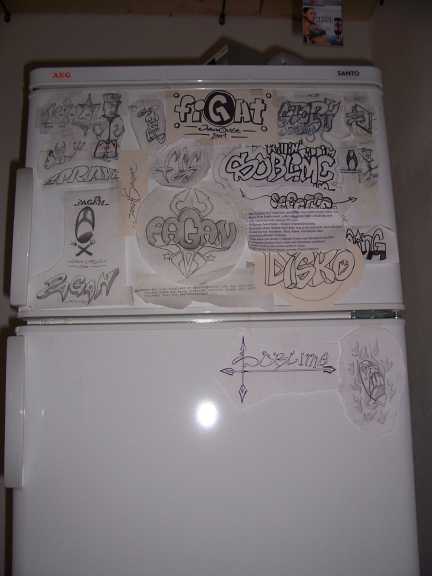
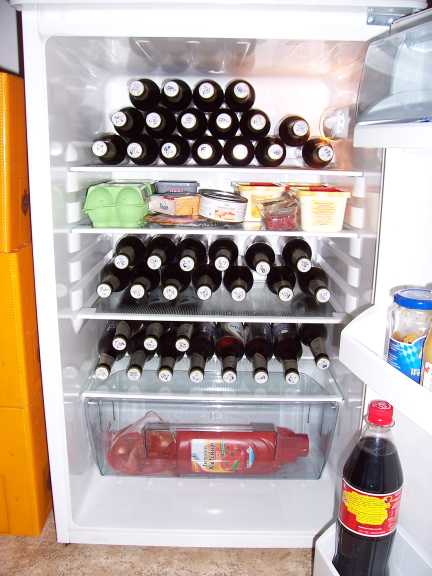
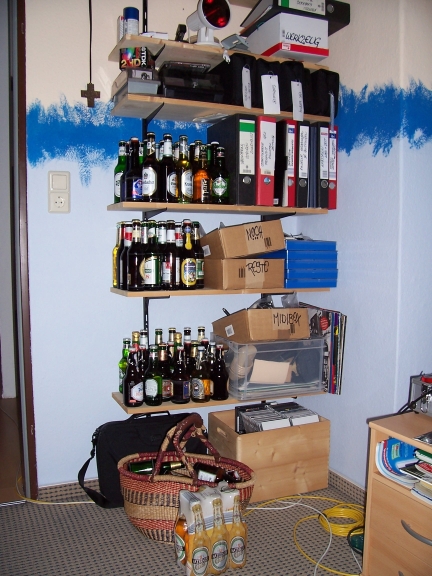
männerkühlschrank … es ist schön, sein eigenes stück heile welt zu haben :-))
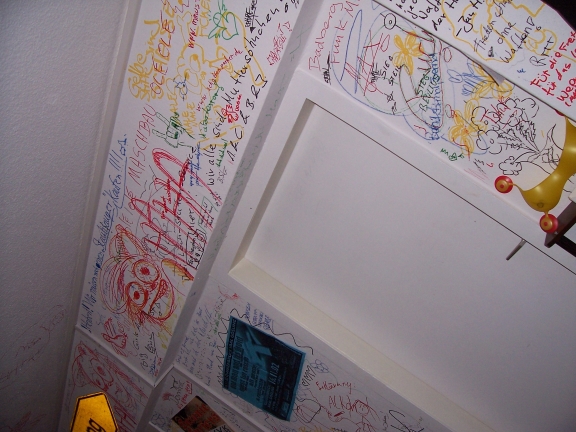
zum gepurtzaag…ein kessel buntes. wer braucht feinde, wenn…….
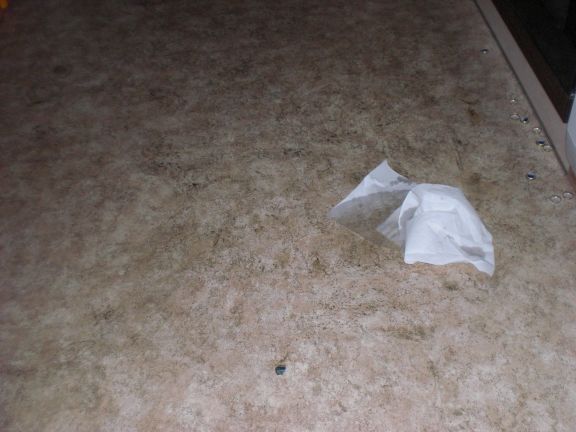
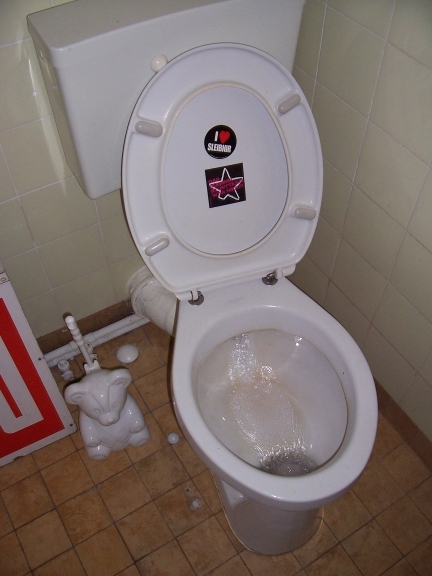
die sche**** styroporkugeln aus der ‘verpackung’ (ARRGGHHH) haben es bis auf’s klo geschafft….
mein computerraum sieht jetzt so aus. ob ich das jetzt noch steuerlich als ‘arbeitszimmer’ absetzen kann, bleibt offen…
war trotzdem geil :-)))
bernd verlaesst uns, aber wir haben vergessen nie sein….
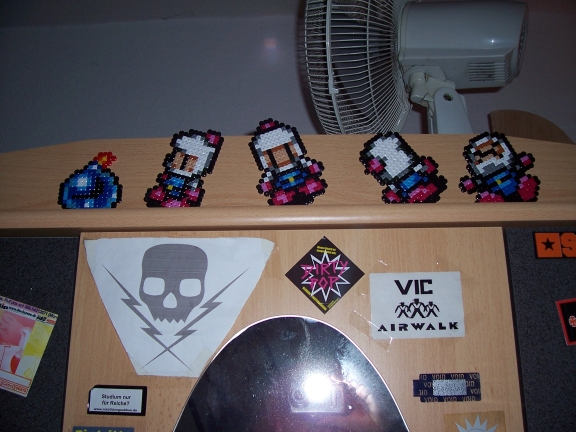
SHINING!!!
oder seinen beängstigenden spleen für bomberman
wer ist sleibnir?
nur mac gyver kann dieses rätsel loesen
tschuuuuuuuussss :-))
[27.7.2006]