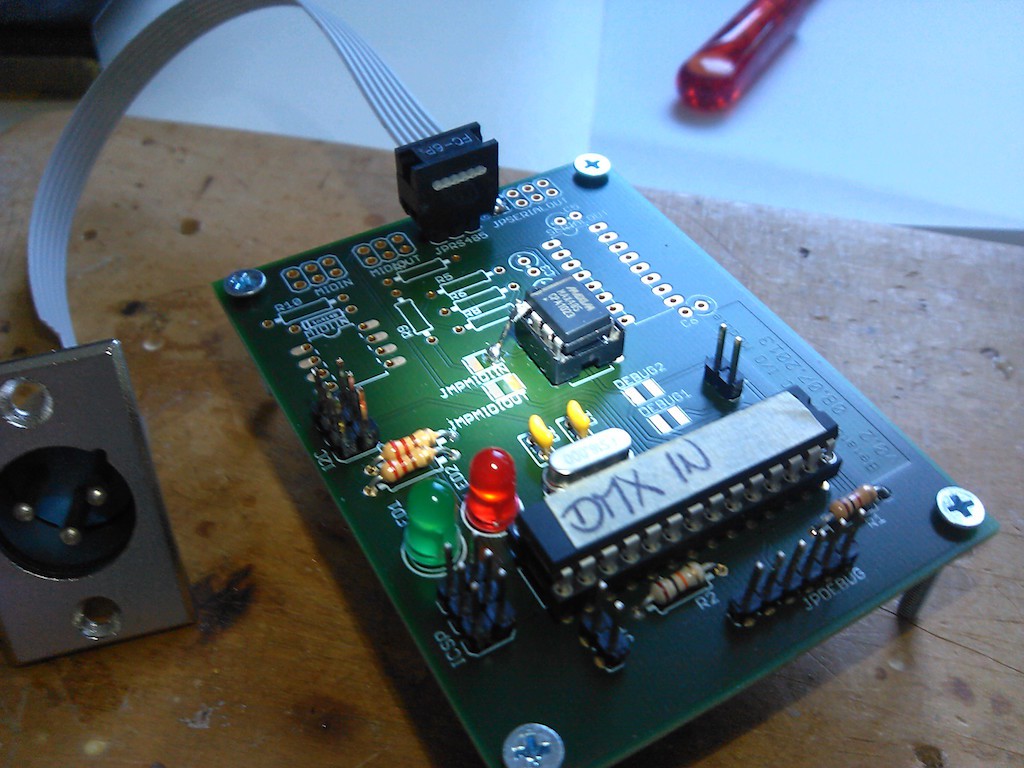
Dieses Teil empfängt SMS und schickt sie als OSC-Daten weiter, damit sie von einer VJ-Software verarbeitet werden können.
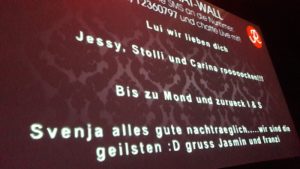
Grobe Idee war es, bei öffentlichen Veranstaltungen mehr Interaktion mit den Besuchern zu ermöglichen. Der ein oder andere kennt vielleicht die Twitter-Wall. Bei der Letzten Cool-Savas-Tour wurde das glaube ich eingesetzt. Vor dem Gig war die Bühne mit Stoff verhangen und ein Beamer hat Tweets, die unter einem bestimmten #Hashtag liefen, aus dem Internet gezogen und auf den Vorhang projiziert. Die Konzertbesucher konnten also irgendwas unter einem bestimmten Hashtag twittern und es wurde dann quasi-live angezeigt. Ansonsten findet man soetwas typischerweise auch bei irgendwelchen Web2.0-Konferenzen, etc. Schätze überall da, wo man Sascha Lobo antrifft, steht auch eine Twitterwall.