DJ’ing without external Soundcard


Every now and then i use M-Audio’s Torq DVS to make music. I have been dj’ing in a bar for a few years and most times I was annoyed by the necessity for an external soundcard.

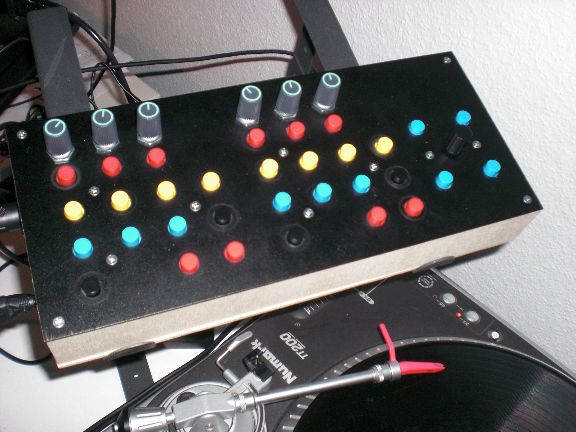
i really like mixing with an external Mixer so controlling my dvs via Midi and using the internal mixing engine is not an option. I just like having physical access to the channel faders, the crossfader and the equalizers.

Using a Macbook and a selfbuilt cable I found a way to use a dvs with an external mixer but without the need for an external soundcard.

Starting with the cable. I cut a cinch-cable i had lying around. For every half the wires for left and right channel are soldered together to form a ‘cinch-bundle’.


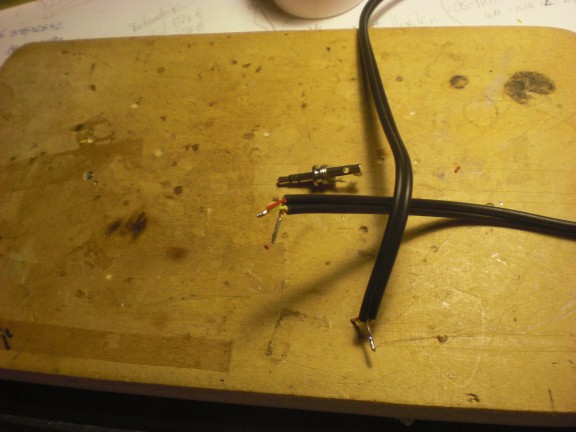
Things are then soldered to a stereo headphone jack which fits into the Macbook. Ground to ground, of course.  One ‘cinch-bundle’ is soldered to the left , one is soldered to the right pad of the headphone jack.


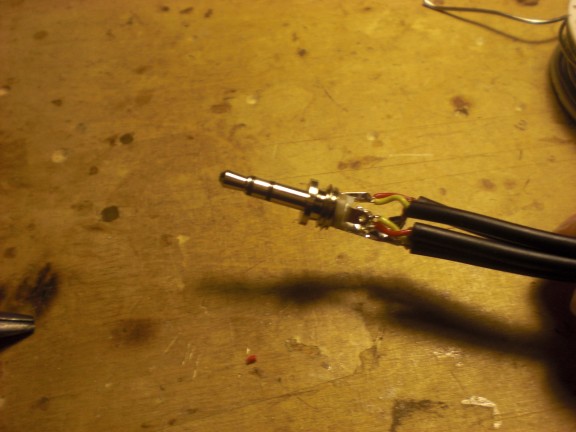
The whole construction is then drunk with hot glue to make it insensitive to mechanic stress.

This way you have 2 pairs of cinch-cables coming out of your Macbook’s headphone jack (both mono, of course) which can be connected to a mixer.


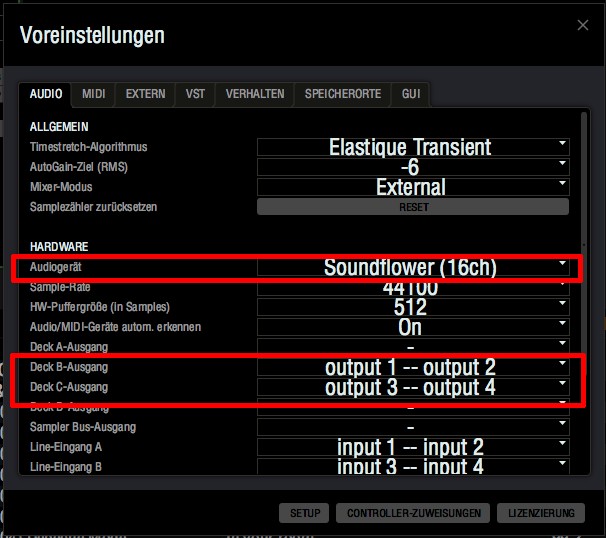
In order to devide the Macbook’s audio output into two independent interfaces I use soundflower the following way: The 16ch-interface is connected to the built-in output of the Macbook. Channel 1 and 2 are routed to built-in output #1 (I guess it’s the left channel).


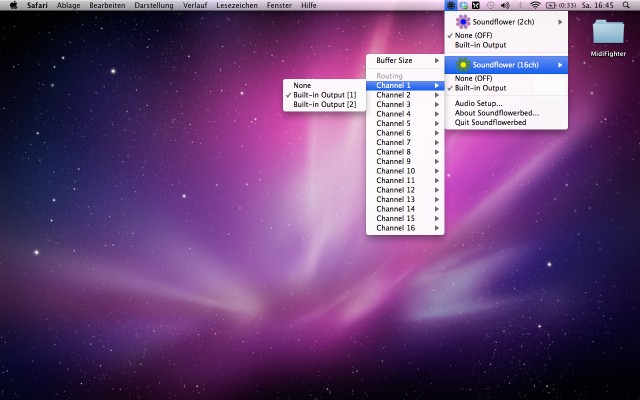
Channel 3 and 4 are routed to built-in output #2 (if #1 is the left side then maybe this is the right audio channel..).


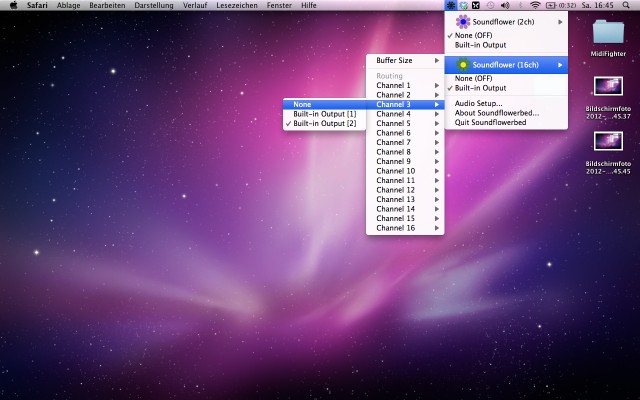
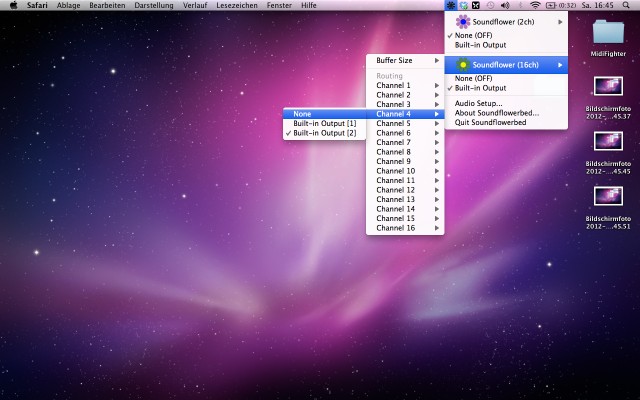
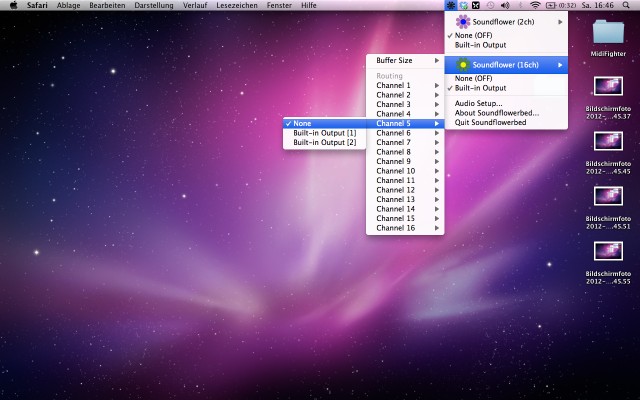
All other channels’ outputs are set to ‘none’.


When I want to use a dvs with this solution I start soundflower and configure my dvs’s outputs as shown (channel 2 and 3 are my left and right deck’s output since I’m using Torq in 2-deck mode):


As mentioned earlier, you only have 2 mono outputs with this solution. This is not a solution for playing a big gig or club or any place where sound quality is a criterium at all. This is just a quick-and-dirty hack for playing in those places where sound quality just doesn’t matter that much (most of the bars I came across…). anyways…it works.

Torq Midi Controller

Quite some time ago I got myself the Torq System from M-Audio. Due to the fact that I don’t like the thought of controlling a musicsoftware via my computer’s mouse (just because it looks plain stupid in front of an audience) I used the BCR2000 from Behringer in conjuntion with Bome’s Midi-Translator for scrolling through the playlist, triggering fx, loading tracks, etc…


Good thing about it: it worked. Bad thing: Every now and then I am making music in a little bar and the dj ‘booth’ is quite packed. using the BCR2000 always meant using an extra laptop stand on top of the mixer so noone couls really see me.


That’s why I built my own Torq-dedicated MIDI-Controller.

Ladies and Gentlemen: I’m proudly presenting the Andy1000 Midi Controller Smile


This project is based on the Arduino platform with a “Duemilanove”-Board and an ‘168’ controller (pretty basic stuff).

Starting with a frontplate from a Server Rack. It was 19 inches wide but I cutted it down to 30cm (11.8 inches) to make it fit in front of my laptop. The marks for the holes have to be set rather precise since the buttons will later be fixed on a vectorboard.


After drilling. The housing is made of  plywood. This version is 6 cm high. I later built a new one which is only 4 cm.


That’s basically about what it will look like


The Buttons are attached to a DIN-module (Digital In)-board from uCapps.de that I had lying arround. Basically it’s just 4 shift registers. No real magic here.

Buttons mounted to a vectorboard


Interconnections. I didn’t really care about the pins I attached the buttons to since this will later be handled within the microcontroller’s code.


One extra rotary encoder (ALPS, 24 steps) for scrolling through the playlist. The vectorboards with the buttons will be fixed to the frontplate via screws. The Arduino and the DIN-Module will later be hot-glued to the bottom of the case.


This extra circuit was attached -after- all the basic soldering was done. It turned out that it was necessary to do some debouncing of the rotary encoder’s output. It is based on this scheme and helps a little bit.


Nearly finished, Knobs for the poties are still missing. I still (have to) use Bome’s Midi-Translator, especially for the ‘navigation’-controls (scroll up, down, etc) but who cares…


There we go!


And that’s another brilliant shot of how it looks like in real life…erm…well….the bar was already packed and I didn’t want to flashlight the crowd…

The code for the Arduino will be put up soon. It is still a bit crappy and needs some finetuning. Just contact me via the web form if you want to get it sooner.