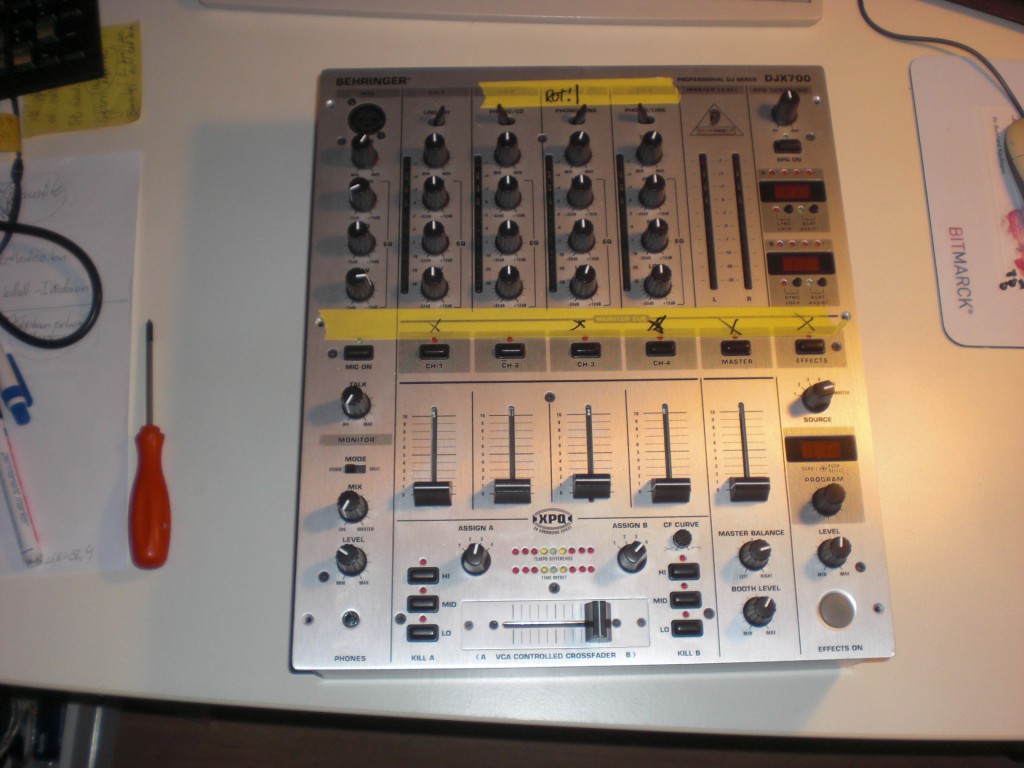
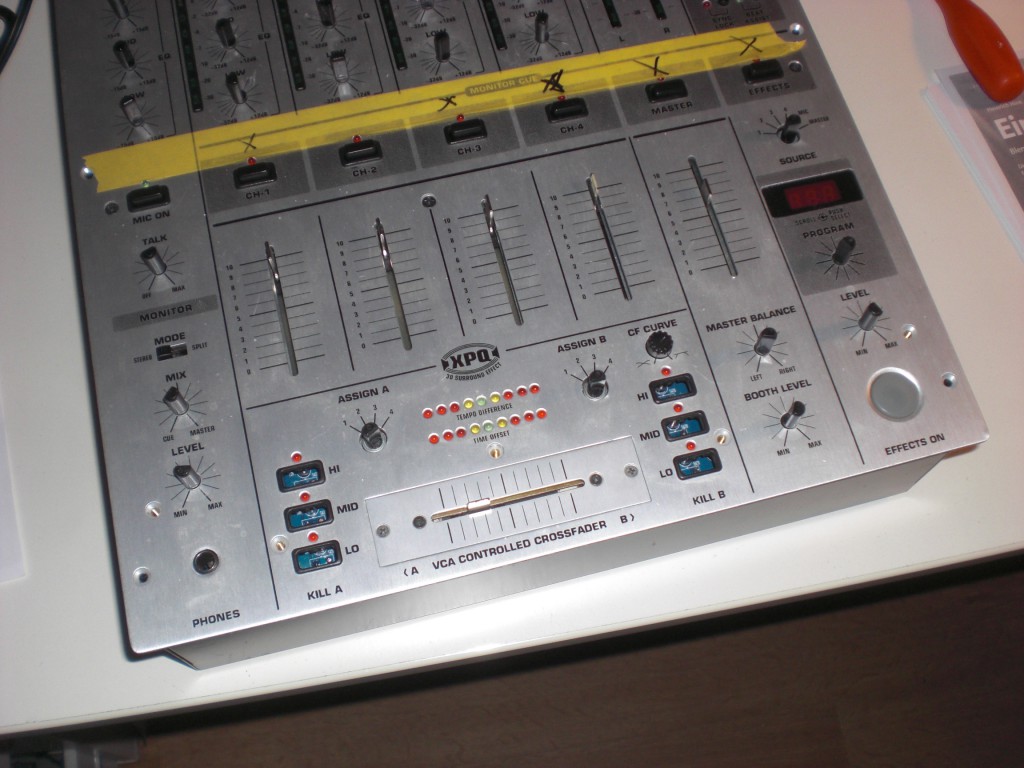
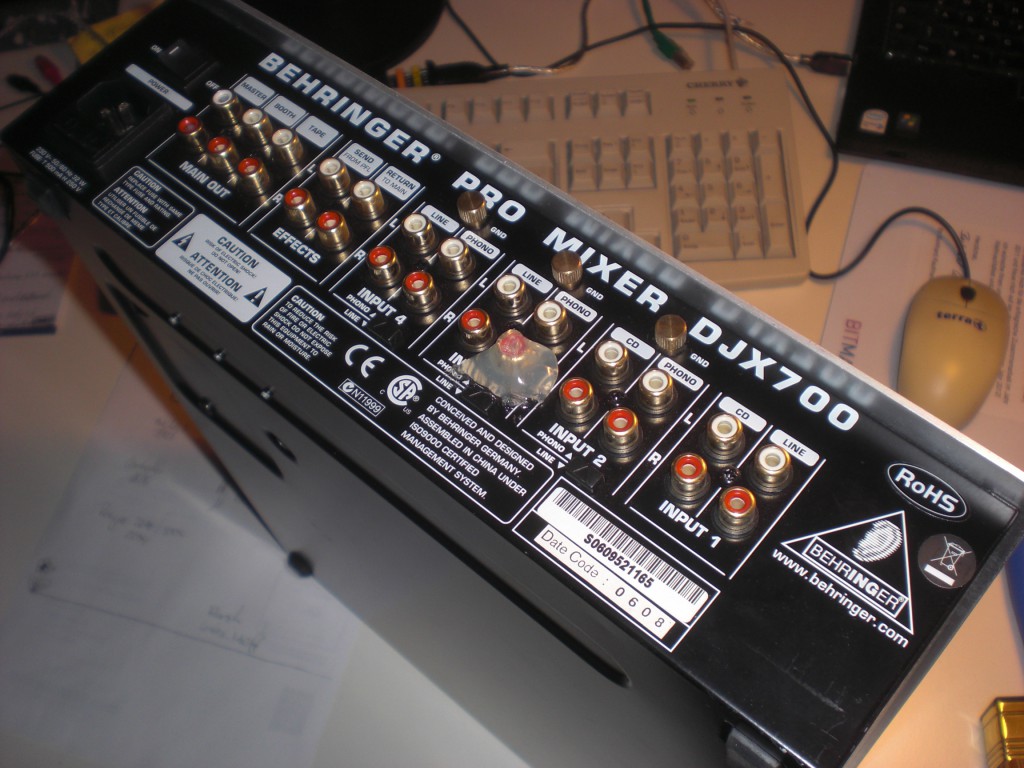
My trusty ol’ Behringer DJX700 has seen better days. It was still working but some things just didn’t do anymore: Channel 3’s phono input had a dead right channel, the pre-listen-selector buttons of channel 1, 3,4, main out and the fx-section had some faulty contacts. The crossfader was exchanged ~1 year back so that was working still fine. the line faders were also running smooth and without any problems.
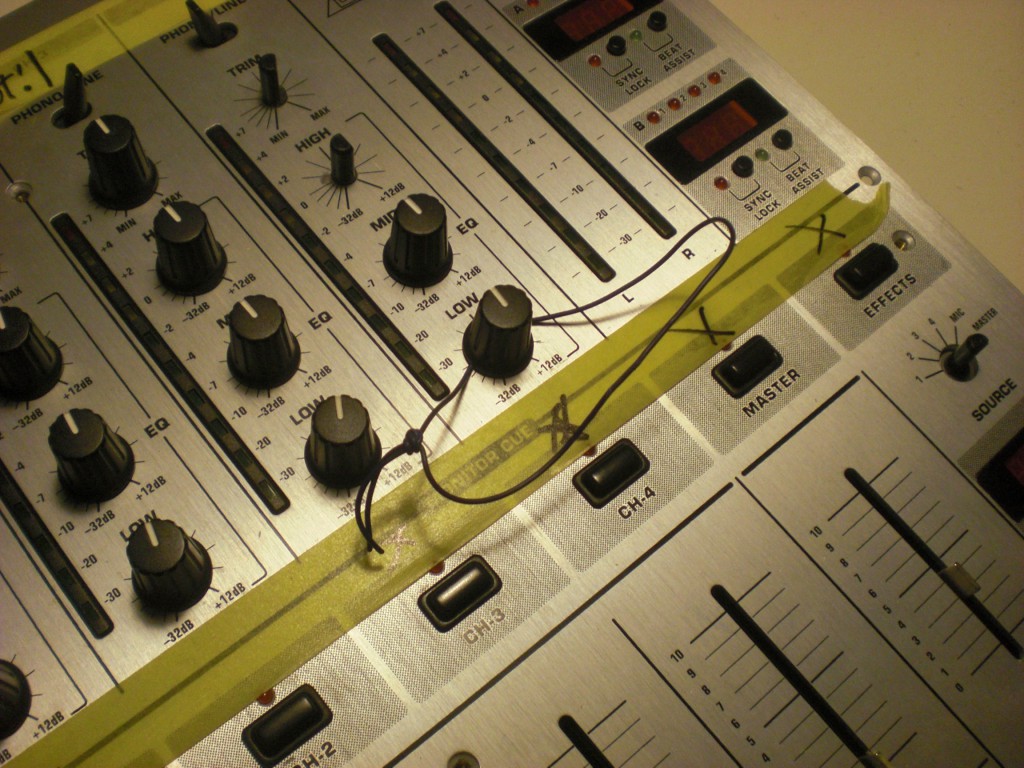
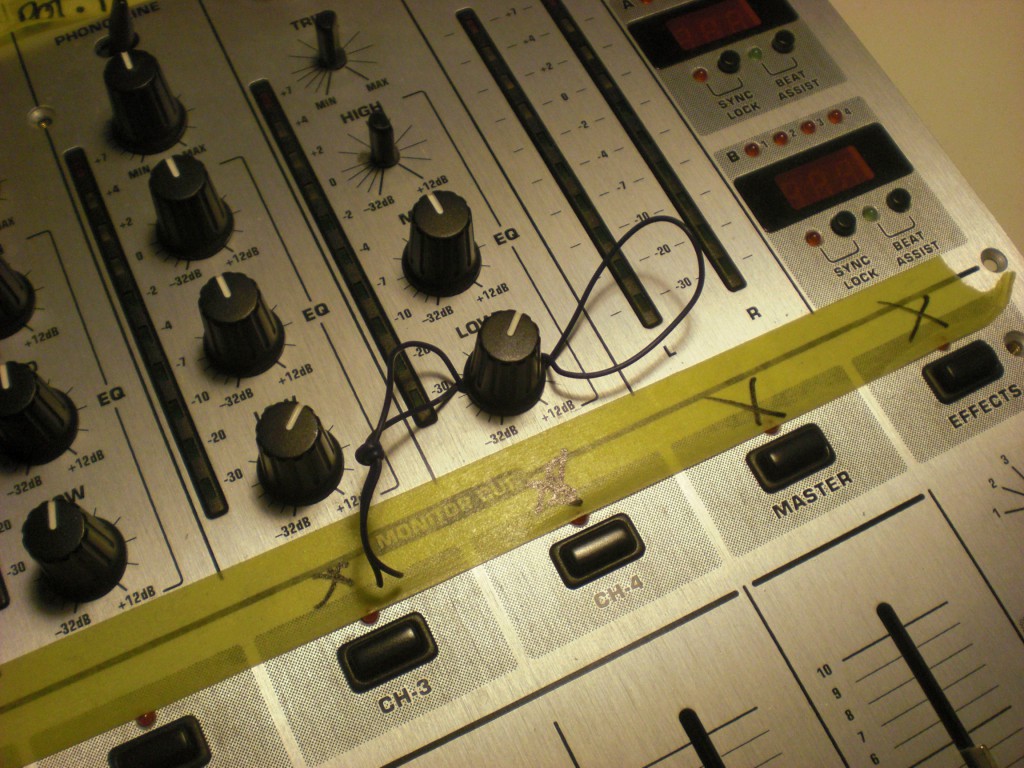
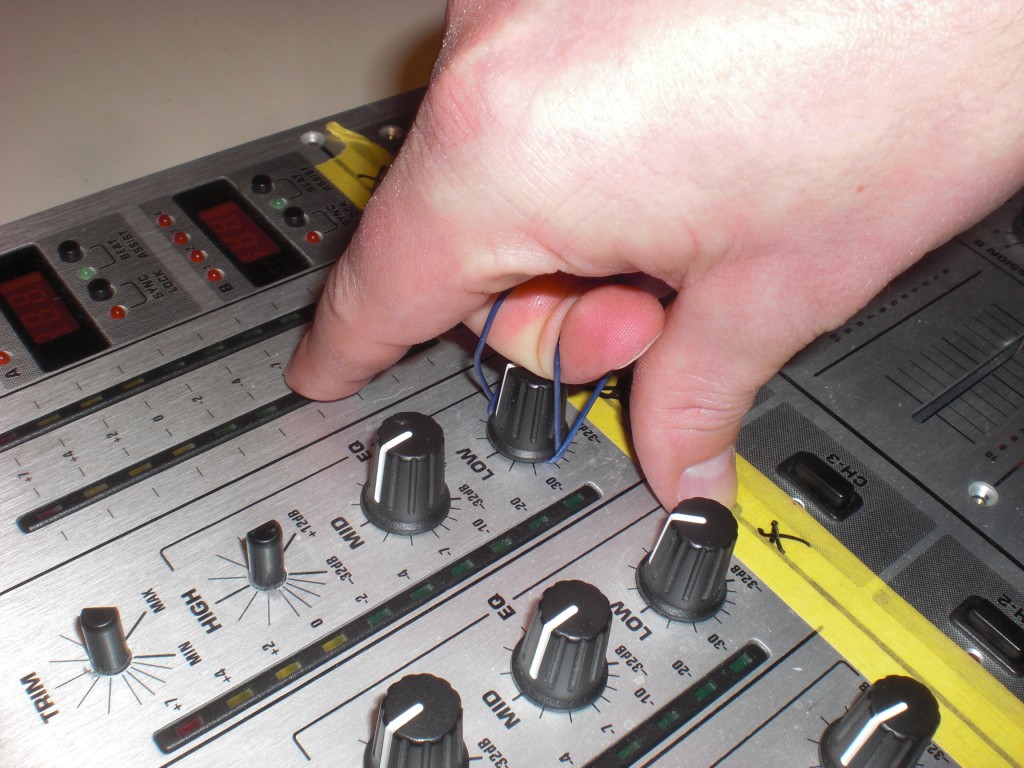
In order to get an idea about what’s going on inside the mixer I had to remove the front panel. Using some leftovers of thin cable to remove the caps was one of the better ideas I had that day.
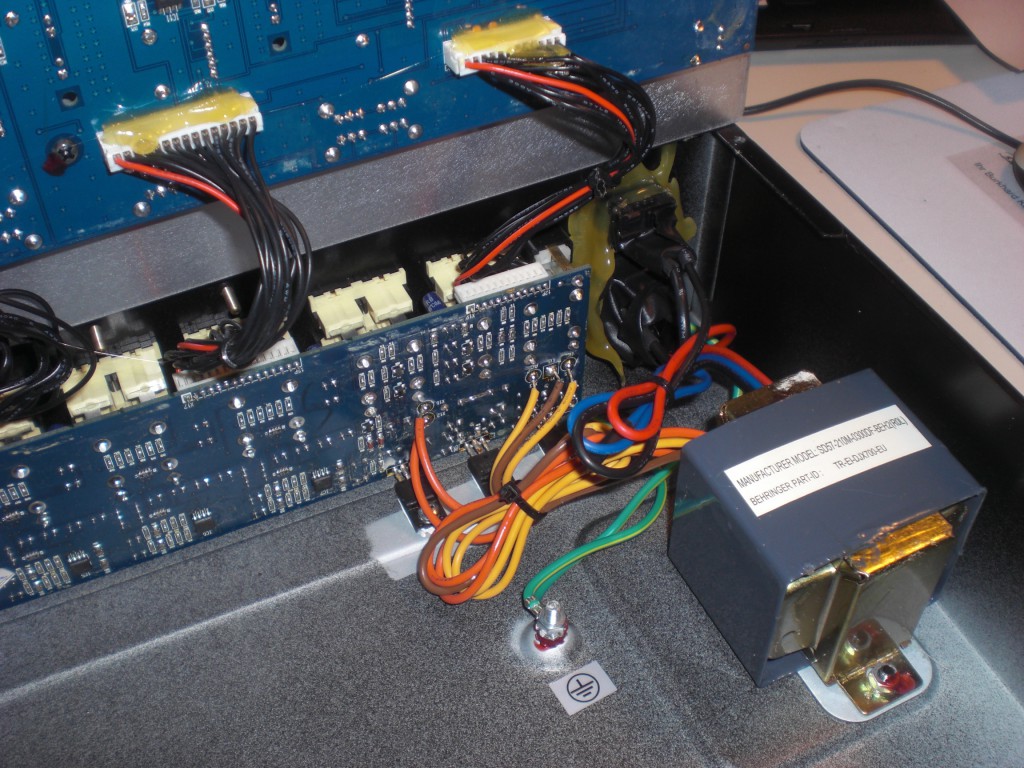
The inside view didn’t surprise me too much. It’s Behringer so you know there will be hot glue inside. Lots of hot glue.
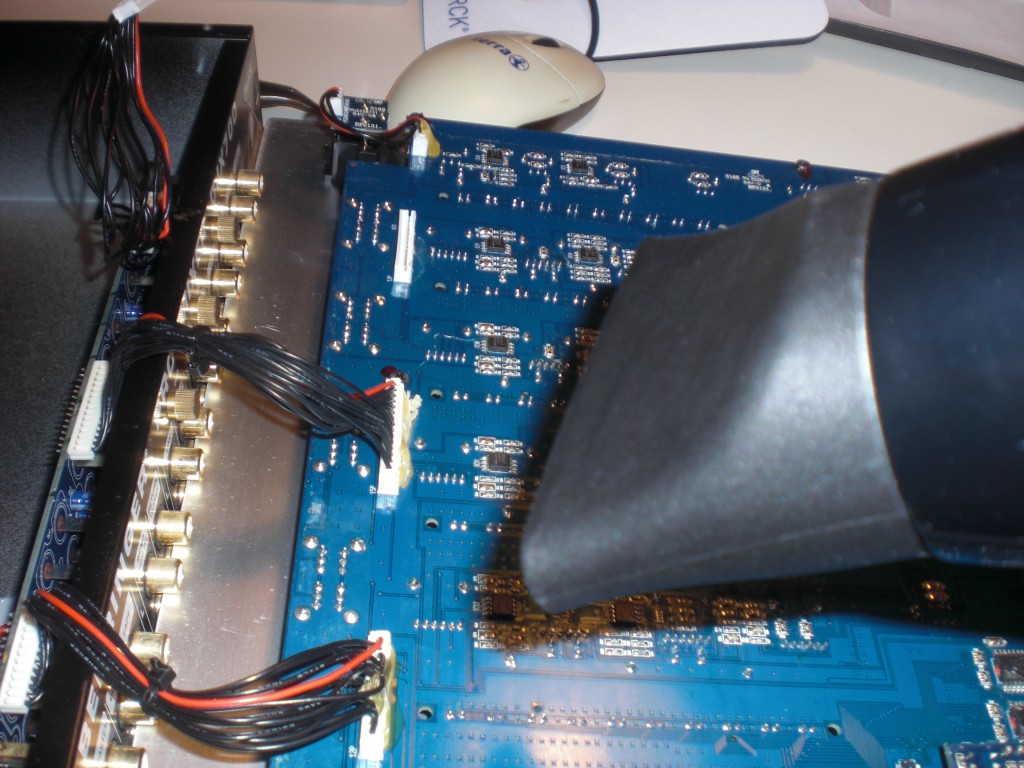
Fortunately, Santa Claus brought us a new hairdryer which I could use to soften and remove the glue between the connectors (don’t let my SO know about this).
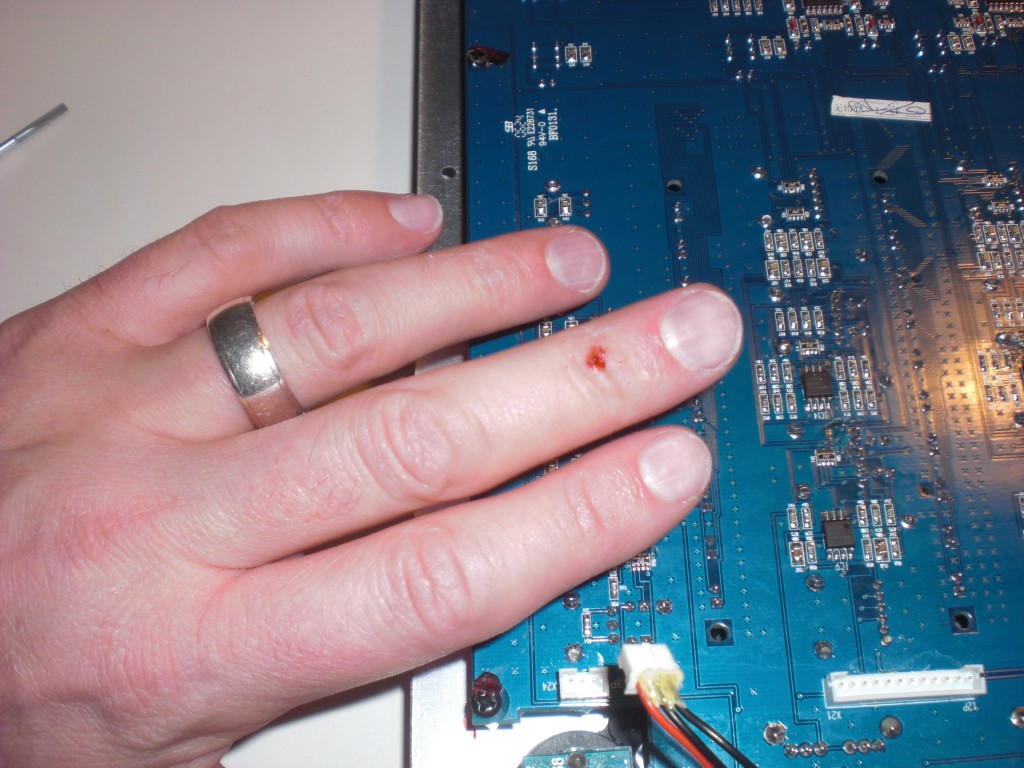
Of course: I am the one to get scratches from using hot glue and a hairdryer
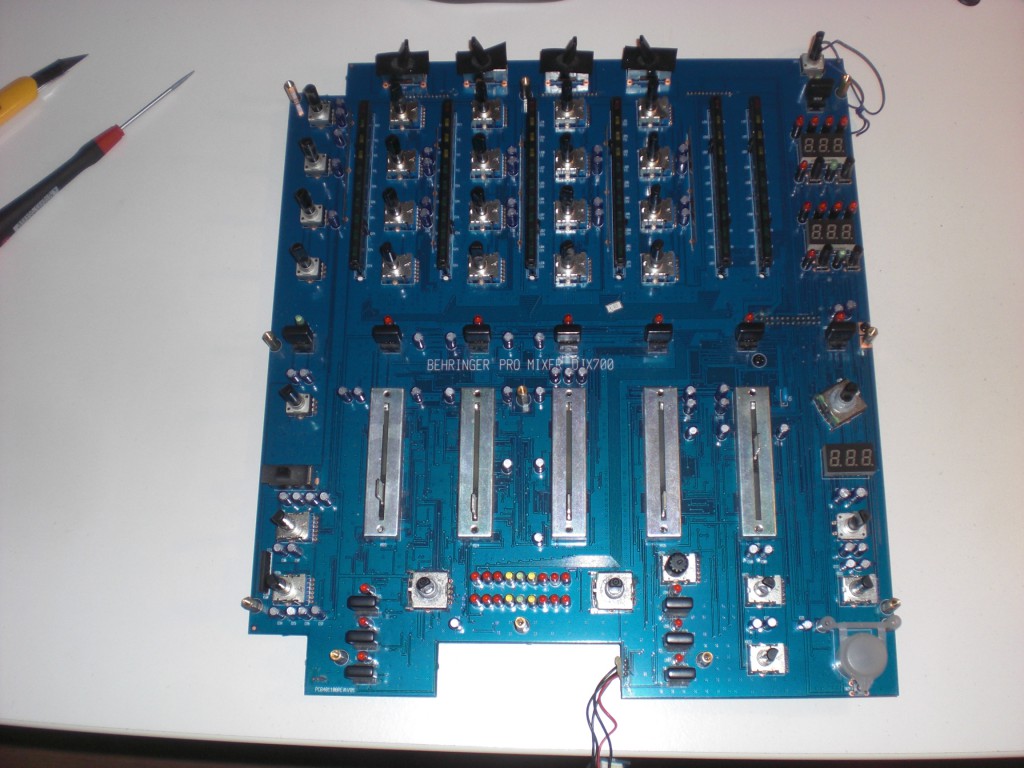
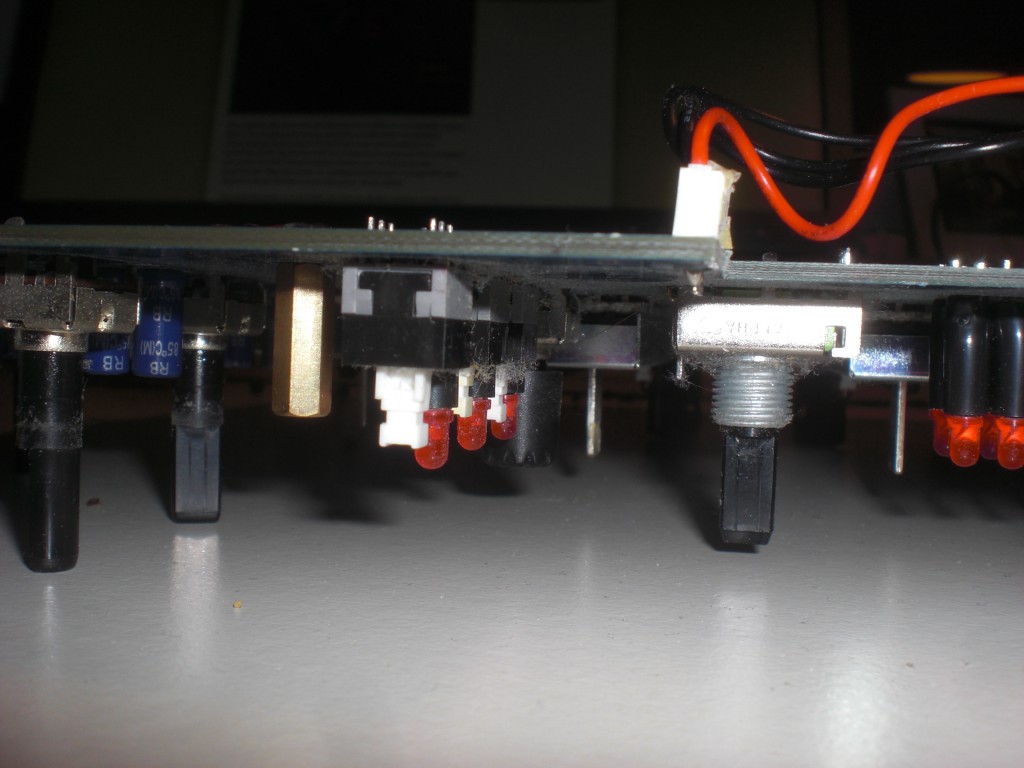
That’s the naked board. Not too much to see here.
At first I thought about replacing the faulty buttons with new ones but I really didn’t have enough energy to look out for (and order) the correct buttons…..
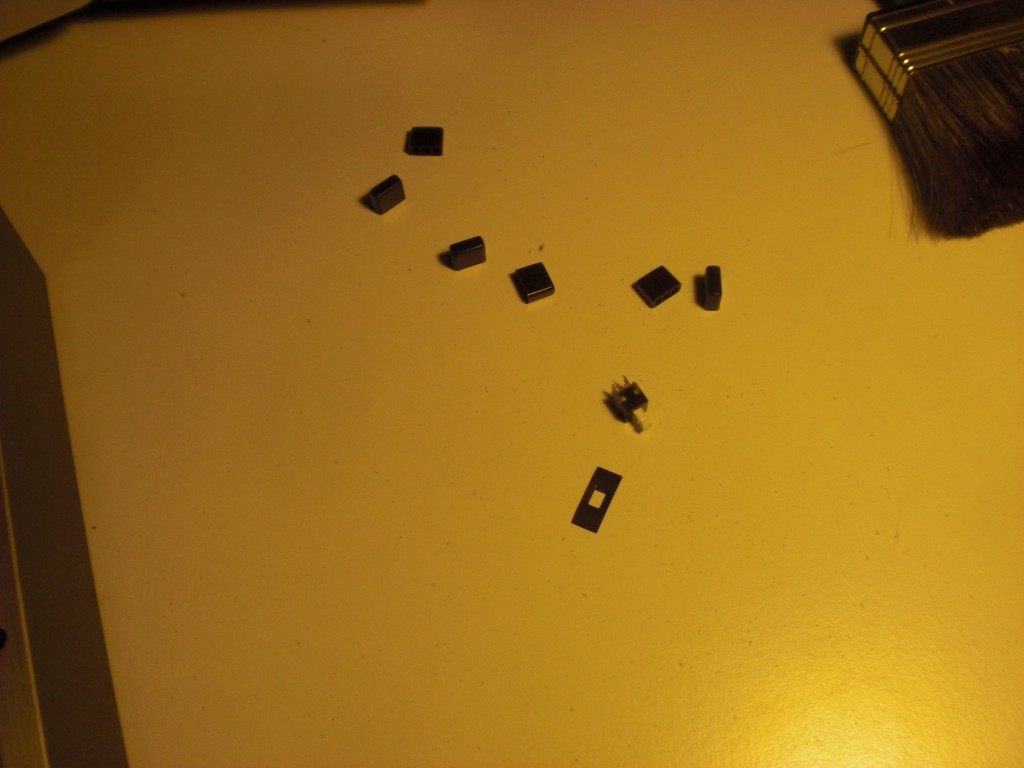
…that’s why I slaughtered the frequency-kill-buttons left and right of the crossfader. I really don’t think anybody besides EDM DJs uses these to a noticeable amount. If you want to cut frequencies there is still the ordinary eq-section left, after all.
Neither did I repair the broken phono input. I just made sure it’s obvious to not use it anymore withe Behringer’s best: hot glue.
Only a few leftovers. Everything’s cool.
Recapturing this post I have to admit that ‘refurbishing’ might be the incorrect term for what happened here =).
