I needed a simple audio-mixer. Nothing fancy just something that allows me to combine/ mix up to 4 stereo inputs and feed them into a home-stereo system. I found a promising circuit over at TheRandomLabs and just went for it.

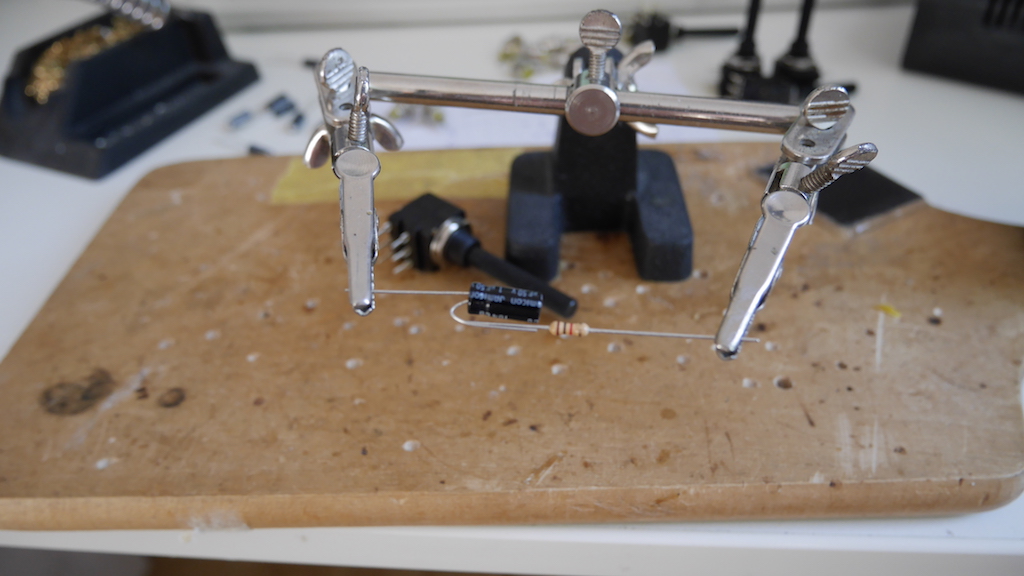
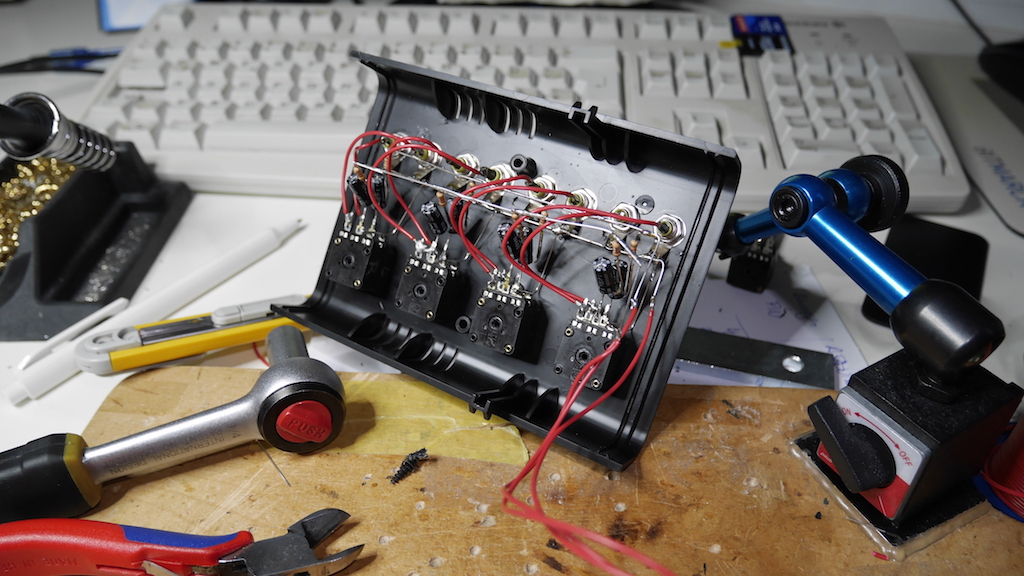
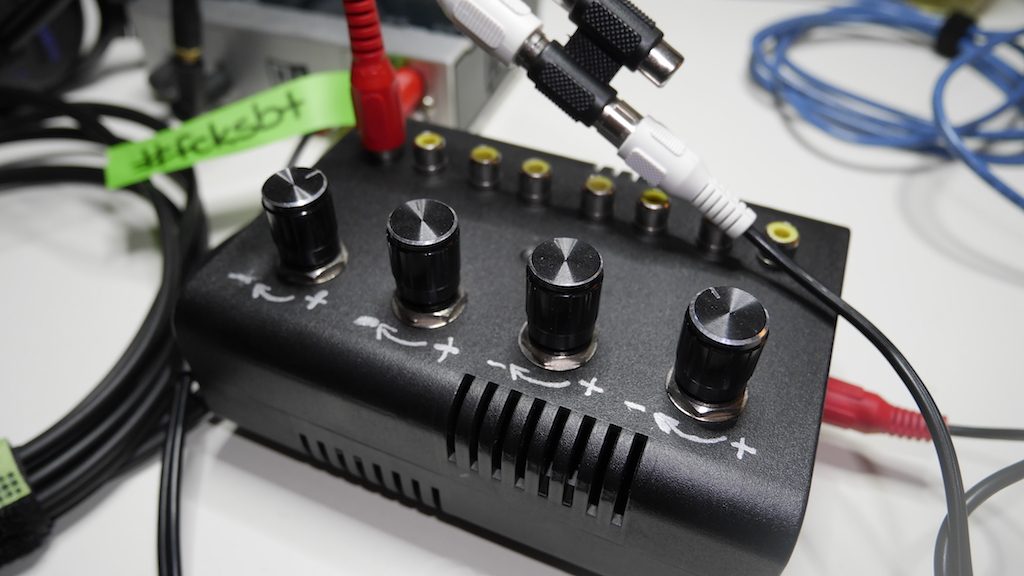
There is basically nothing too special about this built. Just some semi-fancy soldering. Sometimes I like to go creative stupid on these kind of things without too much planning and such. Take these pictures as an evidence for my superhuman soldering skills.

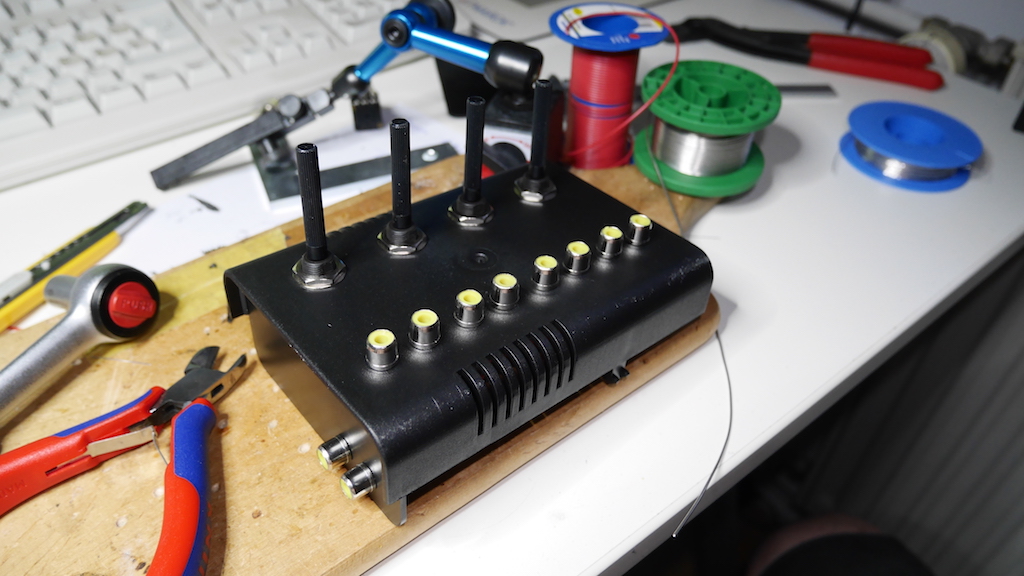
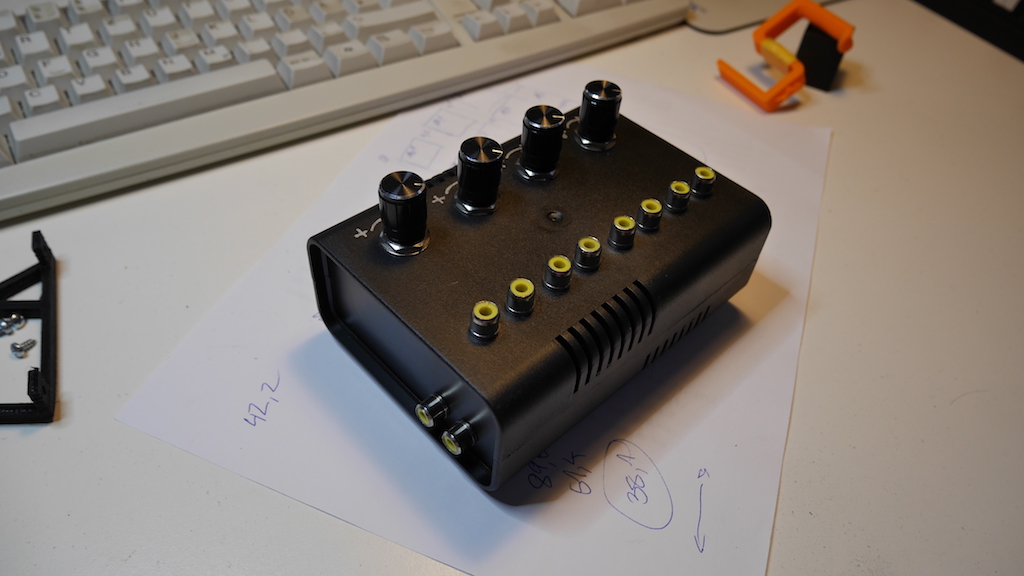
Yeah, well the potis are kind of wired the wrong way – you’ve got to turn it LEFT to crank it all up. I decided to leave it like this. Just for the lulz . But here it is in all its glory: the finished box with shiny poti caps directly from the land of the rising sun – and rubber feet. That’s the true indicator for something being ‘complete’.
And now it becomes interesting.
What was originally planned as “just some one or two more photos” turned out to become a little journey of its own. Took me long enough to get the next part done. After all, this post was re-scheduled more than once.
I wanted to find out about the quality of the processed signal. An ideal mixer would probably increase/ decrease all frequencies to the same amount. A processed signal would sound exactly the same like the original – just a little more quiet. “The same” means: all the different frequencies of a processed signal will be in the same relation to each other – amplitude-wise. I think you got the point.
Being the proud owner of a DSO I thought about ways to compare the quality of two audio signals but quickly came to the conclusion that it’s quite easy to evaluate the quality of a processed signal when putting it in relation to the original one.
That’s why I set up a quick test rig. My laptop has an external sound card connected via USB. The soundcard’s right output (stereo-) signal is directly connected to its right input. The left output channel is fed into the passive mixer and then sent to the left input of the soundcard.
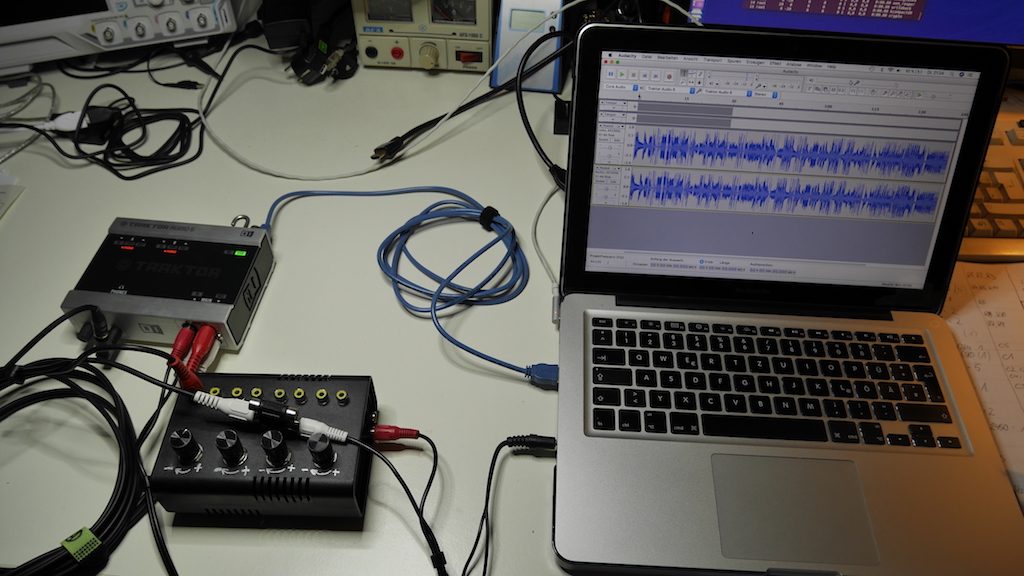
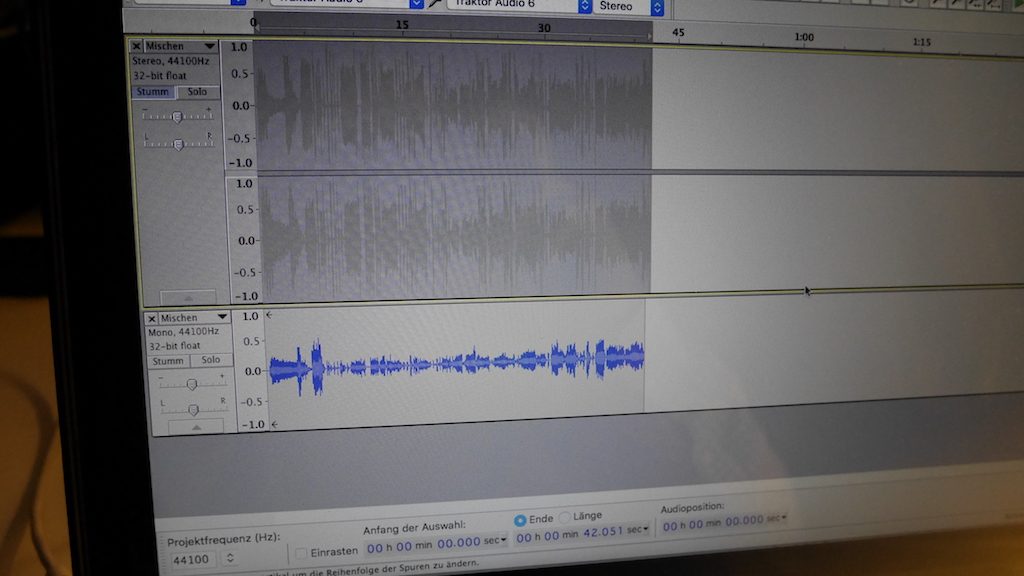
The laptop runs Audacity and sends out to two different tracks with the same song which I found on my hard drive. One track is sent to the left output, the other track is inverted and sent to the right output.
The sound card’s output is directly recorded into a stereo track again. See the lower part of the screen. The track that’s routed through the mixer has a lower overall amplitude (remember: it’s a passive mixer so it’s only capable of reducing the signal’s amplitude). I later realized that the huge difference between the amplitudes was caused by the settings of the other three (unused) channels. If all channels are cranked up to full blast the effect is not that huge. (The result is basically the same – I didn’t want to re-schedule the post again.)
Enjoy the beauty of this scribble. Even though it’s a little misleading, especially taking into consideration the image above. To hopefully make things a little easier to understand: The upper half of the “diagram” should be downsides.
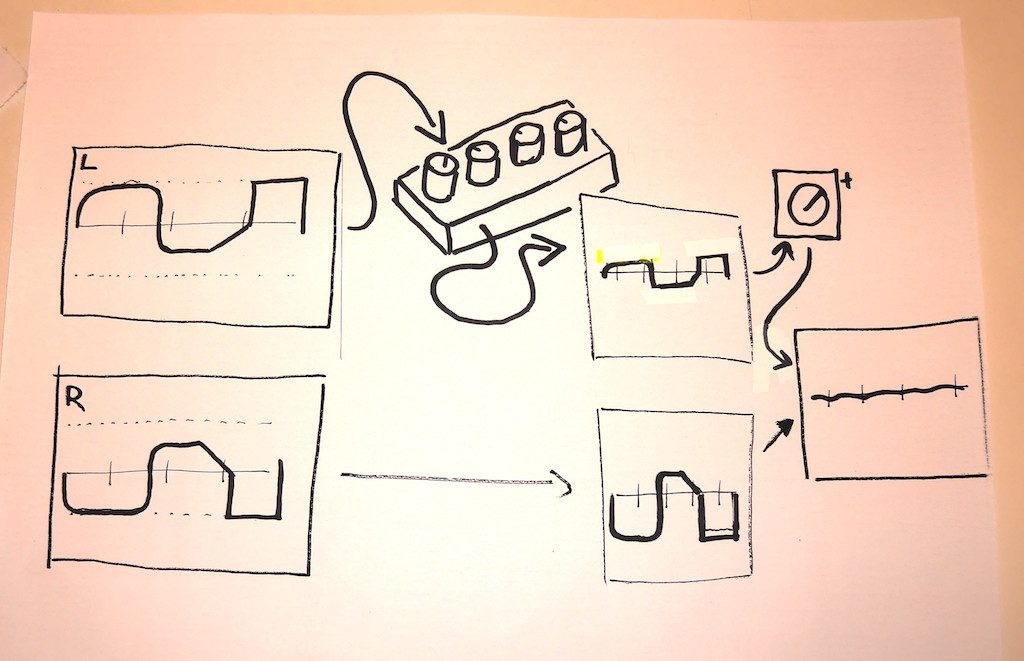
The idea is to combine the recorded stereo signals back into one mono signal again. If everything goes well the two signals (remember: one was inverted) will neutralise each other and the result will be awkward silence.
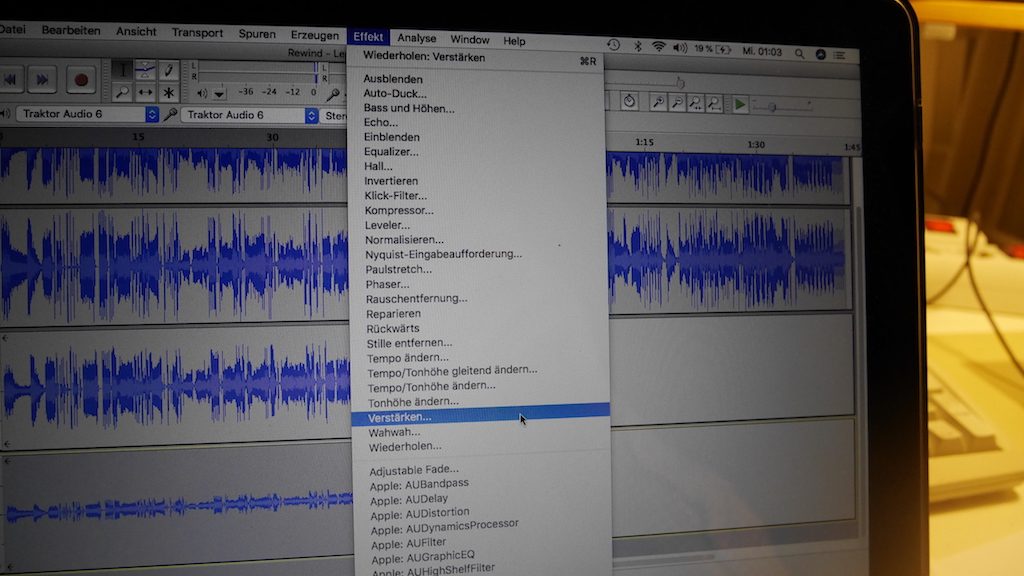
In order to achieve the best possible result the signals need to have the same amplitude. The effect that has to be applied in this scenario is “amplify” (verstärken). Instinctively, some (like me) would stick to “normalize” but you have to keep in mind that normalization will apply a non-linear amplification to a signal (“everything will have the same loudness… kind of”). Good old amplification works linearly.
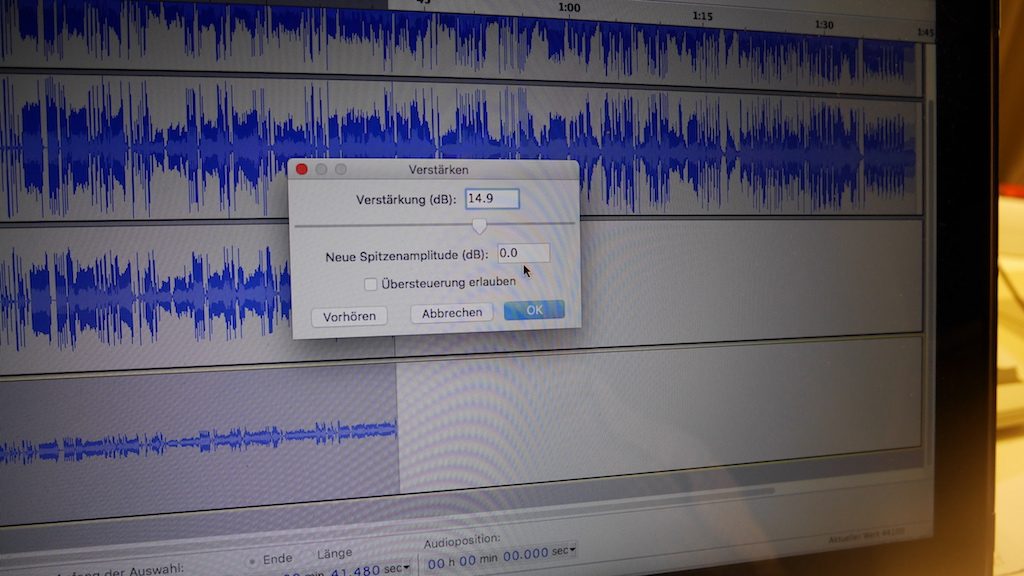
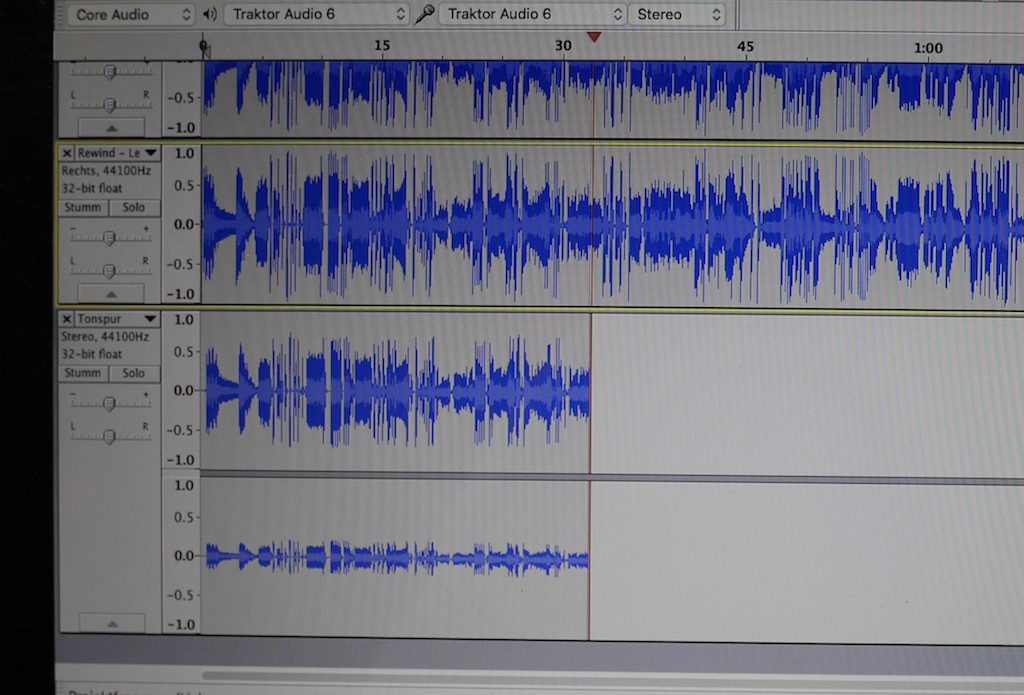
Things definitely do look promising after applying the effect to both recorded signals:

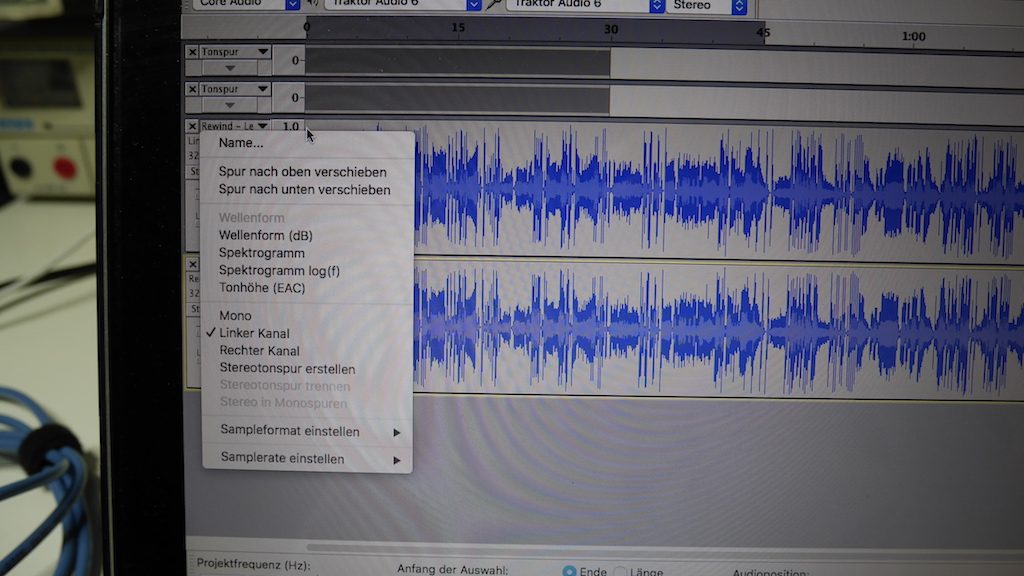
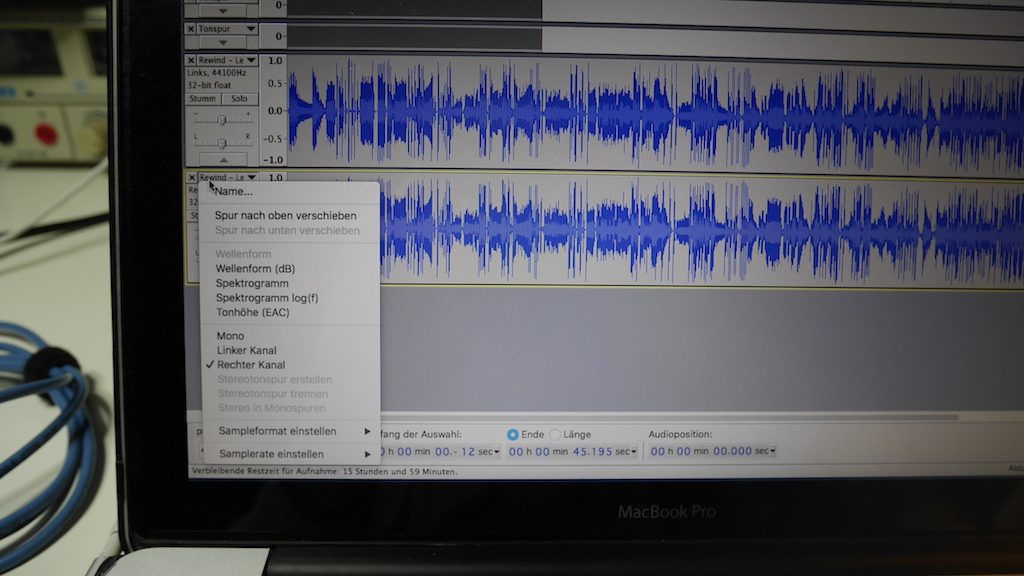
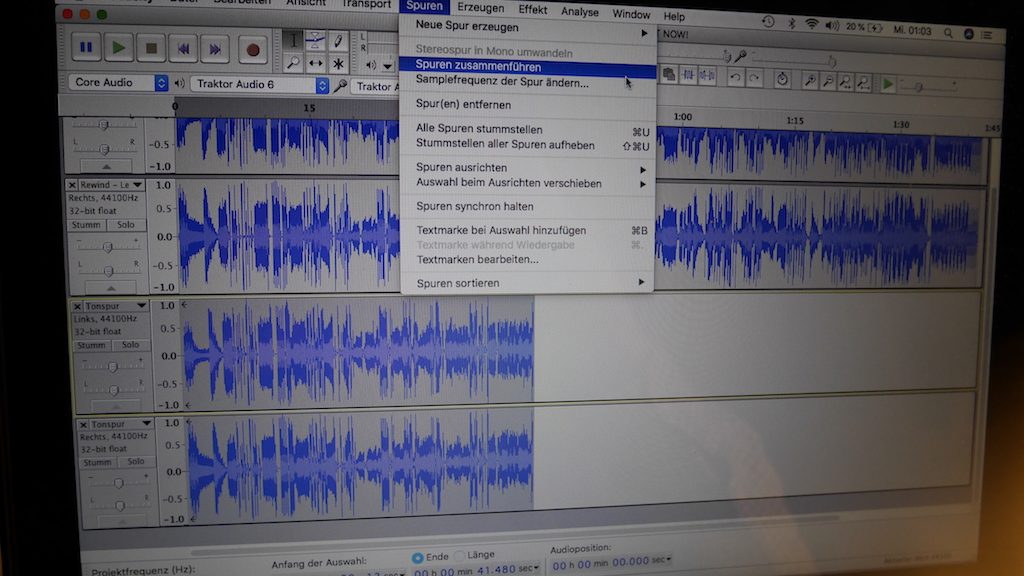
Now the two recorded mono tracks have to be combined into one stereo track which will then be downmixed to another mono track in order for the signals to affect each other.

The result should be some kind of perfect silence but it looks … less than silent.
Hard to describe. Best thing is to listen to the results yourself.
An excerpt of the directly recorded sound
And the summed up signal
I don’t know how to interpret the results from a technical point of view, yet. The second sound describes the difference between the original signal and the one being sent through the mixer. It should, in theory, be perfect silence but obviously … isn’t. It might not be the most perfect mixer on this planet. But it did an okay job during our camp at Deichbrand 2018 and .. it’s not as bad as one might think.
Here’s another shot at it: First track is the played-and-directly-recorded one:
And in direct comparison the signal that went through the mixer:
It’s not that bad, is it? At the end of the day it’s always good to have something like this at hand -you’ll just never know.
(And it’s really true that I invested time and effort into this. I honestly thought a serious amount of time about this. …. This post has been re-scheduled about 5 times in order to having enough time for making it perfect. Oh boy. What am I doing with my life? )


Hi, I’ve just run into your diy passive mixer and I have to say thank you for the post! I just have a question, because I’m about to buil my own mixer (different use, but same electronic I suppose). Why did you put the capacitors? Couldn’t you just use the pots and the resistors? Does the capacitor help somehow to ‘separate’ the inputs to each other?
Doing my experiments I noticed that introducing a capacitor the way you did, helps actually to gain the impedance between in/out mantaining the same audio level.
Thank you if you would like to help me building my own mixer.
Bye!
Rob
Hey Roberto,
a capacitor filters out any DC-parts of the incoming signal. Kind of basic audio circuitry. In a perfect world you might not need those but since you will be dealing with different (i.e. non-perfect) input sources it’s necessary to have capacitors.