This post is about building an arduino-based Midi Timecode generator. It incorporates tempo-tap, nudge and a granular tempo-control via an endless encoder. It aims to providing nudge-funtionality (and improved tempo-control) for Native Instruments Maschine MK2 but can easily be used with other devices and programs as well.
Some time ago my G.A.S (Gear Aquisition Syndrome) struck me hard and made my buy a Native Instruments Maschine MK2. Having to leave it untouched for too long because of other projects I finally found a way of spending fun time with it even though one of the main problems between “me” and “being musically creative” has always been that inspiration normally stops in the second that I touch the Controller. Though I am generally not too much into electronic music (Deep House or Trance, especially) I realized that simply playing along with tracks of that stlye leads to fun results and quite easily brings me into that creative flow where everything “just happens”.
(Maybe this is also due to the fact that this kind of music is easy to … well, let’s just not discuss this right now.)
First approach would probably be to get myself some tracks, hit them up into Maschine (or Ableton, or Traktor, or …), press the magic sync-button and just go for it. But that one thing I want to achieve here is being able to adopt to music regardless of the medium it’s being played from: radio, smartphone, youtube – and maybe just the dream of simply being able to spontaneously perform with others without having to worry about syncing, master-slave. cables, incompatibilities, etc.
Maschine (MK2) does offer some sort of transport control, of course, but it lacks huge amounts of usability when trying to use it in a non-synced just-play-along situation: Tempo-Tap needs two button-presses (Shift+Tap) and nudging the transport is just missing completely. The technique of “riding the pitch” is just plainly out of reach from the perspective of usability.
There are basically two ways of controlling Maschine’s transport section from external sources: Midi Timecode and Ableton Link. My first approach was based on Ableton Link but I ditched it because I ran into problems on setting the correct downbeat. That’s why I chose transport-control via Midi Timecode with a taylor-made interface built around an arduino.
The arduino code is based on the work of Github-User DieterVDW. He basically did everything you need to create Midi Timecode with an arduino, including tempo-tapping and some finetuning with a potentiometer. The code, however, needed some make-over since I found there were some flaws (it hung up three times within the first minutes, tempo-tap was too slow, display not needed, endless encoder instead of potentiometer, etc.). You will later find my version of the code over at my new Github-Repository.
The circuit itself is simple enough to be realized on perfboard. In the end it’s just 5 buttons and an encoder attached to an arduino. Layout surely -does- play a major role here: you don’t want ‘dangerous’ buttons (i.e. STOP, RESTART) within accidental reach.
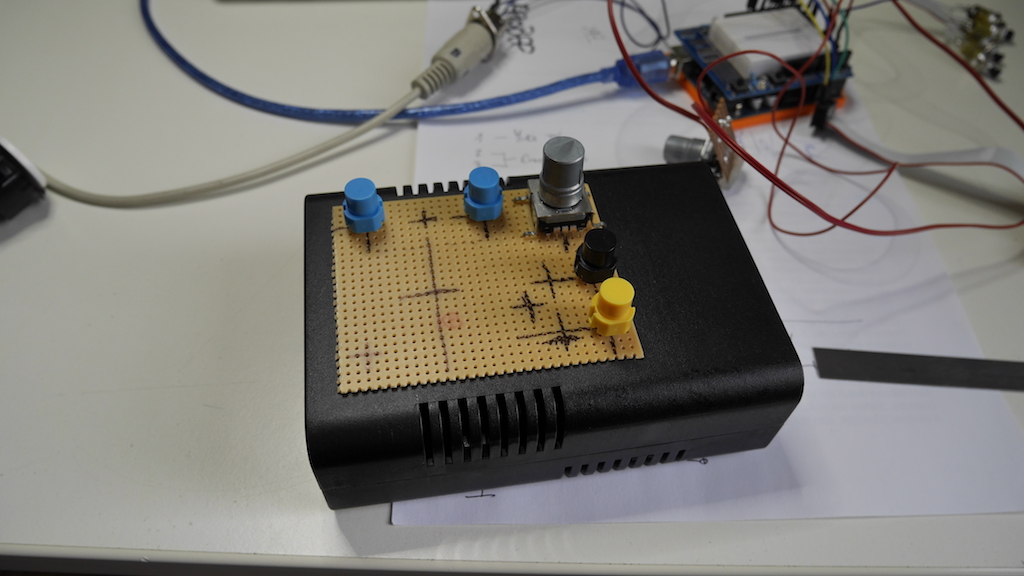
The perfboard acts as the pattern for marking the holes which need to be drilled.
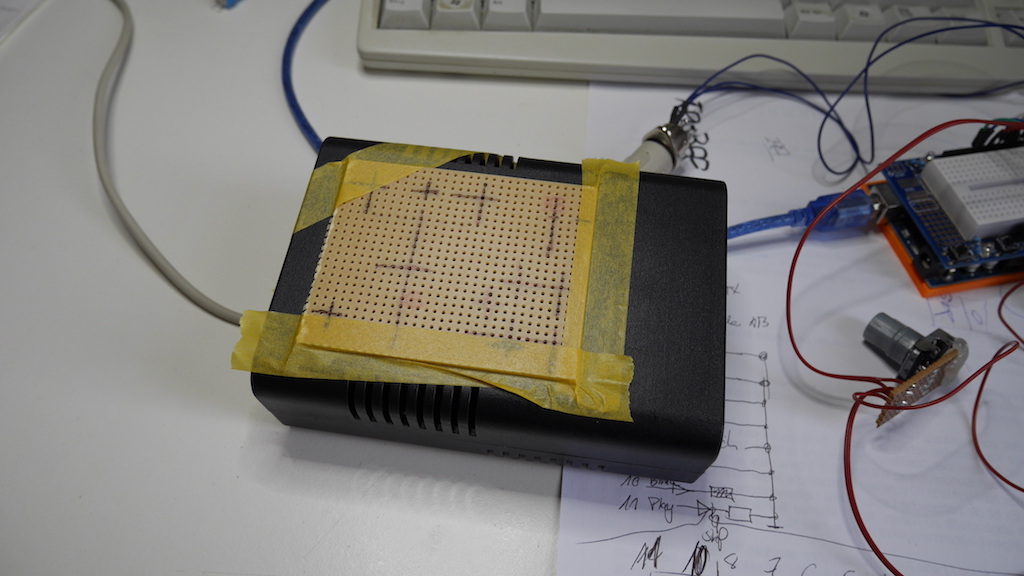
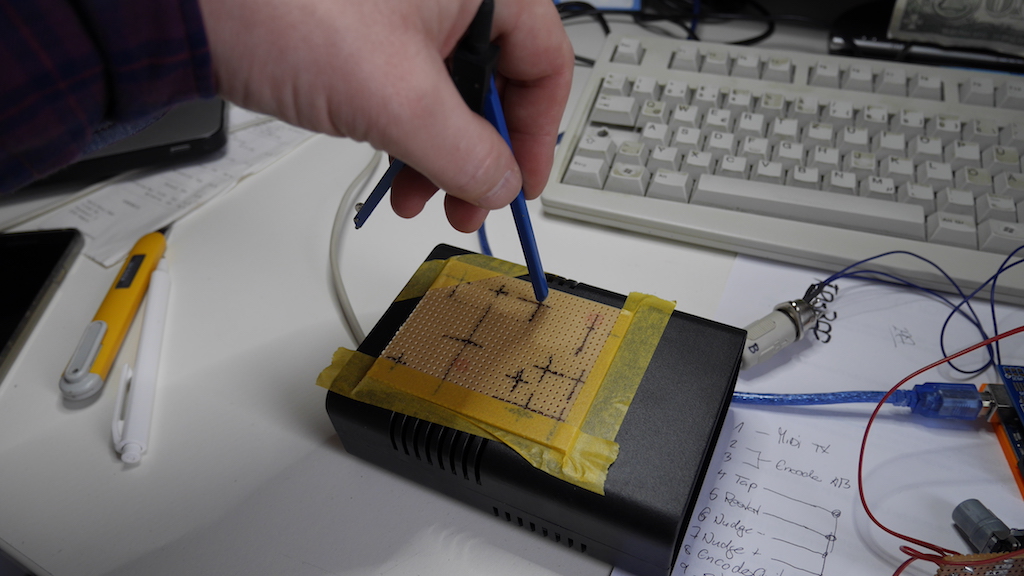
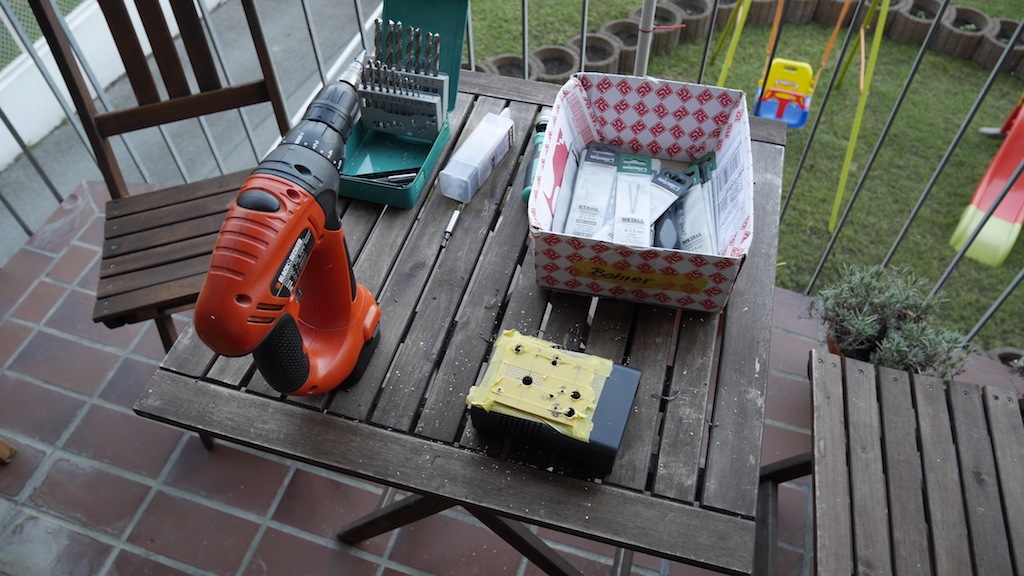
OF COURSE I messed up while drilling and had to use another perfboard.
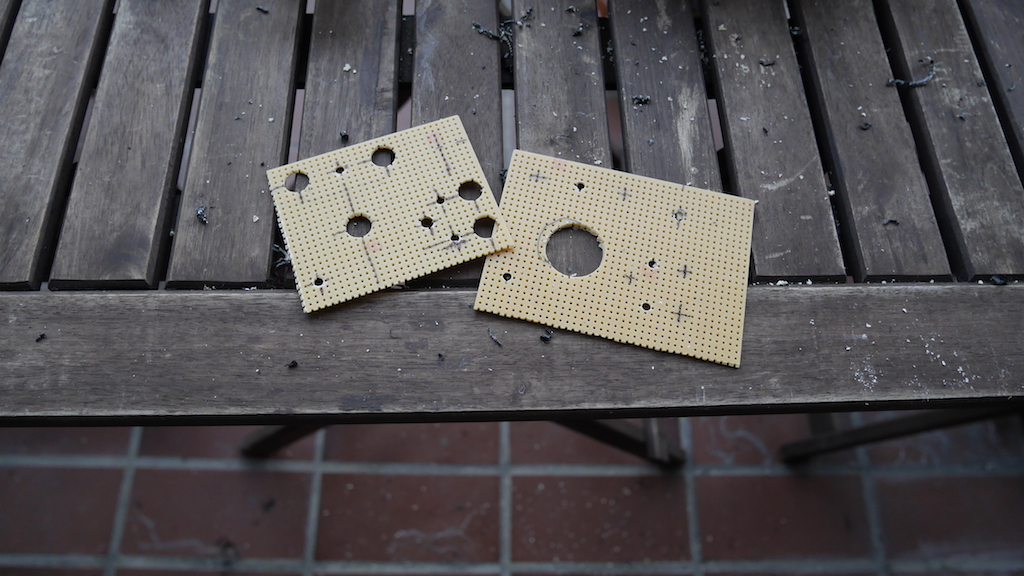
“Congrats, you just played yourself”. Sometimes I think I should just ask someone else to do this.
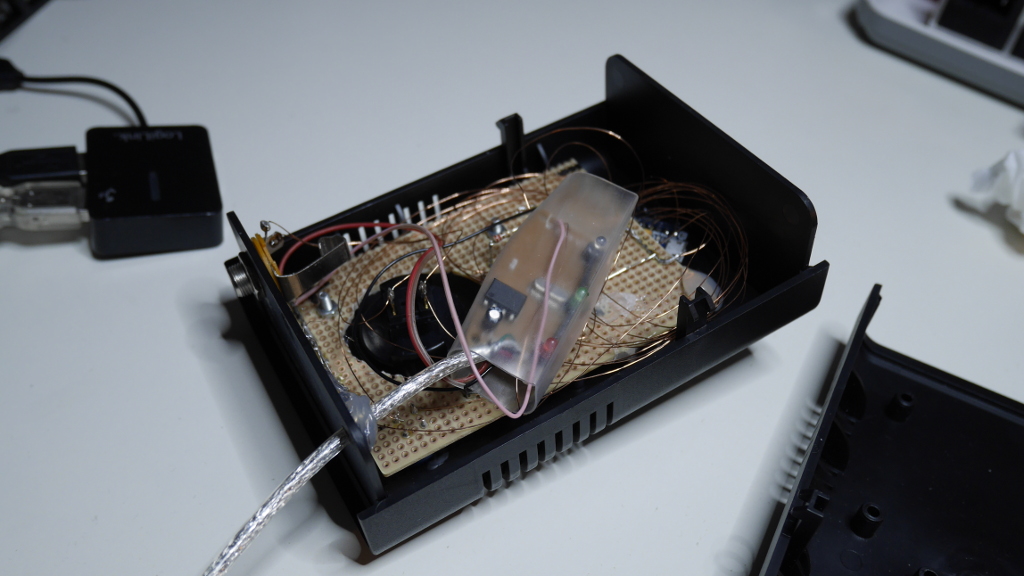
Towards the end I became a little impatient and whipped everything together in a quick rush (after attaching a connector for a footswitch).
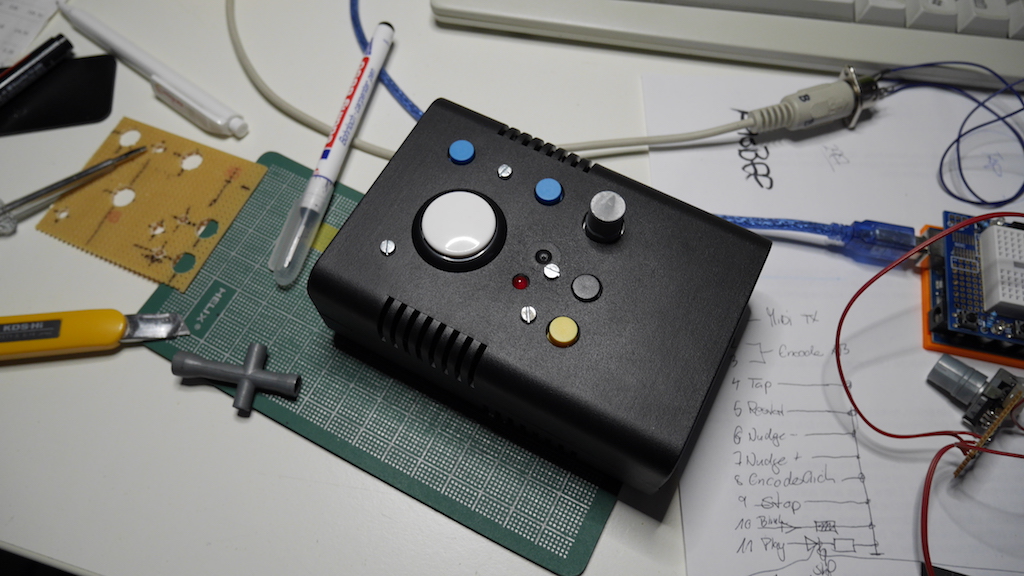
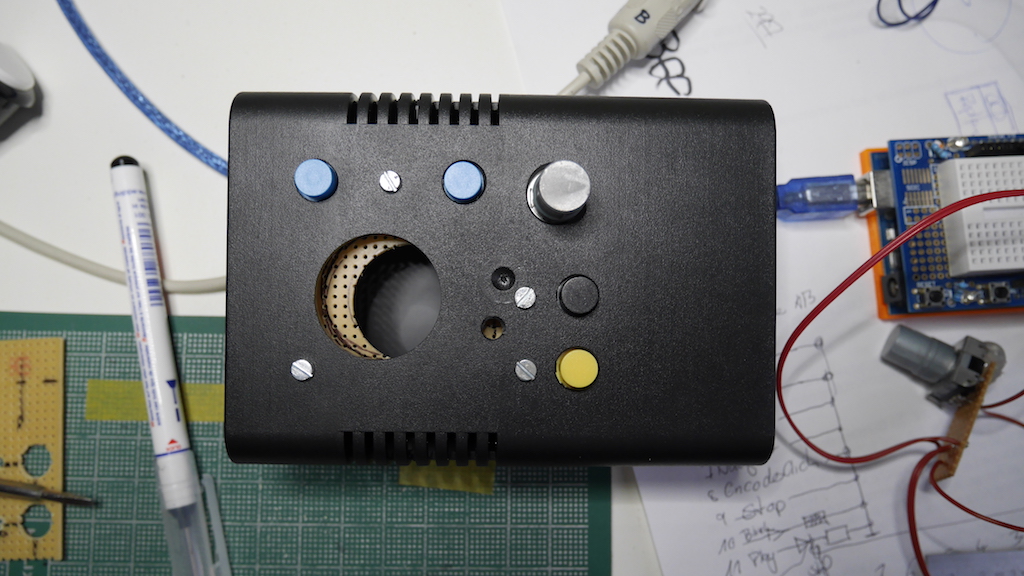
However, let’s talk about the layout of the buttons and their functionality: The arcade button will be used for tempo-tapping (“Flipperbuttons, Alter, da kannst Du mit’m Lastwagen drüberfahren, die gehen nicht kaputt”). The blue buttons on top provide the nudge-functionality: +/-5% in each direction. The rotary encoder allows to fine-tune the tempo (or to ultra-fine-tune it while twisting and holding it down at the same time). The yellow button sends a (re-)start message. The LED will display the tempo, the black button stops the transport.

Connection to the outside world is achieved via a cheap USB-to-Midi-Interface. Not that I don’t have enough of these boxed as new lying around but I still managed to salvage one of these from an old project.
The original design is based on the intention to use it in a horizontal position but it quickly turned out that a vertical orientation works a little better. The following video allows you to get a glimpse of the ease of operation: Adopting to different tempos, fixing complete trainwrecks and re-syncing. Keep in mind that it’s not about the style or sound and that I intentionally kept the metronome on to make it easier to get an idea about the effects of nudging, etc.
While making the video I got COMPLETELY lost because it’s so much fun playing around with the device. Didn’t expect it to turn out that brilliant.


Hello Andy,
Love this project! I’ve been looking around for some sort of master clock to sync old drum machines and hardware to my vinyl dj setup (Specially the nudge function, a must have). I was wondering if you had more detailed info about the assembly as I’d love to be able to build it myself. Thanks a lot, your website is insane man!
Hey man, thanks a LOT for the response. Actually, I am working on a follow-up-device which will be for sale, soon: https://andyland.info/wordpress/clockbox-v3/
As of now, the original nudge-feature needs to be re-implemented but this will definitely be added to the features-list.