I wanted to build a sample-player (“soundboard”) and decided to use Mixxx because it has all the necessary features that I was looking for (open source, runs on a Raspberry, highly customizable, …).
My target scenario for this installation is to use it together with a Midi-controller and the official 7″ touchscreen for Raspberry Pi. While Mixxx comes with a set of skins (i.e. user interfaces) with focus on different aspects all of them have in common that they are providing all the functionalities for DJ’ing: 2 or 4 decks for playing tracks, crossfader, mixer-section, library, etc. Many of these things can be hidden from the screen but even then there are still too many things left visible consuming precious real-screen-estate.
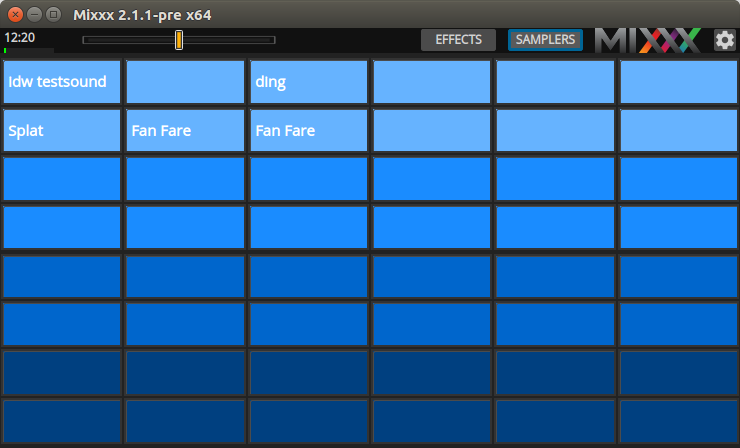
While every skin provides the functionality to hide the mixer section or the sampler there is (technically) no way to completely hide the decks via temporary selection. They seem to be seen as an integral part of every Mixxx-skin. That made it necessary to do some serious work on this. Since building a skin from scratch was completely out of reach I took the skin “Deere (64 Samplers)” as a starting point and worked my way up from there.
Continue reading →