Volumio box

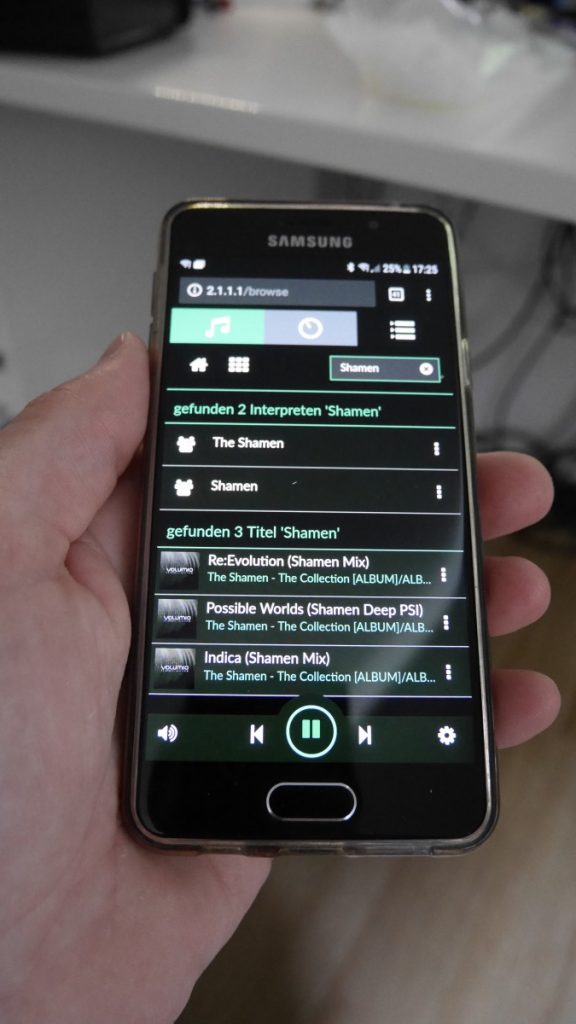
Derzeit baue ich einen ganzen Stapel an Gerätschaften, um beim nächsten Festival-Besuch entertainment-technisch auf einem angemessenen Level zu sein. Dazu gehört selbstverständlich irgendetwas mit Musik. Bisher hatten wir immer ein Laptop mit einer uralt-Version von Virtual-DJ dabei. Das war halbwegs okay, aber bei der diesjährigen Vorplanung für’s Deichbrand Festival hatten wir Lust darauf, irgendetwas mit mehr CYBER zu machen: Steuerung per Handy und so’n Schiet.

Unsere Wahl fiel relativ schnell auf Volumio, das wir auf einem Raspberry betreiben werden.

Continue reading

Midi Timecode Generator with Tempo-tap and Nudge

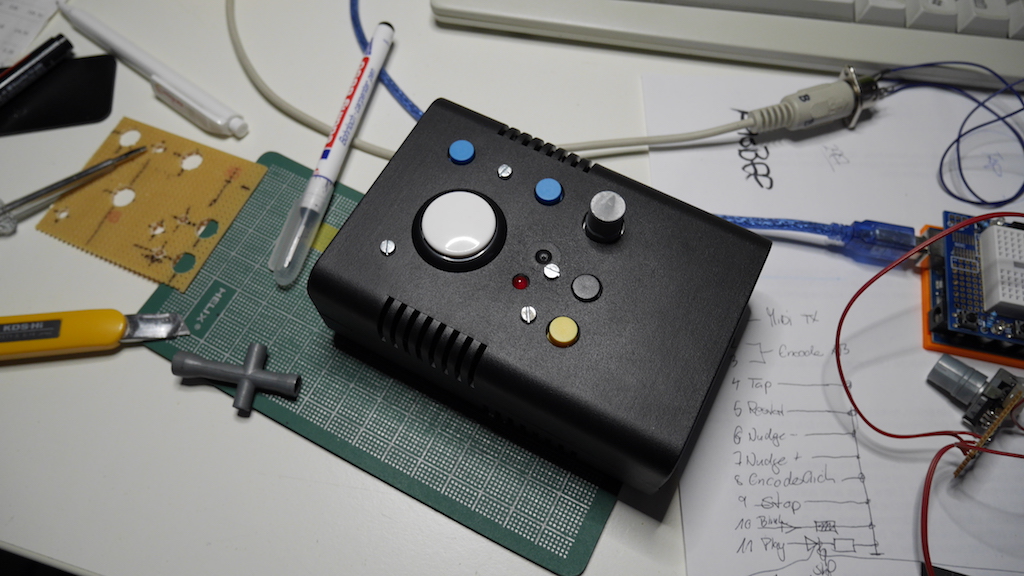
This post is about building an arduino-based Midi Timecode generator. It incorporates tempo-tap, nudge and a granular tempo-control via an endless encoder. It aims to providing nudge-funtionality (and improved tempo-control) for Native Instruments Maschine MK2 but can easily be used with other devices and programs as well.

Continue reading

Next Level Midi Controller, Pt. 1

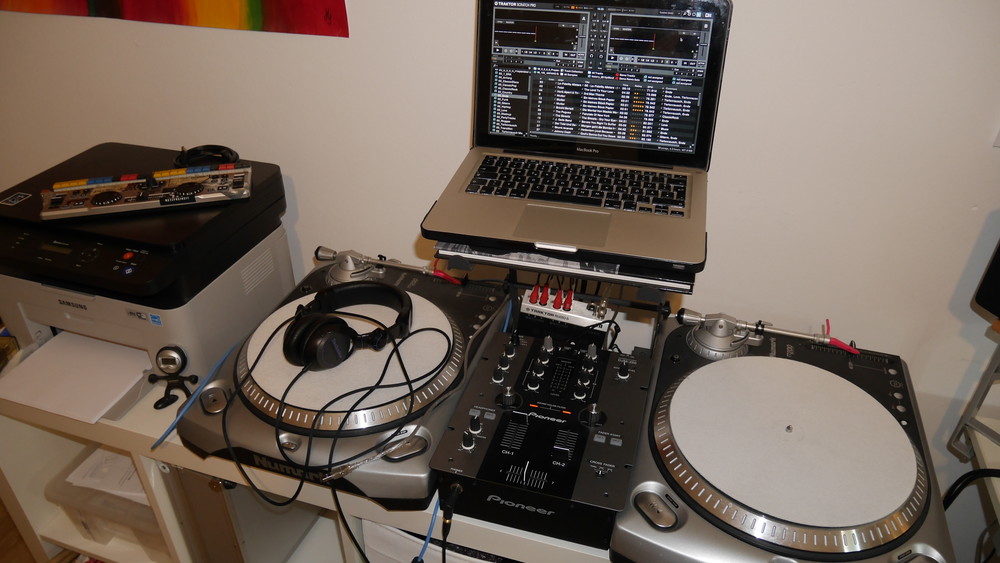
Das ist mein aktuelles Setup zum Muckemachen.

Oben links der teilweise selbstgebaute Controller, den ich tatsächlich schon seit über 5 Jahren nutze. Das Ding hat sich definitiv bewährt. Die Plattenspieler müssen eigentlich nicht sein, sind aber noch da, weil’s manchmal einfach tierisch Spaß macht, zumindest so zu tun, als hätte man es derb drauf. Verwendet wird das dann in einem komplett wirren Mix aus Navigation-in-den-Tracks-per-Controller, Beatmatchen-via-Plattenspieler-mit-Timecode-Platten und Zwischendurch-einfach-Play-und-Beatmatch-per-Controller. Abenteuerlich und schön anzuschauen, ganz bestimmt – in Summe bringt’s das aber nicht mehr. Die Plattenspieler hatte ich vor ~10 Jahren gebraucht gekauft. Der Zahn der Zeit ist nicht spurlos an ihnen vorüber gegangen. Man könnte das alles wieder hübschmachen, aber ich hab’ auch einfach Bock auf was Neues.

Continue reading

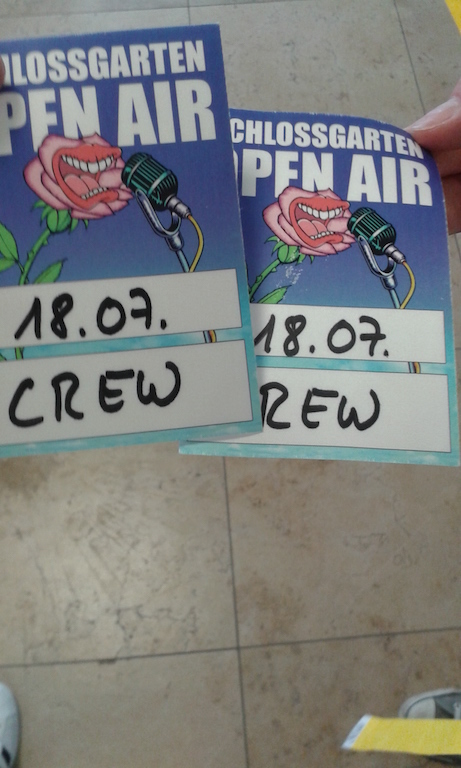
Fanta 4, Schlossgarten Open-Air 2016

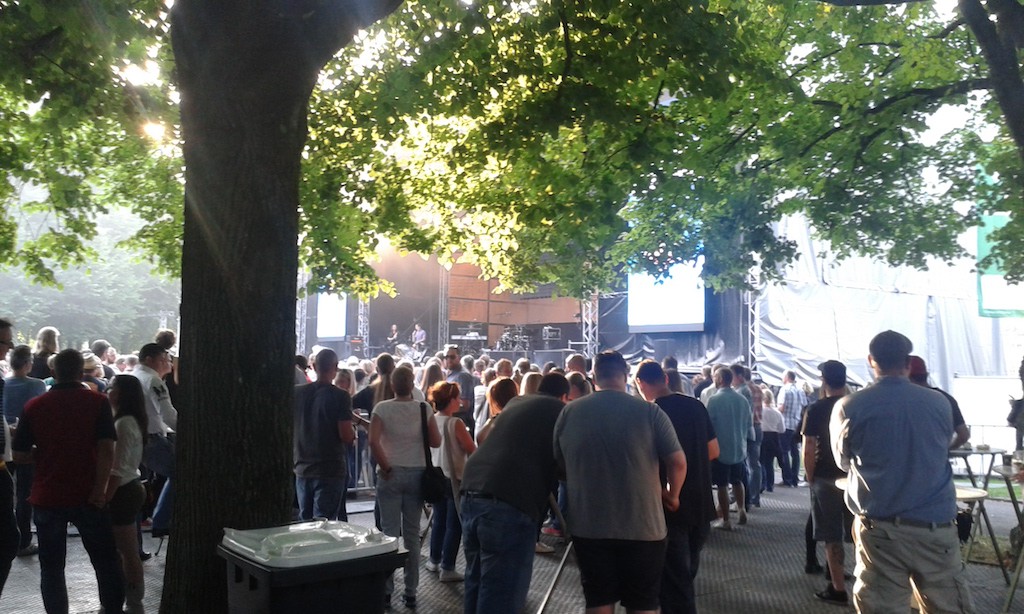
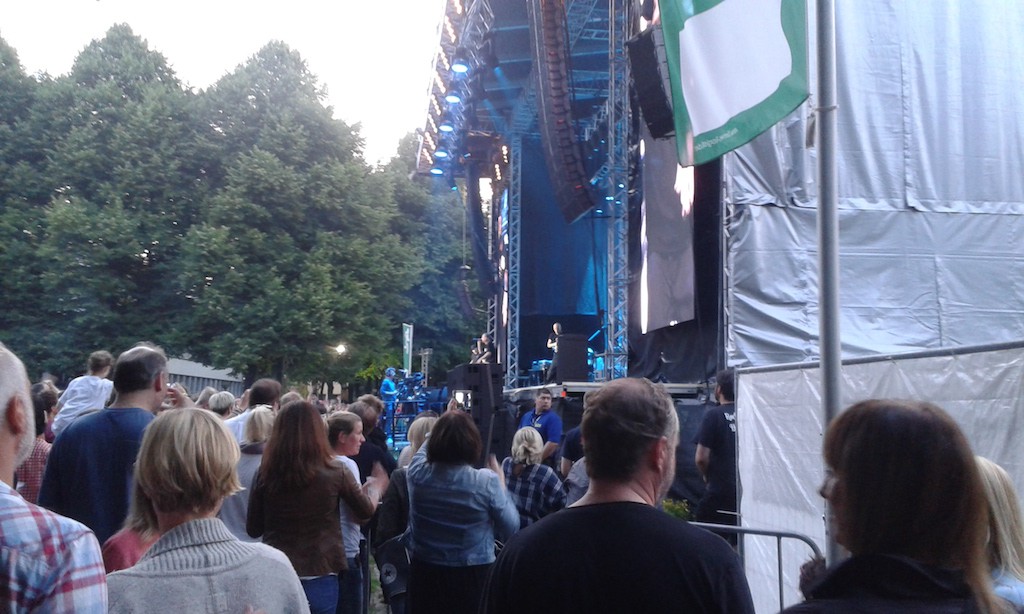
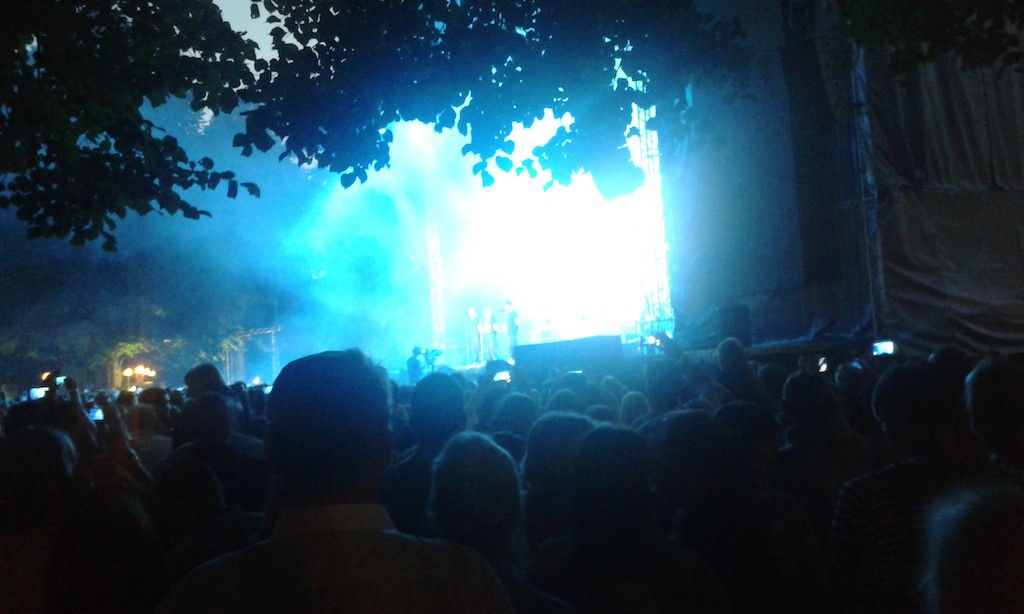
Schon etwas her, aber der Auftritt der Fantas war auch nicht soooo großartig. Perfekte Show, keine Frage, aber eben Showtheater ohne Ecken und Kanten. Passt alles auf den Timecode-Click genau. Auch die “spontanen” Einlagen. Muss bei Shows dieser Größe ja mittlerweile so sein.

Der Platz unter den Bäumen im Schlossgarten macht’s aber wieder ganz erträglich.

20150718_200409

20150718_213447

20150718_221514

20150718_185704

Make Magazin

Zwei Ausgaben der aktuellen Make.

Das ist natürlich kein Zufall. Die eine kommt über’s Abo (seit der ersten Ausgabe – ist ja klar). Die andere habe ich als Freiexemplar bekommen, weil es dieses mal einen Artikel mit meinem Namen darunter gibt. Make 2/17, Artikel “USB-Trommel”, ab Seite 90.

Geilomat 8000!

die Sache hat sich vor ein paar Monaten ergeben, nachdem ich über die Webseite vom Heise-Verlag auf ein paar meiner Projekte hingewiesen hatte. Felix (Redakteur) hat sich daraufhin bei mir gemeldet und ich habe etwas geschrieben. Simple as that. Von meinem originalen Text, im Wesentlichen ist das der Baubericht für die Drums, ist natürlich nicht mehr all zu viel geblieben. Is’ eben doch ein Unterschied, ob man das hauptberuflich macht, oder hin und wieder mal einen Text ins Netz rülpst.


Macht aber nix. Die Zusammenarbeit hat enormen Spaß gemacht und der Moment, wo man den eigenen Namen unter einem Artikel sieht, ist schon ganz schön cool.

Ich bin jetzt quasi ein echter Journalist =)


Motion-Sensor-to-MIDI-Converter

An idea that came up during the 31C3. The guys from VisualPhi had some motion sensors lying around and wanted to use them to control their VJ-software. That’s why I built them a Motion-Sensor-to-MIDI-Converter.

As usual it all starts on a breadboard. Most of the times I draw the schematics parallel to building the circuit on a breadboard. Guess that’s the usual way.

CIMG0230


The circuit itself is rather unspectacular. 8 inputs are polled from a 74HC165. Then there’s a little bit of logic implemented within an Arduino and then there’s 16 LEDs, a rotary encoder and MIDI out.

CIMG0231


CIMG0233


This project is the first one to benefit from my new 3D Printer. Due to the fact that I don’t have a dedicated toolshed anymore it’s kind of impossible to reliably manufacture the case anymore. Seems as if I don’t need one from now on.

CIMG0261


I really think the fixation of the rotary encoder is one of the smartest pieces ever done by mankind. Ever =)

CIMG0264


CIMG0263


The LEDs are driven via Charlieplexing. It’s rather easy to implement but you really need to concentrate while soldering. By the way: If everything else fails I guess I’ll become a Soldering-Artist one day.

CIMG0269


The function of the device is easy to explain. Every input is triggered when the state of a connected switch changes. This is indicated by the red LED below the channel. The green LEDs indicate the channel that’s influenced by the rotary enoder: The encoder gives the possibility to set the time that has to pass from the moment the input is triggered until it can be retriggered again. Something like a ‘Retrigger Threshold’. The value can be set to values between 0 and ~2 seconds. When the lower / upper limit of the value is reached the green LED flashes. Pressing the rotary encoder (it has a built-in switch) switches to the next input.

A triggered input sends a MIDI note.

CIMG0266


CIMG0276


CIMG0275

How to use Traktor Audio 6 with Ableton

I don’t know why I have never encountered this problem before but recently I tried to use my Traktor Audio 6 together with Ableton and had a fair share of problems. Basically I couldn’t route Ableton’s output to anything different then ‘Output 1&2’ which is the main output at the Audio 6’s front side.  Everything else could be selected but just didn’t take effect (Ableton wasn’t even showing any kind of levels).

Same problem on the inputs: I have two turntables attached to the Audio 6 and wanted to use their inputs within a vst-plugin (MsPinky, as you may have guessed) but I just wasn’t able to get any signals coming into Ableton.

Of course the settings in Ableton all were correct. The screenshot only shows the output config but the input settings were accordingly.


I had a simple clip running on a track and changed the Master Out settings a few times. Whatever I tried it only sent out real music (into my mixing desk) when I selected channel ‘1/2’ for Master out. 3/4 and 5/6 just kept being numb.


The problem behind all this is that the Audio device’s input settings for both channels 3/4 and 5/6 was set to ‘direct thru’. Meaning: Everything that is connected to the inputs is directly routed to the outputs. The device itself is not able to send audio data to these outputs in this case. Looking at it from a little distance it’s something I could have known before because every time I had Traktor Scratch running and attached the Audio 6 to my computer I was presented with a ‘direct thru’-configuration for both decks. I had to deactivate this every time I used it.


The solution is simple: Just open up the Audio 6 Control Panel and deactivate the checkbox for ‘direct thru’-mode. It’s probably a good idea to do this in the ‘startup’ tab since this changes the device’s configuration to behave like this automatically every time you connect it to your computer.


I don’t know if it’s necessary to do a reboot afterwards. While trying to find this solution I made so many of them I don’t know for sure.

Anyways: After making these steps I was able to select every possible input and output combination for my Audio 6 in Ableton – and all of them worked like a charm.